How to Setup an Autoresponder Series in AWeber
by Tom Ewer on
![]() There’s only one thing better than being able to send an email to your blog’s subscribers: being able to do it automatically.
There’s only one thing better than being able to send an email to your blog’s subscribers: being able to do it automatically.
That’s what AWeber’s autoresponder tool allows you to do – once you’ve drafted an email, you can schedule it to be sent to every new subscriber.
As the word ‘series’ implies, you can do this with multiple emails. You can create content that will be emailed to your subscribers for weeks and weeks if you want – completely automatically.
You can write up a standard ‘Welcome’ email to be sent to every new subscriber, send them followup emails to orient them to your blog, include offers and promotions for products and services and so on.
Best of all, setting up an autoresponder series is a piece of cake. If you already know how to send a broadcast, you’re already 90% of the way there. In this tutorial I am going to finish up with that last 10% so you can start setting up your own autoresponder series.
How to Setup an Autoresponder Series in AWeber
Before we start, you’ll need an AWeber account. If you haven’t signed up and created your first email list yet, run through the steps in this tutorial before you continue.
You’ll also need to read our tutorial on sending broadcast emails. Don’t worry – it’s quick and easy.
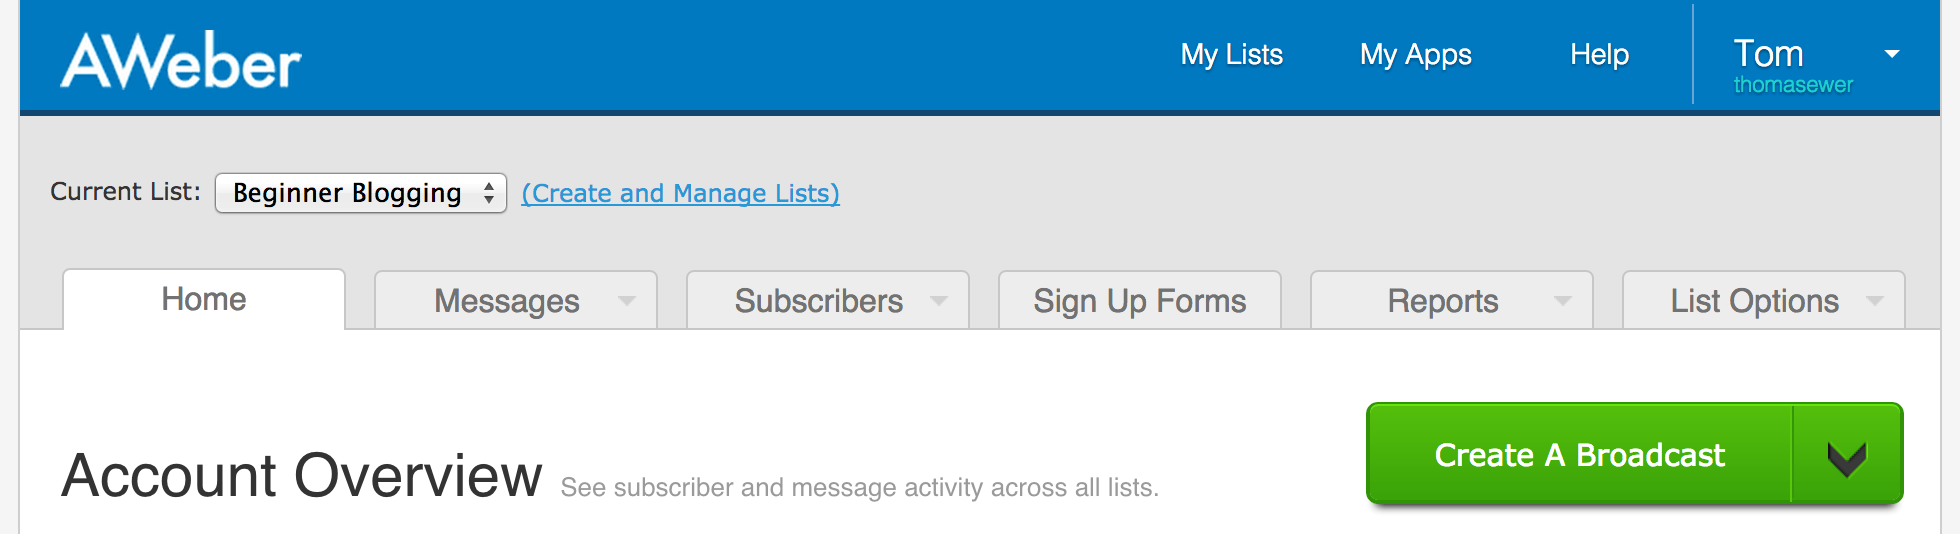
Once you’re ready to start, log into your AWeber account. You’ll be presented with an Account Overview screen which contains a number of tabs across the top:
Hover over the Messages tab and select the Follow Up Series option.
On the next page, Hover your mouse over the arrow on the right of the Create A Follow Up button on the Account Overview page and select the Drag & Drop Email Builder option. As with broadcast emails, this is the tool you will use to create emails in AWeber because it offers the best balance of functionality and usability.
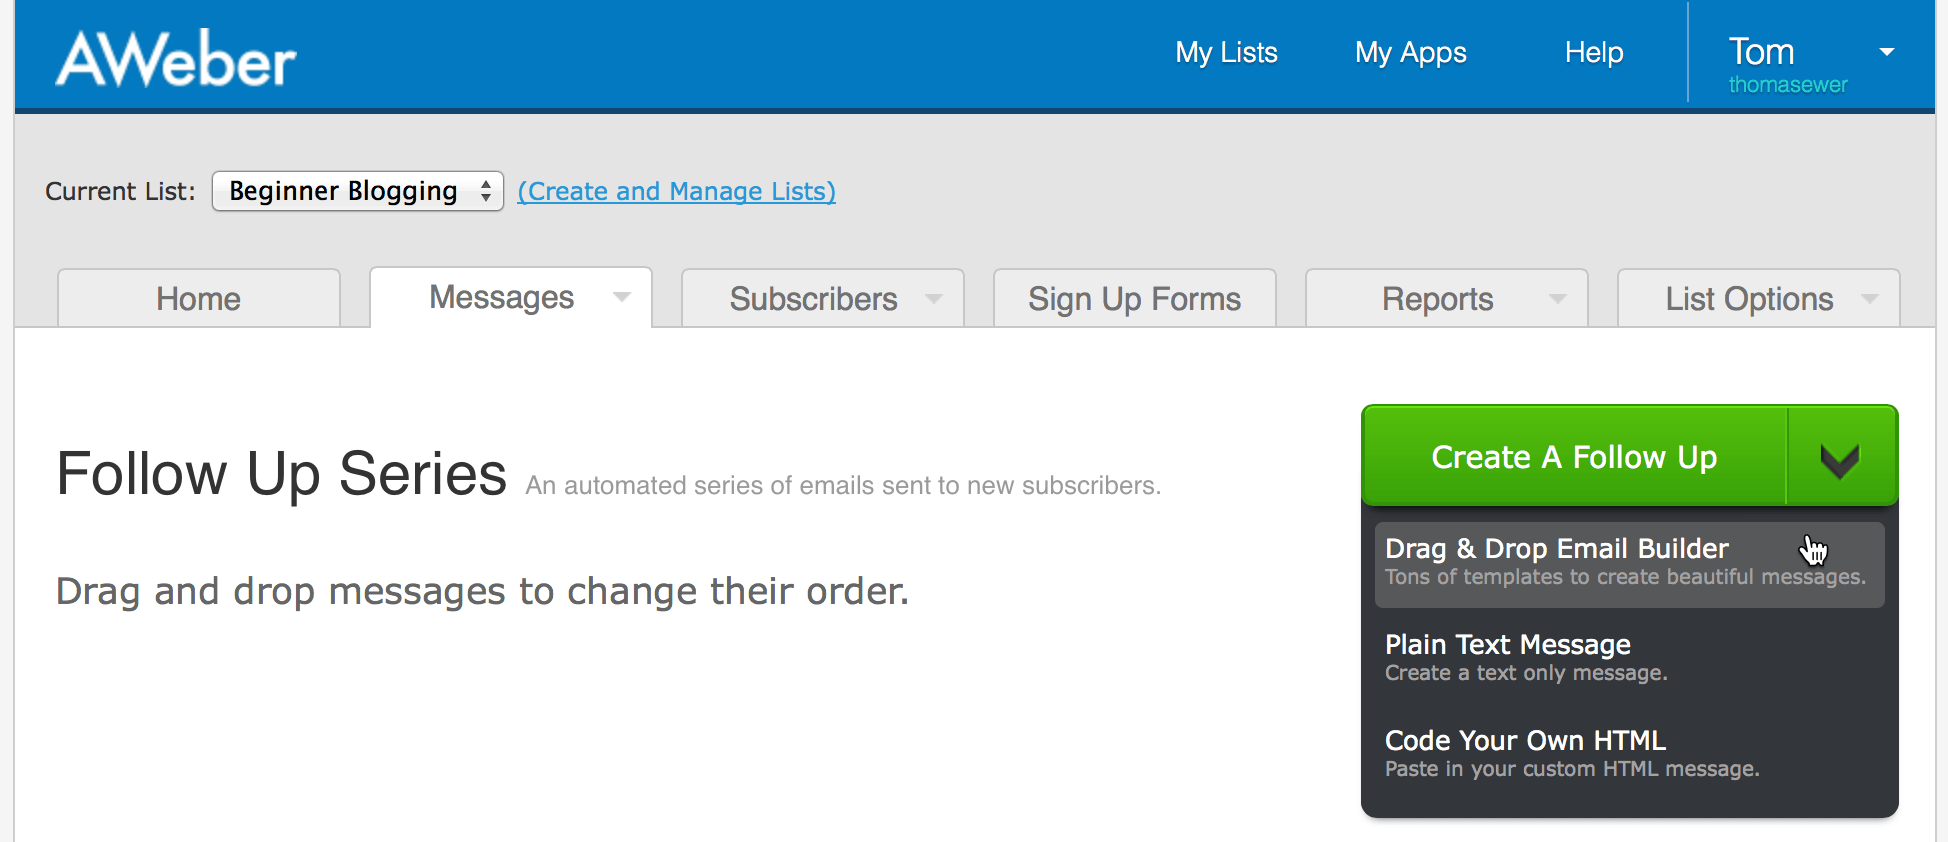
Clicking on the Create a Follow Up button (i.e. not the arrow) will select the Drag & Drop Email Builder tool by default.
You’ll be presented with a familiar screen, in which you can draft an autoresponder email in the same way as you draft a broadcast – the features are all entirely the same.
Once you’re finished writing your email, click Next at the bottom right of the screen. The following page will seem rather blank:
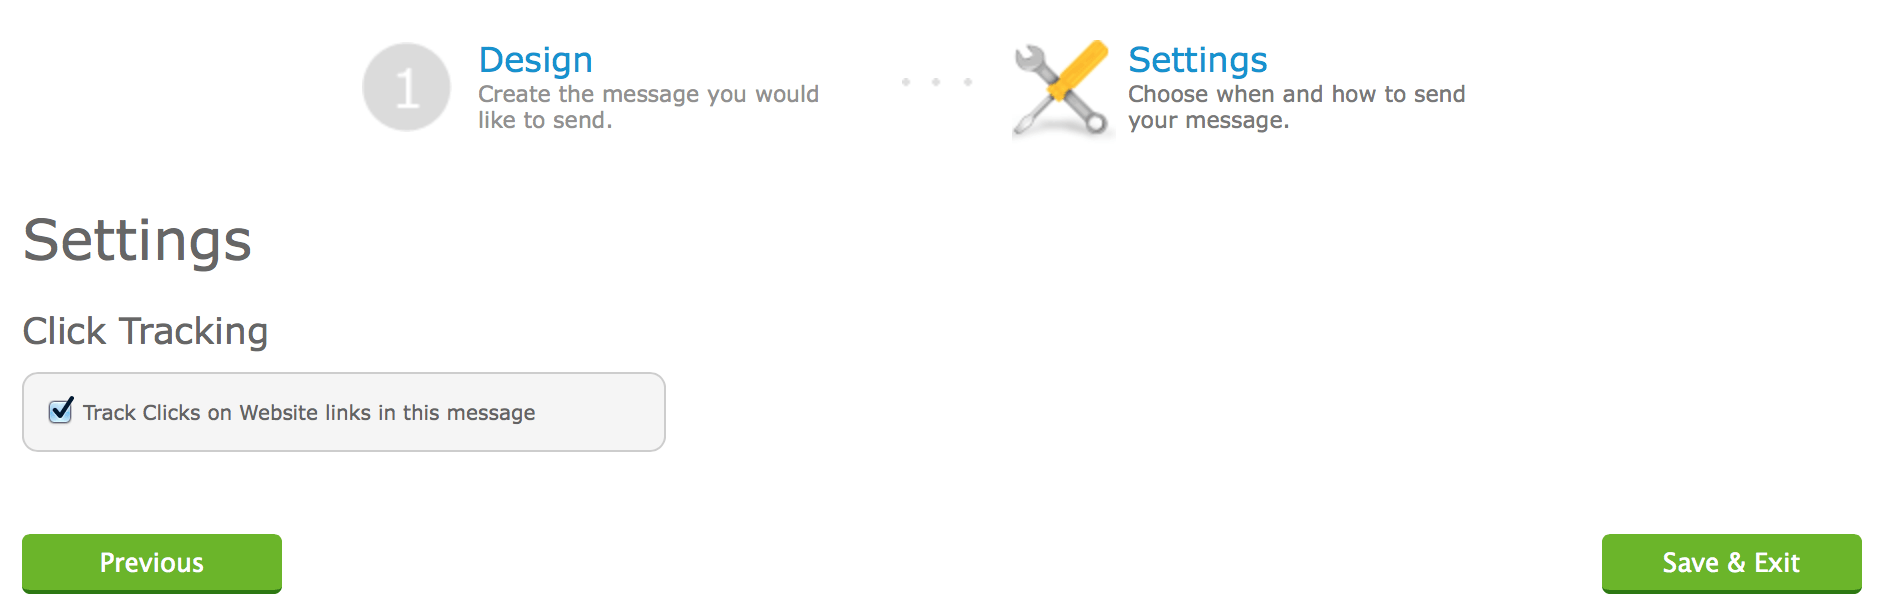
There would normally be more settings here for you to fiddle with, but because this is the first message in your autoresponder series, they are not available. Your email, by default, will be sent as soon as someone subscribes to your list.
With that in mind, it makes sense for your first email to be a ‘Welcome’ message. Let each new subscriber know what they can expect from you. Perhaps even ask them to reply to the email with their thoughts (this is a great way of striking up a real rapport with your subscribers).
There’s nothing else to do on this screen but click on the Save & Exit button.
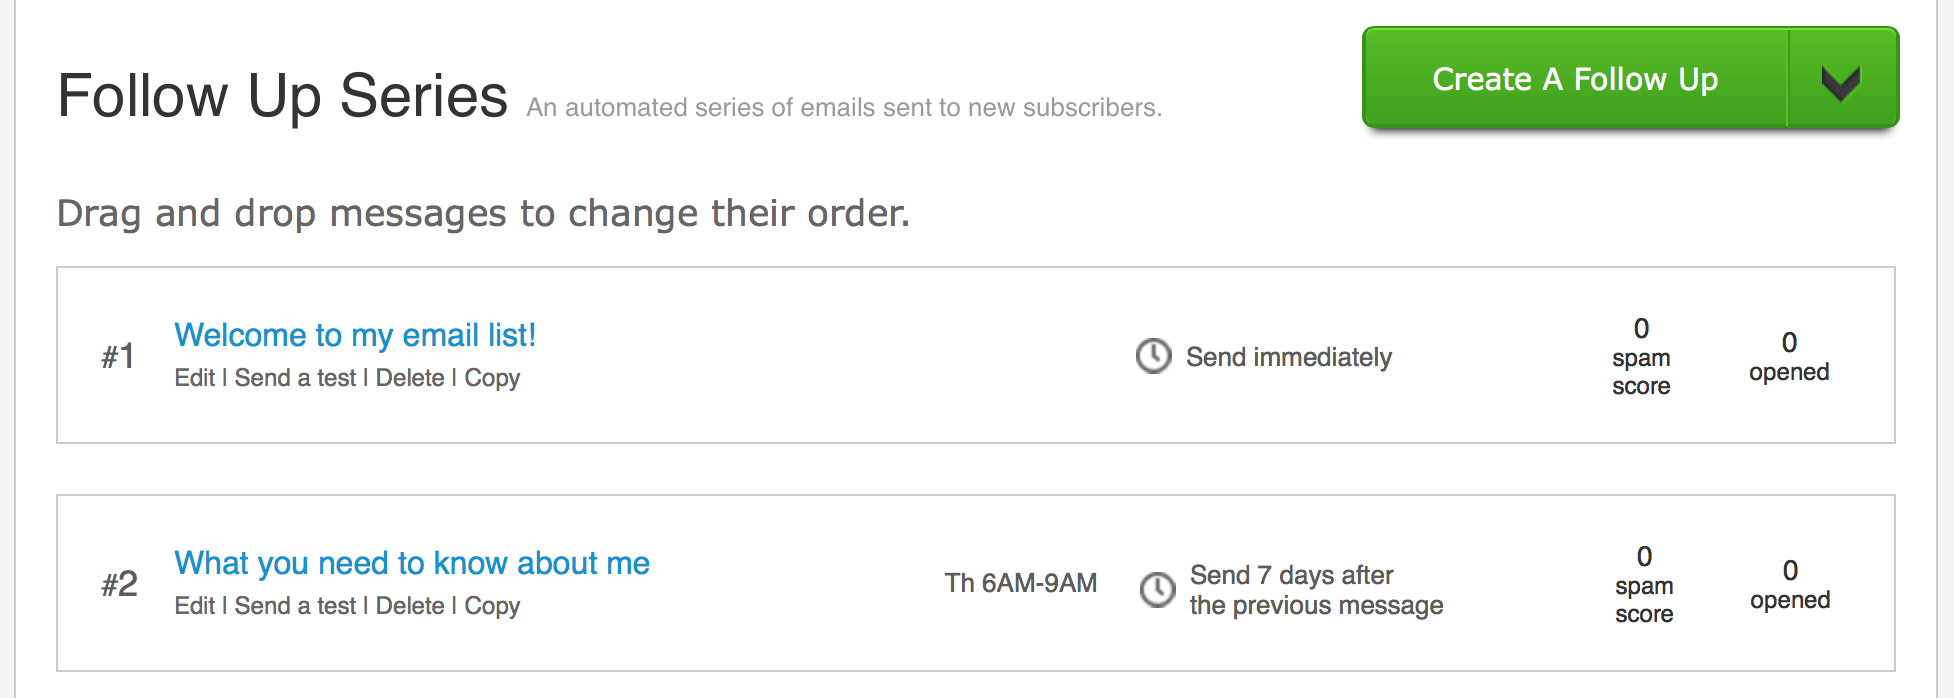
You’ll be taken back to the Follow Up Series screen, where your first autoresponder message will be shown:
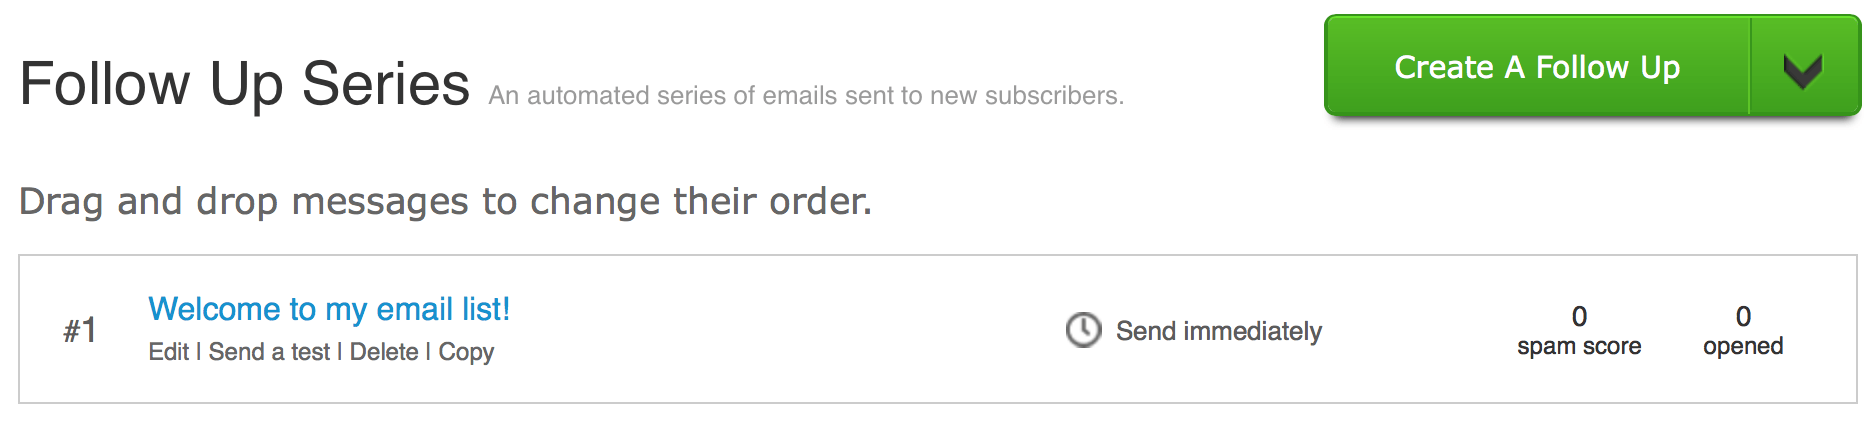
As you can see, the email is set to be sent immediately.
Let’s create another message in the series so you can get a better idea of the features available to you. Click on the Create a Follow Up button and draft your second email on the following screen. Click on the Next button when you’re finished.
The Settings screen will now be populated with some options. First are the Interval settings:
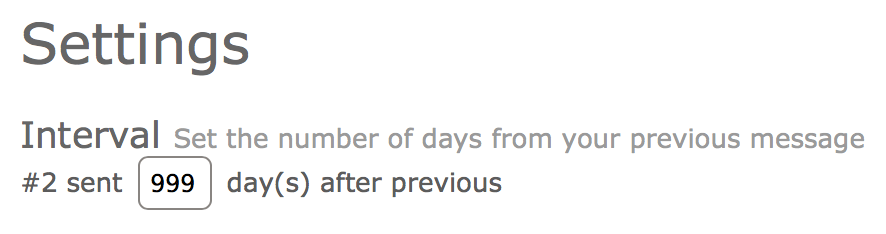
This is pretty self-explanatory – enter a number on the box to determine the day on which the second email is sent (relative to the first). For every new email in your autoresponder series, you must set when it is sent relative to the previous email in the series.
You’ll want to change this setting, as it wouldn’t make much sense to make your subscribers wait 999 days for the next email!
Beyond determining when an email is sent relative to the previous message in the series, you can also limit the dates and times that an email is sent. Just toggle the on/off button to the right Send Window to turn this feature on:
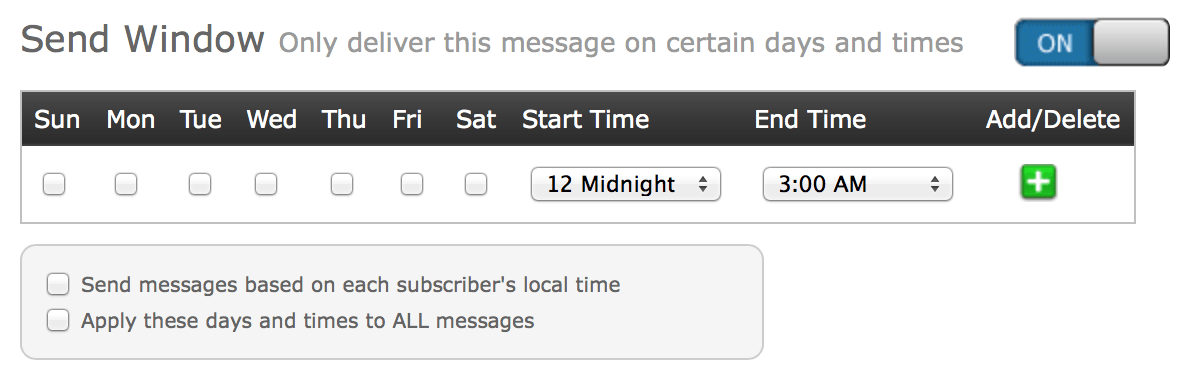
There are two main reasons why you would choose to use this feature:
- If you only want your email to be sent on a particular days. Say you send a weekly broadcast email out every Sunday. You might not want a subscriber to receive two emails in the same day, so you might check every day apart from Sunday to ensure that the autoresponder message is not delivered on your broadcast day.
- If you only want your email to be sent at a particular time. Perhaps you want your email to land in your subscribers’ inboxes between 6am and 9am, so that it’s waiting for them when they get into work.
You can set multiple Send Window intervals by clicking on the green plus sign to the right. You can also set messages to be sent based upon each subscriber’s local time, and choose to apply your chosen days and times to all of the messages in your autoresponder series (barring email #1).
Note that the Send Window settings will override the Interval settings. For example, if the Interval settings determined that an email should be sent on a Tuesday but the Send Window settings were for emails to only be sent on a Thursday, the email would not be sent until the Thursday.
Here are the overall settings I have chosen:
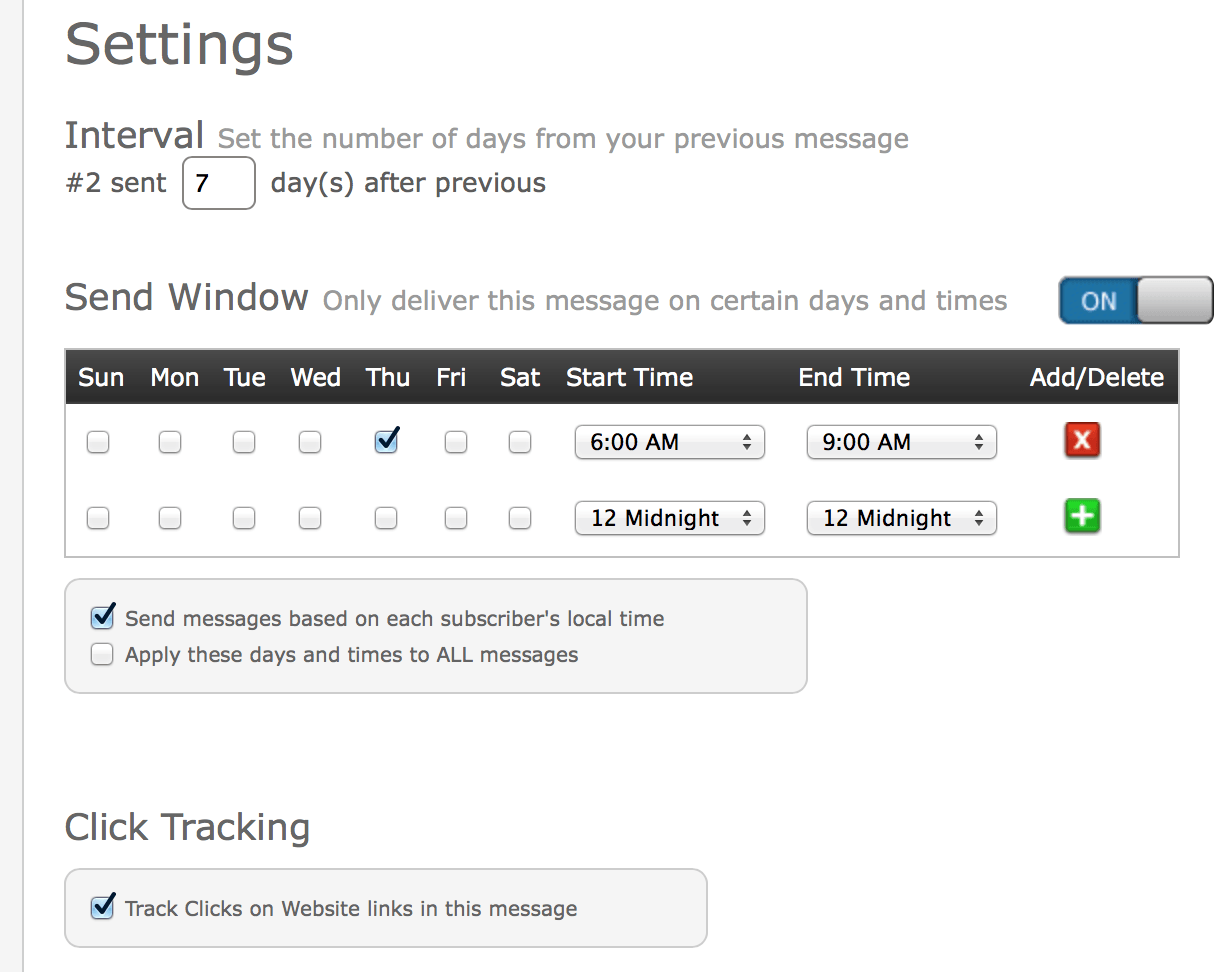
I’ve decided that my autoresponder message will be sent on a Thursday, seven days after the first email is sent. The gap between the first and second email may be longer than seven days, if for example the first email was sent out on a Wednesday.
I’ve set the message to be sent between 6am and 9am at each subscriber’s local time, so it’s waiting for them when they get to work.
Finally, I’ve chosen to apply the above dates and times to all messages, as I want my autoresponder series to be sent out on a consistent basis.
Once you’re finished, click the Save & Exit button at the bottom right of the screen.
That’s it! You’re now well on your way to creating a full autoresponder series:
You can continue to add as many emails to your series as you like – there is no limit. Have fun!