How to Send a Broadcast Email in AWeber
by Tom Ewer on
AWeber![]() is an extremely powerful service that enables you to email multiple people with just one click.
is an extremely powerful service that enables you to email multiple people with just one click.
At its heart is the broadcast feature, which enables you to email every single subscriber on an email list. It puts you in touch with the people who are most interested in what you have to say.
In this tutorial I am going to give you a quick start guide to sending your first broadcast email in AWeber. You’ll be emailing the masses before you know it.
How to Compose a Broadcast Email in AWeber
Before we start, you’ll need an AWeber account. If you haven’t signed up and created your first email list yet, run through the steps in this tutorial before you continue.
Once you’re ready to start, log into your AWeber account, then hover your mouse over the arrow on the right of the Create A Broadcast button on the Account Overview page and select the Drag & Drop Email Builder option. This is the tool you will use to create emails in AWeber because it offers the best balance of functionality and usability.
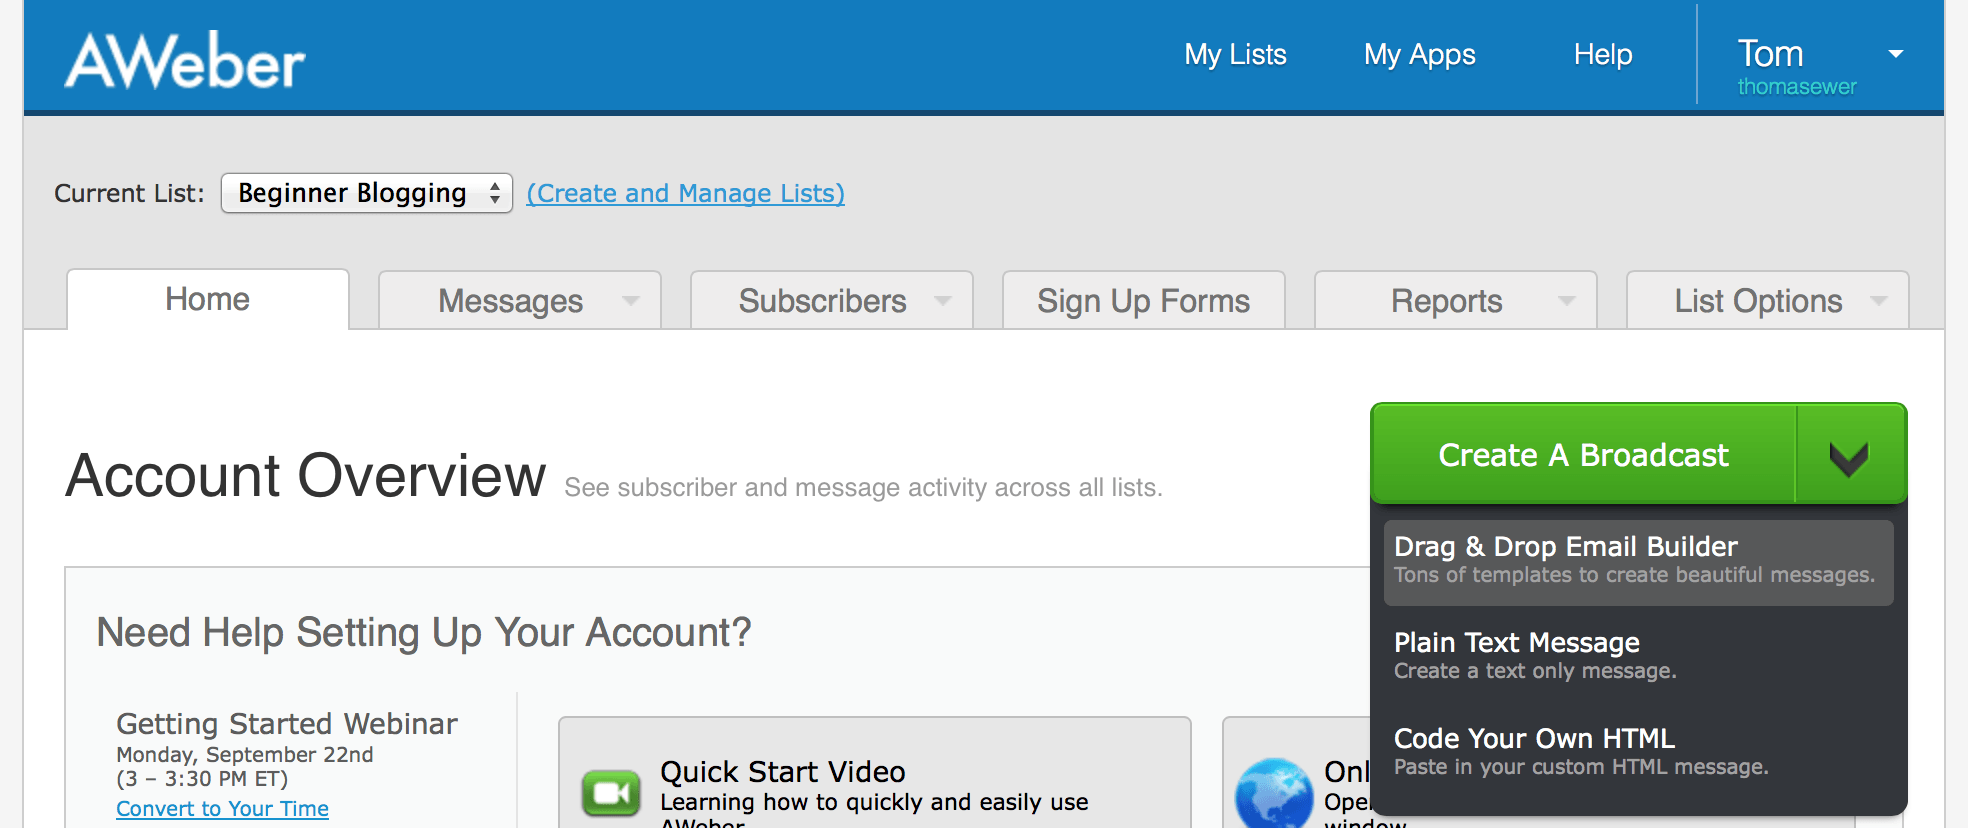
Clicking on the Create a Broadcast button (i.e. not the arrow) will select the Drag & Drop Email Builder tool by default.
In this tutorial I am going to show you how to create a simple black text on white background email. There are two main reasons for this:
- If you want to develop a rapport with your reader, it is far more effective (in my opinion) to send them a ‘normal’ email, like you would to a friend, rather than anything more fancy.
- It’s far easier!
First you’ll find a Subject Line field:

When it comes to creating subject lines for broadcast emails, I follow the same line of thinking as per the design of the email: keep it simple and friendly. My advice is to write a subject line as if you were emailing a friend. Be enthusiastic and to the point, and keep it as short as possible.
Once you’ve written a subject line, you can move onto the email itself:
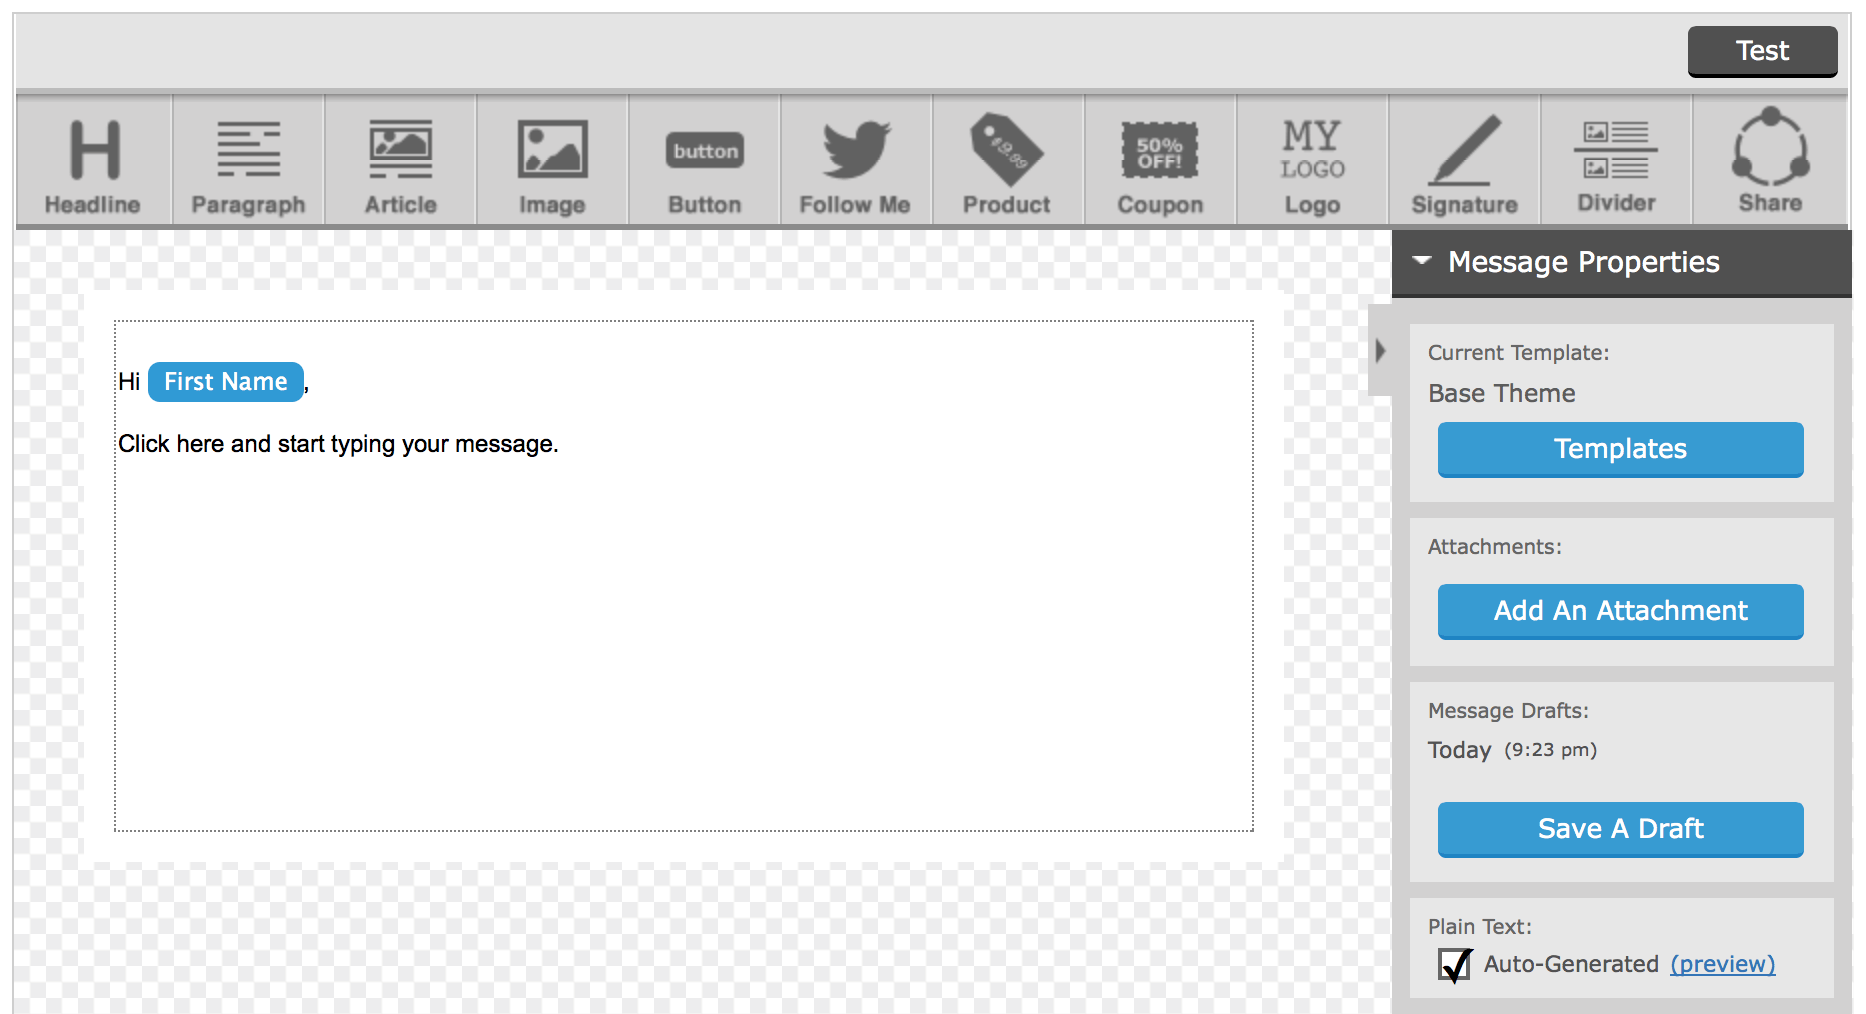
In terms of how I think your email should be formatted, you’re good to go.
As you can see, some sample text has been added to the email. Click anywhere within the text box twice, then start writing your email:
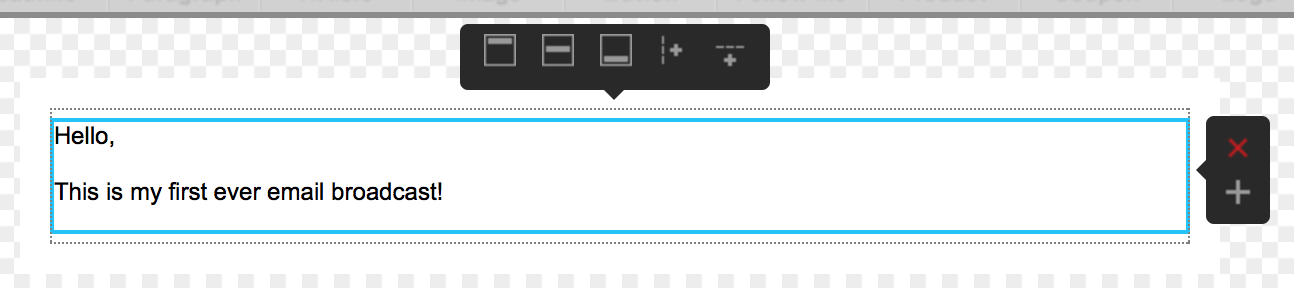
You can edit your text in all the usual ways you would expect by using the toolbar at the top of the editor:

I like to limit myself to bold for emphasizing key phrases, and italics for emphasizing words (as you would if you were to speak them). Beyond that, you can add lists (both numbered and unordered), links (by clicking on the anchor button), and much more.
Play around with the features to see what you can do, but my advice is to keep it simple.
Once you think you’re happy with your email, click the Test button in the top right of the editor. This will give you an idea of what the email will look like in your subscribers’ inboxes:
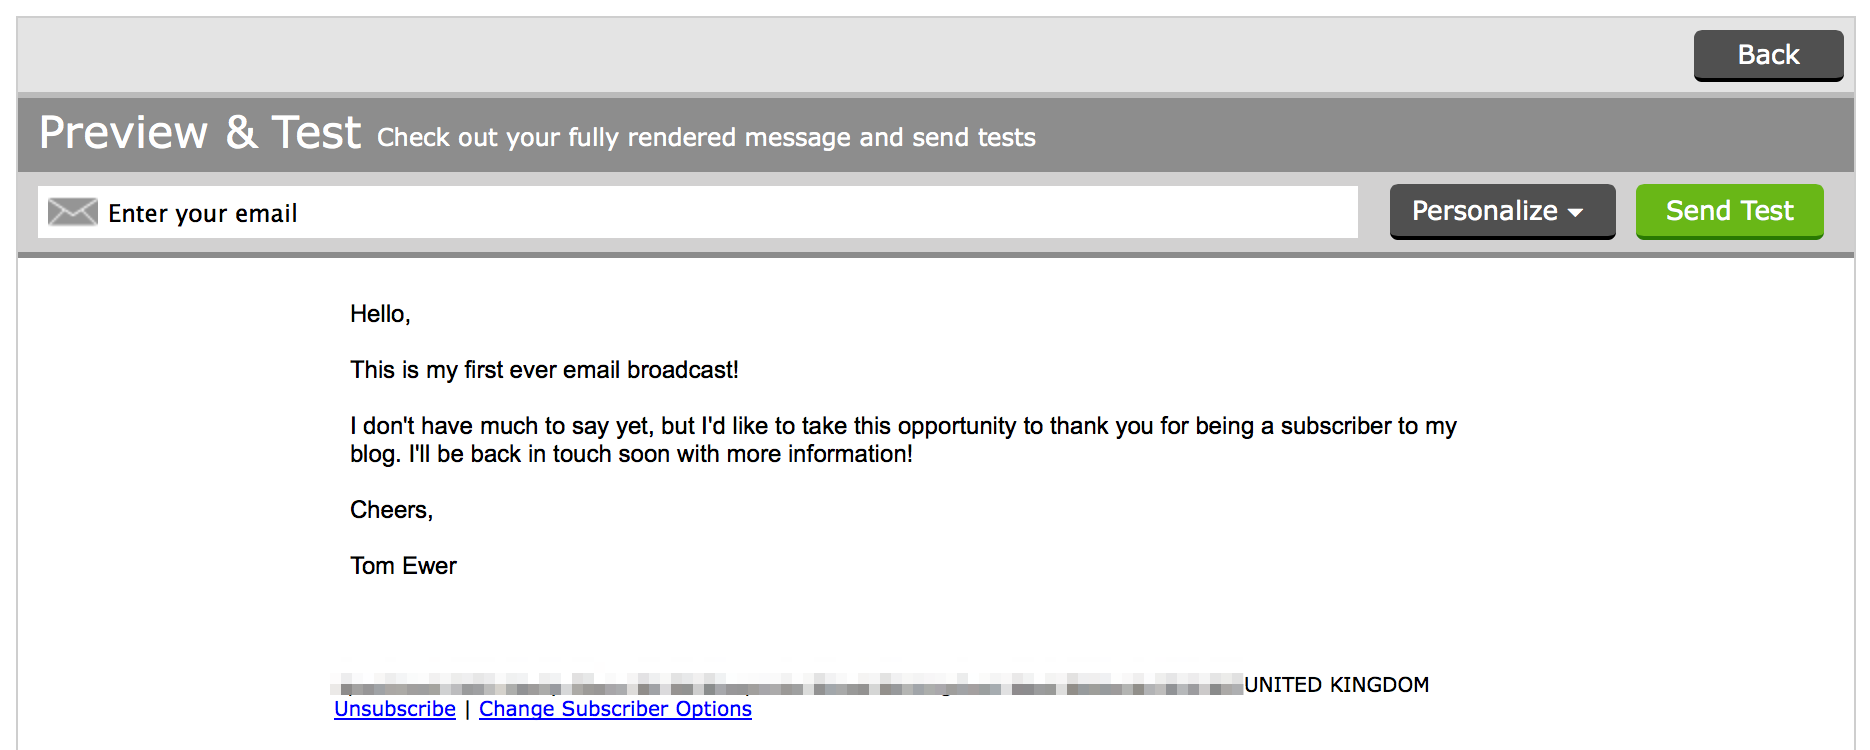
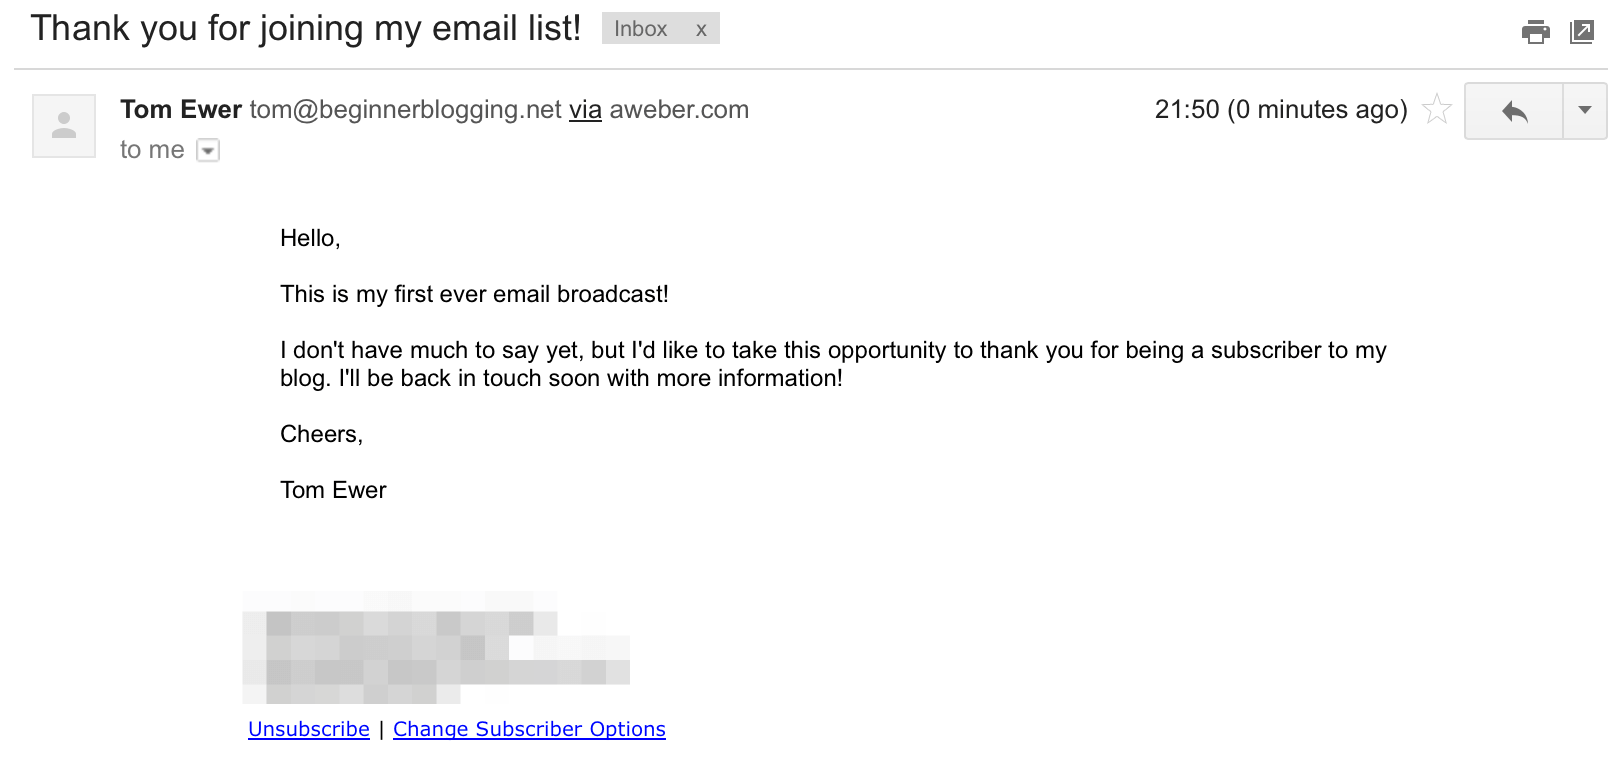
If you want to go one step further, you can send a test email to yourself to get the full experience – just enter your email and click the Send Test button:

An email should appear shortly in your inbox:
Once you’re sure you’re happy with the email, click the Next button at the bottom of the screen to continue.
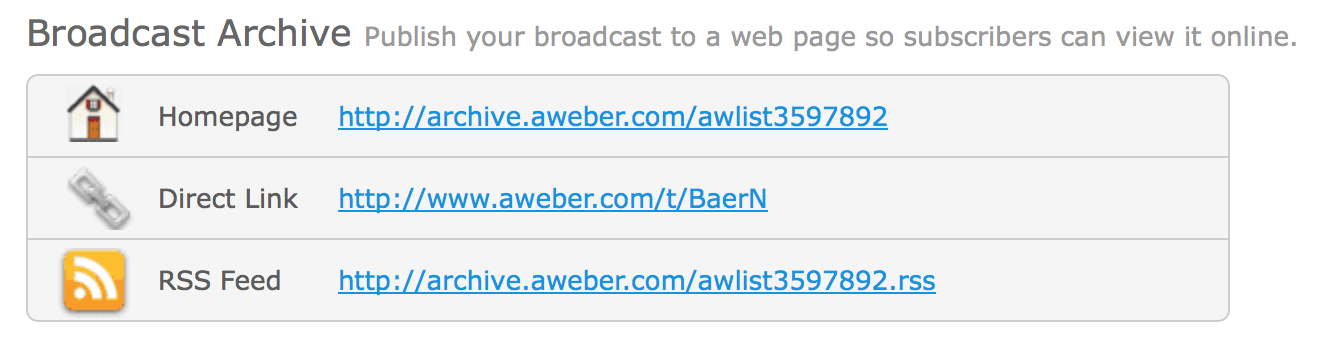
On the next page you have some sharing options. First, you can choose to archive your broadcasts online for posterity:
Second, you can choose to link your Facebook and Twitter accounts to AWeber and share your broadcast directly with them:
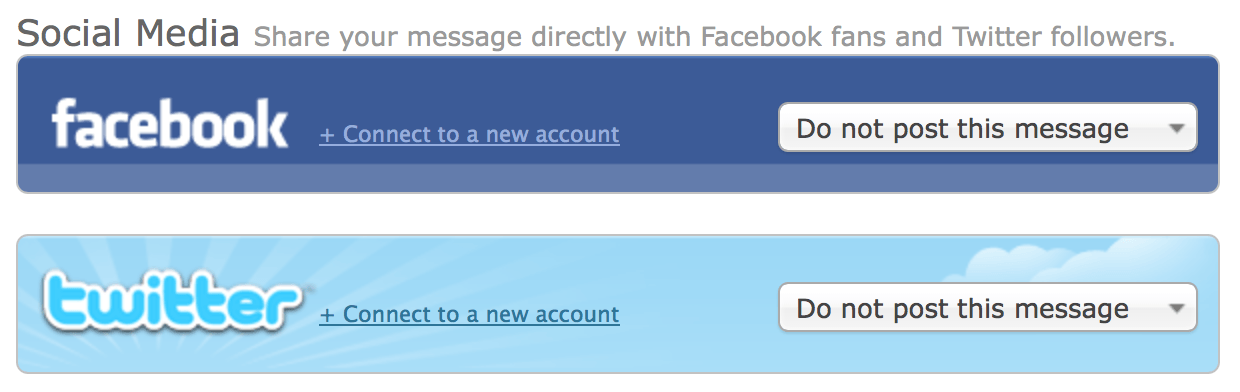
My opinion is that email broadcasts should be exclusive to your email subscribers, but whether you choose to share your broadcasts is entirely your decision.
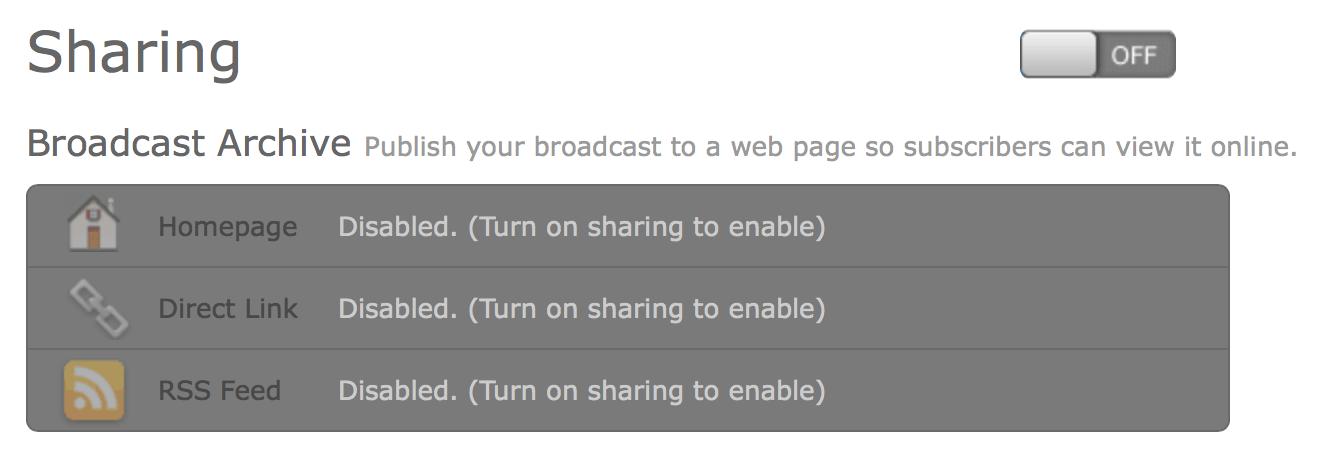
You can turn off all sharing features by toggling the on/off switch:
Once you’re finished on this screen, click the Next button in the bottom right.
The final step is to decide when your email will be sent and to whom it will be sent.
Your email will be sent to the list named under Send Options:
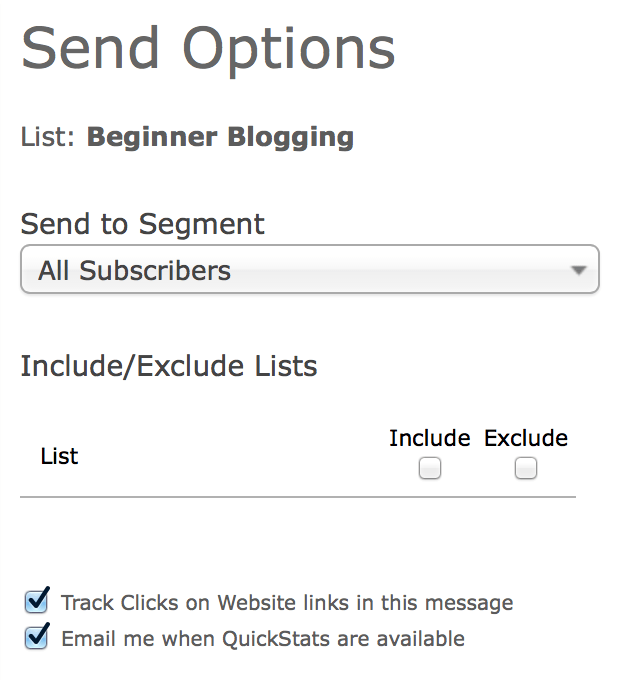
You have a few more options to check out. The first is to send the email to a particular segment of your list. There are a few segments available to you by default, mainly relating to how recently people subscribed. You can also create custom segments based upon a number of variables, but that’s something to tackle on another day.
You also have the option to include/exclude subscribers from other lists in your AWeber account. Since I only have the one list at the moment, there are no other lists to exclude or exclude.
Finally, you have the option to track clicks on links in your email (this is handy for determining click through rates) and receive ‘QuickStats’ (which is an email from AWeber telling you how your email has performed in terms of open and click through rates). Neither options are necessary, but might be useful for you. They certainly don’t hurt.
In terms of when the email is sent, you have two options:
- Schedule your email to Be Sent at a Later Time/Date
- Send your email straight away
Let’s tackle each option in turn.
1. Schedule Your Email to Be Sent at a Later Time/Date
If you want to send the email immediately, you don’t need to touch the Scheduler. If on the other hand you want to schedule your email, you need to click on the on/off switch at the top of the Scheduler:
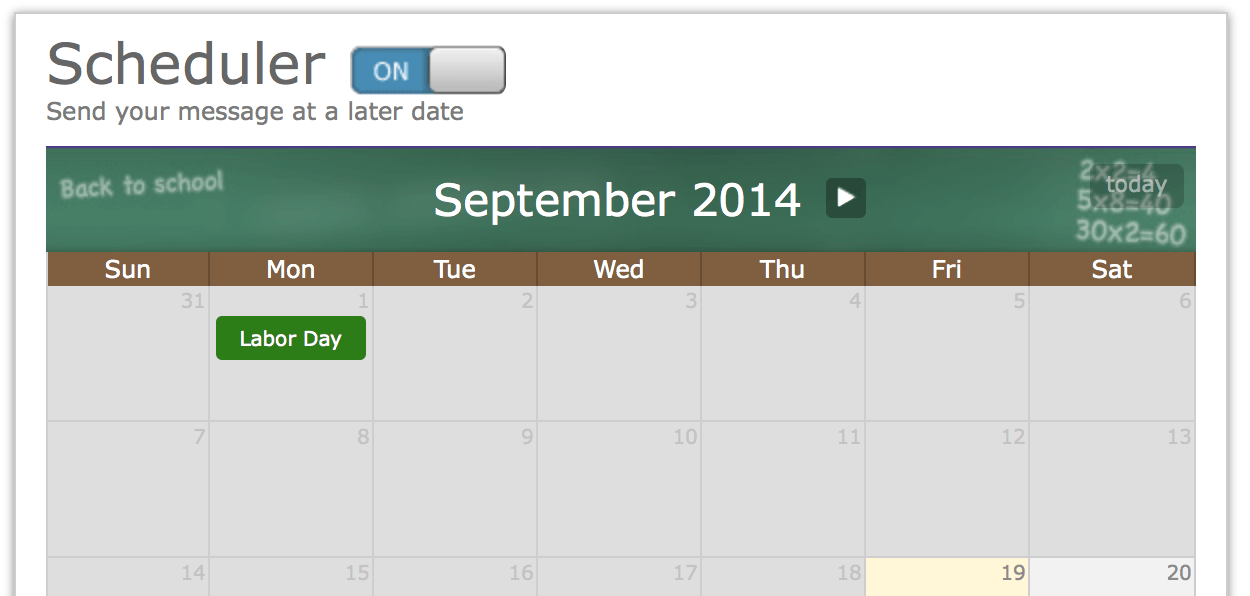
Scheduling your email is as easy as clicking on a day on the calendar and selecting a time from the pop up box:

Click the Set button when you’re finished. You’ll notice that the Save Message will have changed to confirm the scheduling:
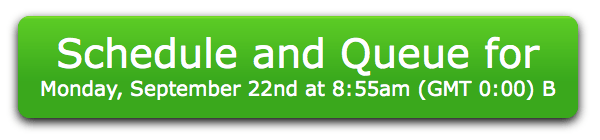
Once you click this button, your email will be scheduled and you’ll be good to go.
2. Send the Email Immediately
This step requires just three clicks.
First, click the Save Message button. You’ll be taken back to the main Broadcasts screen, where your draft email will be sat waiting:

All you need to do click the Send Now button followed by the Yes button to confirm, and your email will go out to every subscriber on your list. Depending on the size of your list, it may take some time for all of the emails to be sent.
My advice is to always send a test email to yourself before emailing your list. This gives you a final opportunity to re-read your email and check any links you’ve included. You can send a test email as per the interactions earlier in this tutorial, or by clicking the handy Send a test link under your email’s subject line.
You’re Done!
That’s all there is to it! Now you know exactly how to send a broadcast email out to your list.
You’re likely to repeat this process time and time again as you grow your blog, but never lose sight of the value of what you’re doing. Clicking that Send Now button can be the equivalent to contacting ten, a hundred, a thousand, ten thousand or even more people in one fell swoop. It can give you greater reach than you’ve ever had before.
If you’r