Free Blog Installation and Setup Service
Enter your email address below and we'll answer every question you have about blogging. We’ll even install and setup your blog for you when you’re ready to get started – completely free of charge. No catch, no strings attached.
I introduced Part 5 by explaining that themes affect a WordPress website’s look and feel rather than its functionality.
But with the look and feel of your site largely taken care of for the time being, now it is time to move onto how your site functions.
Gone are the days when most blogs were ‘static’ websites – effectively online journals – with no real dynamic functionality. These days, you can make your site do just about anything with the help of plugins.
A plugin is essentially an extension to WordPress’ default functionality. You can install an unlimited amount of plugins on your website (although in the interests of making sure your site loads quickly, I’d advise that you limit the plugins you install to only those that are necessary).
Curious about the possibilities? Well, here’s just a handful of things that you can create with WordPress and plugins:
- A community forum
- A paid membership site
- An e-commerce store
- An interactive Q&A site
- An online ‘app’
While we’re just going to be sticking with a simple blog in this course, there’s plenty you can do within the realm of blogging that you’re likely to find rather impressive.
Once you have finished this part of the Beginner Blogging course, you will be able to tool your blog up with the following:
- Comments spam protection
- Social sharing features
- Full website analytics (see how many people are visiting your site and much more)
- A contact form (so people can get in touch with you)
Let’s get cracking!
Finding and Installing Free WordPress Plugins
If you’ve been through Part 5 of this course, you’ll already know about the WordPress.org Theme Directory.
As such, it may not surprise you that there is also a WordPress.org Plugin Directory, which operates in much the same way.
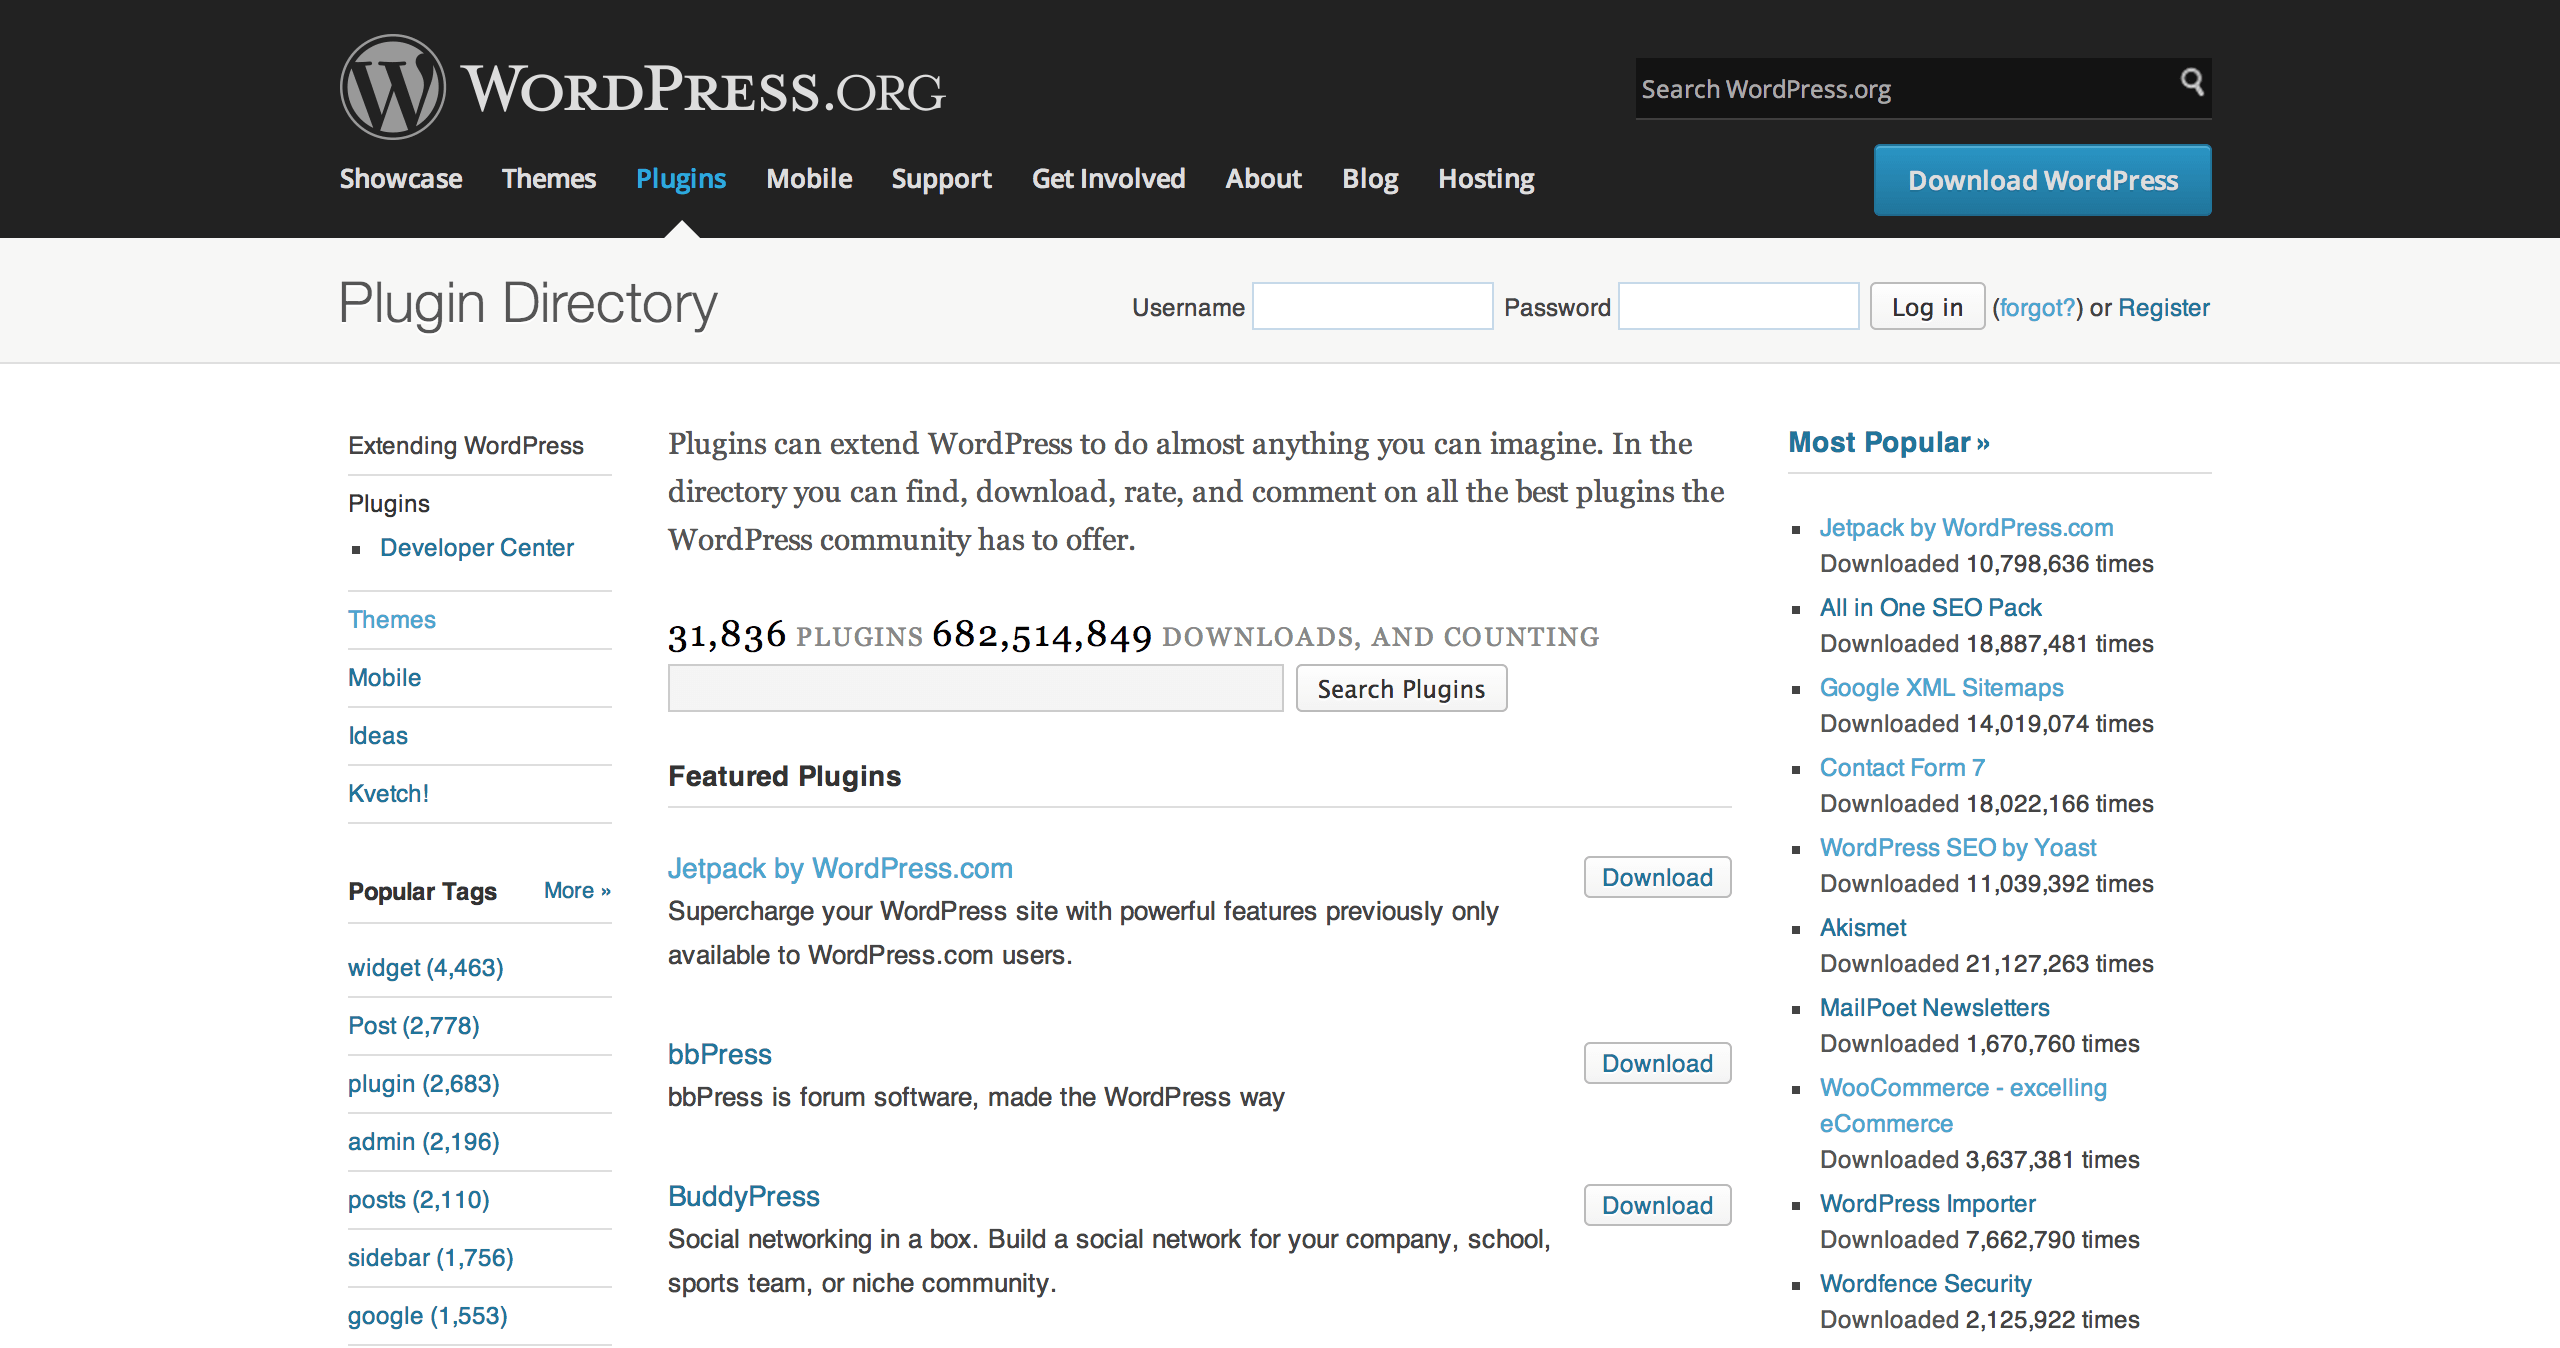
As with themes, I strongly advise that you only download free plugins from WordPress.org, as those hosted elsewhere may make a real mess of your site. There is no logical reason why an honest plugin developer wouldn’t upload their free plugin to WordPress.org, so it is sensible to assume that a ‘rogue’ plugin hosted elsewhere is not worth the risk in using.
There are over 30,000 free plugins currently hosted on WordPress.org, which gives you an awful lot to choose from. Fortunately, I can help you combat that feeling of being overwhelmed with my carefully curated lists of WordPress plugins (mainly free, some premium):
Feel free to take a look at those lists now, but before you get onto actually installing, activating and using those plugins, you’ll need to know how to. So let’s get straight onto that.
Let’s say you wanted to install Evergreen Post Tweeter, a plugin of mine that enables you to automatically tweet out links to old blog posts you have written.
First, let’s take a look at the plugin’s page on WordPress.org:
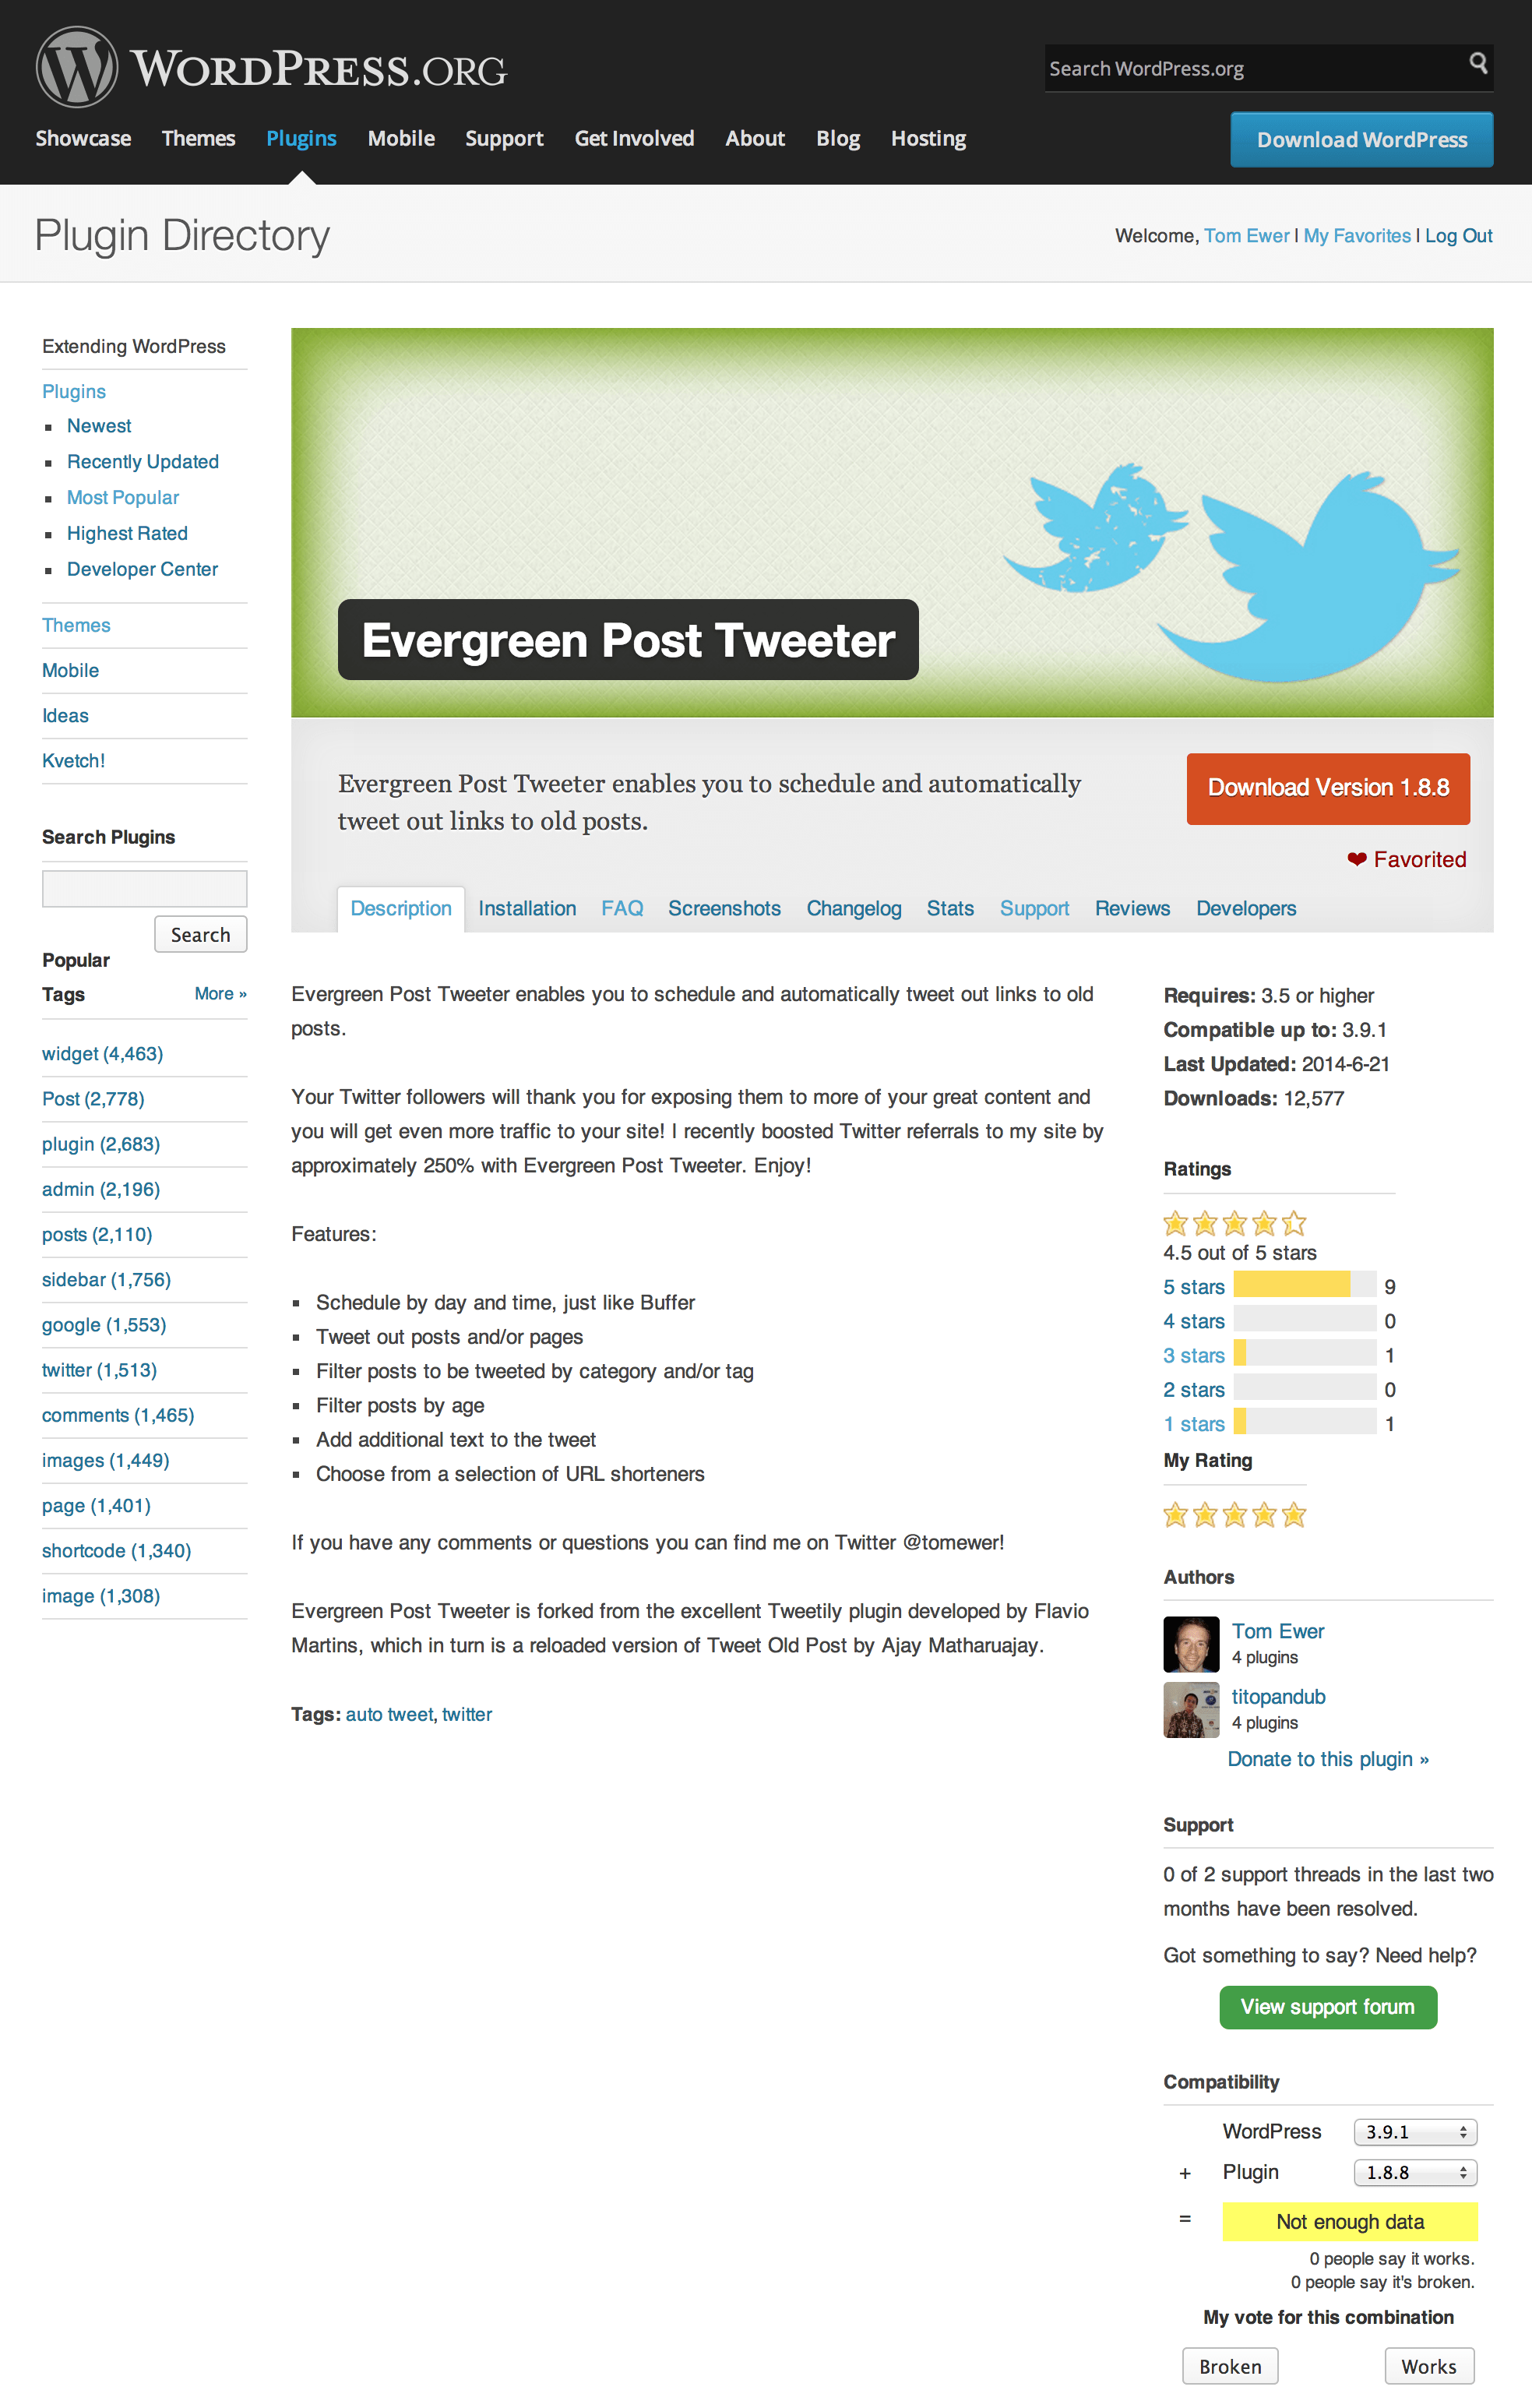
You’ll see the plugin’s name followed by a description.
You won’t ever need to Download a plugin from this screen as we’ll be uploading and installing them from within the WordPress Dashboard (we’ll come onto that shortly).
The list of data in the sidebar – Requires, Compatible up to, Last Updated and Downloads are all useful. As a rule of thumb, you should look for plugins that have been recently updated (within the last 6-12 months maximum) and have plenty of downloads (thousands or more). While there are plenty of great plugins out there with only a few downloads, it’s best to concentrate on the tried and tested plugins for now.
The Ratings section is especially useful – you should be looking for around 4 stars or more. It may be worth reading through some of the lower rated reviews (by clicking on the “1 stars” link, for example) to see why the plugin has received poor ratings. You shouldn’t necessarily take low ratings at face value – some WordPress users will leave 1 star reviews when the plugin works perfectly well and the developer is at no fault.
The Support section will give you an idea of what kind of issues people are facing and how responsive the plugin’s developer is.
Finally, the Compatibility section will tell you if the plugin is compatible with any given version of WordPress (by default, the most recent version). This is a ‘crowdsourced’ feature – i.e. users of the plugin mark plugins as compatible or otherwise.
Let’s assume that you want to install and activate Evergreen Post Tweeter on your blog. The process is a piece of cake and can be repeated for any plugin available to download from WordPress.org.
Log into your WordPress Dashboard and navigate to Plugins > Add New from the sidebar. You’ll be taken to the Install Plugins screen where you can search WordPress.org:
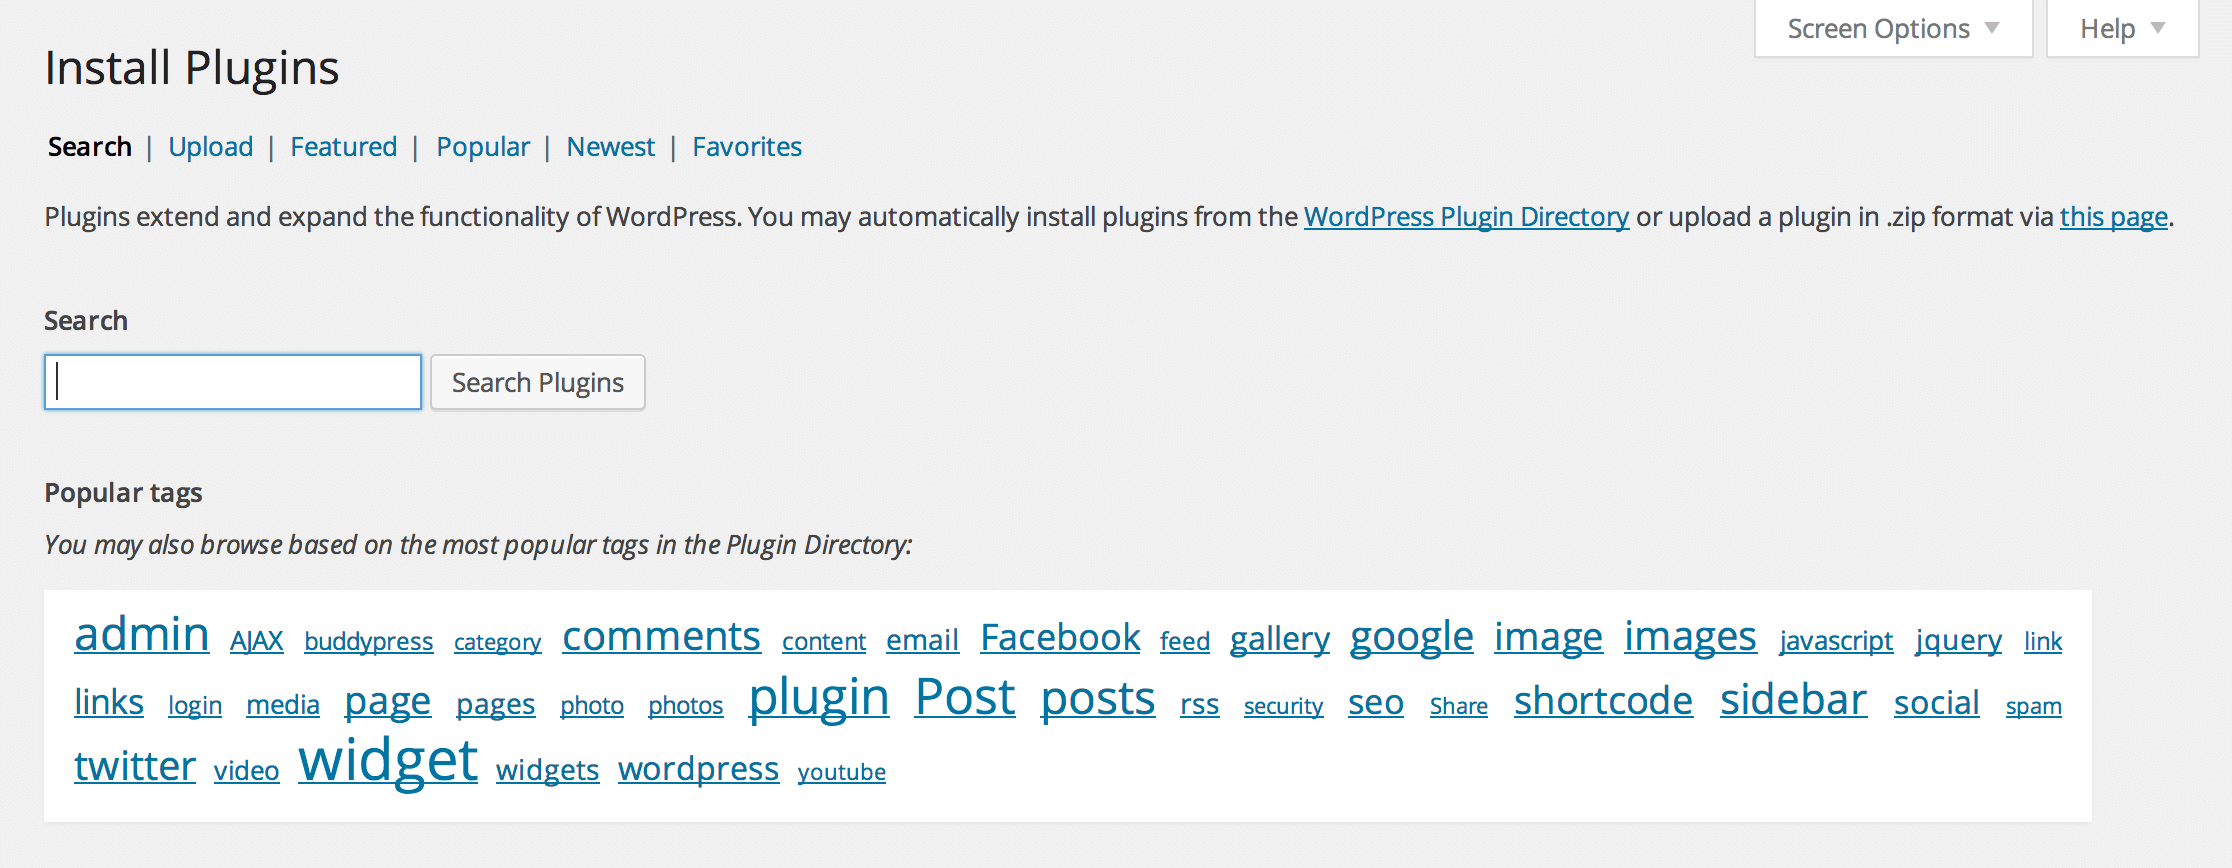
You can ignore the various links on this screen – they’re not particular useful. Besides, we already know what we are looking for. Enter “evergreen post tweeter” into the search box and click on Search Plugins. The next screen will return a list of matching plugins:
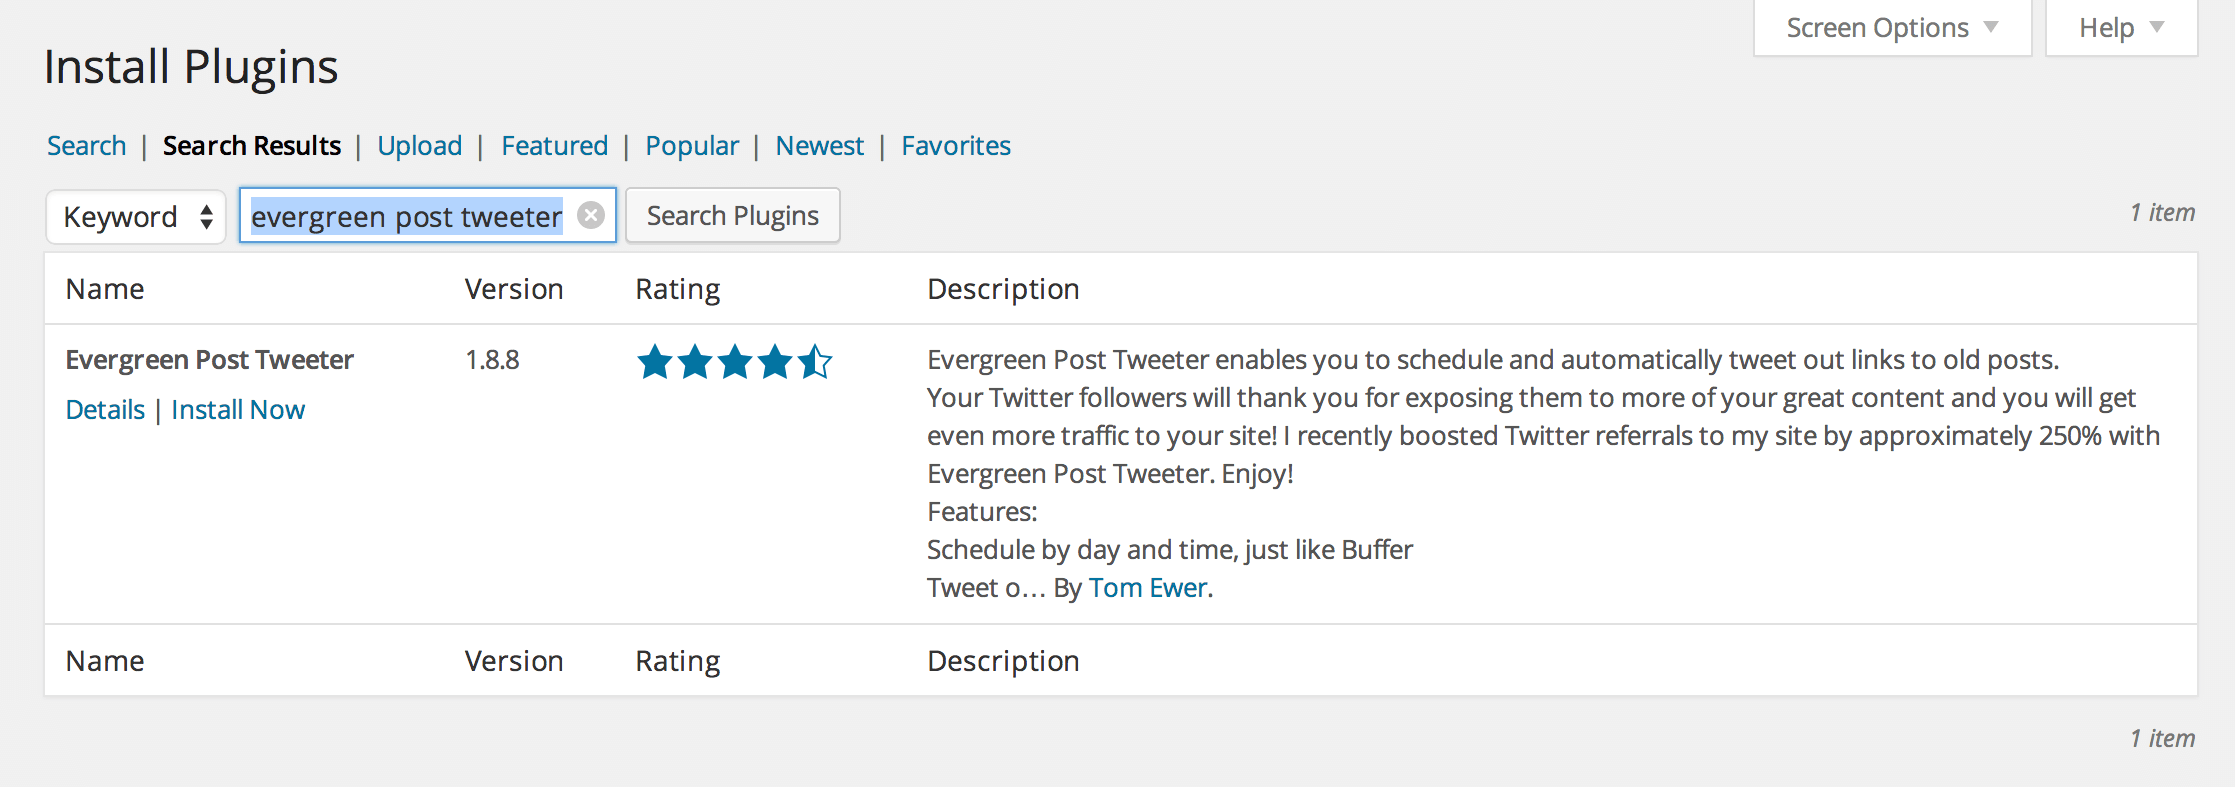
In this case there is only one matching plugin, but a more generic term (like “comments” or “SEO”) would return multiple results.
Clicking on Details will bring up a screen that contains the same information we originally saw on the plugin’s WordPress.org page. So if you want to remind yourself of what the plugin does, how well rated it is, etc., you can do so here.
Once you’re ready, click the Install Now button and click on OK when the confirmation box appears:
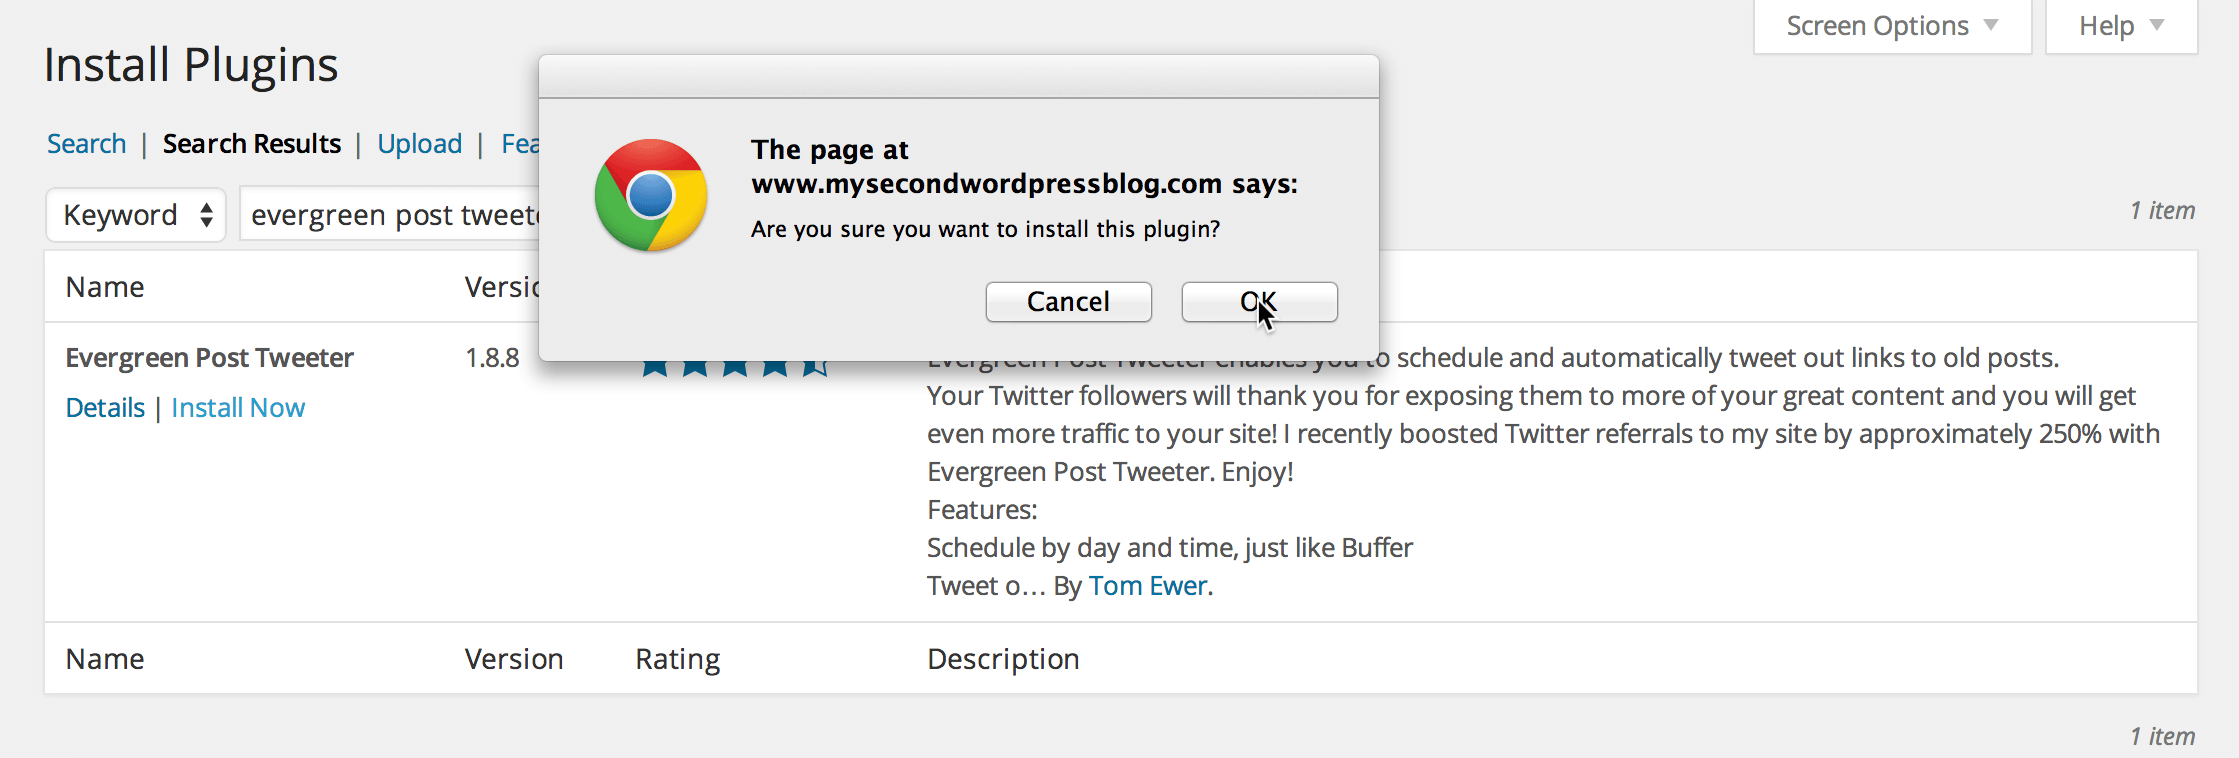
(Don’t worry if you don’t actually want to use this plugin – I’ll show you how to uninstall it in a moment.)
At this time the plugin will have been installed on your site but not activated – i.e. it won’t currently affect the functionality of your site. You need to click Activate Plugin on the following screen to get the plugin up and running.
Go ahead and do that now – it won’t actually do anything at this stage, as the plugin requires setting up before it does anything.
You’ll be sent to the Plugins screen where you will now find that Evergreen Post Tweeter is installed and activated:
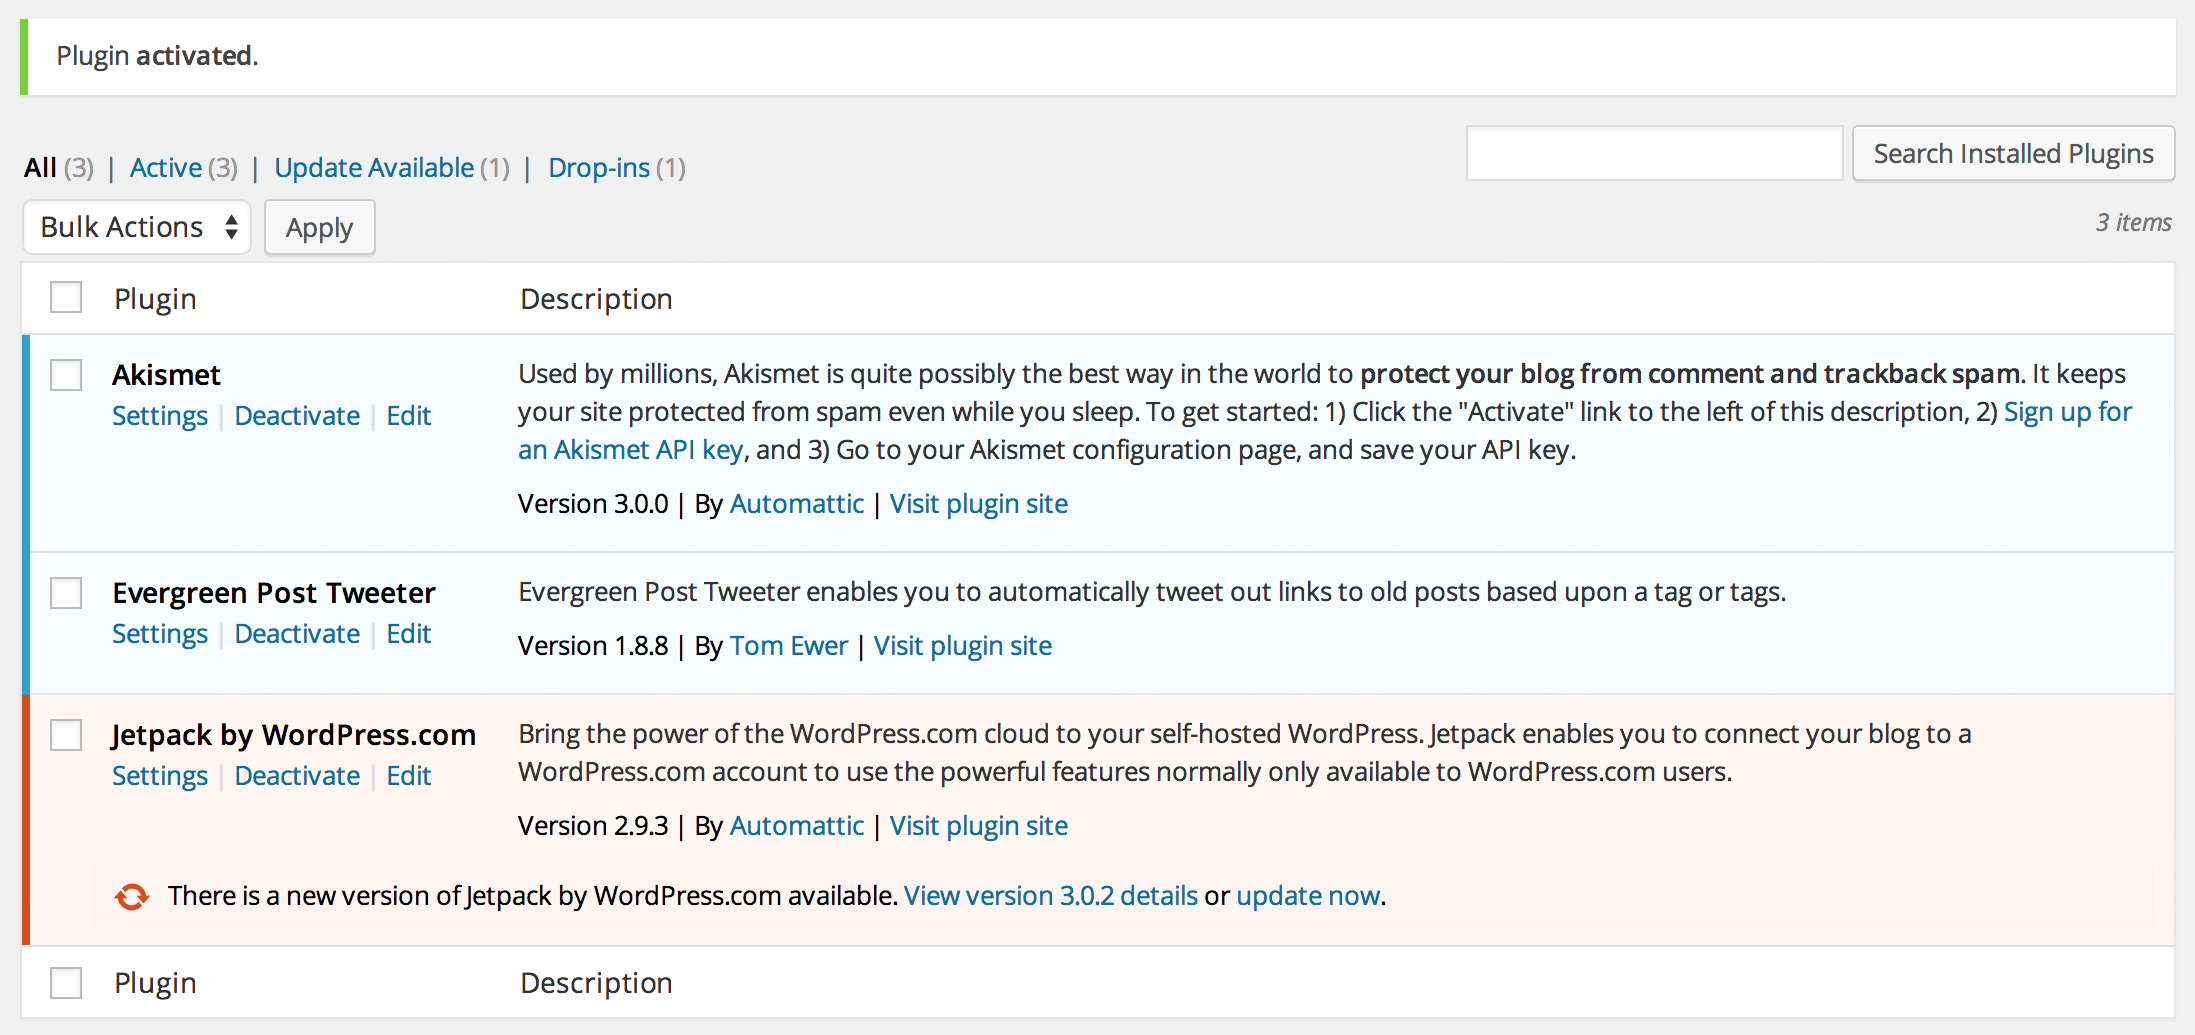
That’s it! With the plugin now installed, you would go onto set it up as necessary via Settings > Evergreen Post Tweeter. (Most plugin settings pages are contained within the Settings menu, although sometimes they get their own slot in the sidebar.)
Uninstalling the plugin is easy. In fact, if you’ve been following the course so far, you will have already uninstalled a couple of plugins when completing Part 3. Go back there to remind yourself how to do so (if necessary) and uninstall Evergreen Post Tweeter.
That’s It!
You are now free to install and configure all of the free WordPress plugins available to you. Here is that plugins list I have for you again: The Best WordPress Plugins Available.
You should be able to find just about everything you need within the above list, but if you have a specific need, please don’t hesitate to get in touch and I’ll do what I can to help.
With the above said, my advice to you is to go easy with plugins. They can get pretty addictive and can ultimately serve as a distraction from what really matters – getting your content in front of people. Furthermore, the most plugins you have installed on your site, the slower it will load and the more opportunities there are for something to go wrong.
Have fun!