How to Install and Activate Jetpack on Your WordPress Blog
by Andrew Urevig on
 Blogging thrives on interaction, which is why you should offer a few different ways for readers to talk to you.
Jetpack is a plugin that comes bundled with WordPress. However, that downplays its importance.
While it is only one plugin, Jetpack includes 30 distinct features that could each fill a “normal” plugin of their own. These features cover a range of goodies–from analytics to social media to contact forms and far more–that can enhance your blog.
Jetpack is, quite simply, the ultimate plugin for WordPress. Here’s how you can install and activate it right now.
How to Install and Activate Jetpack on Your WordPress Blog
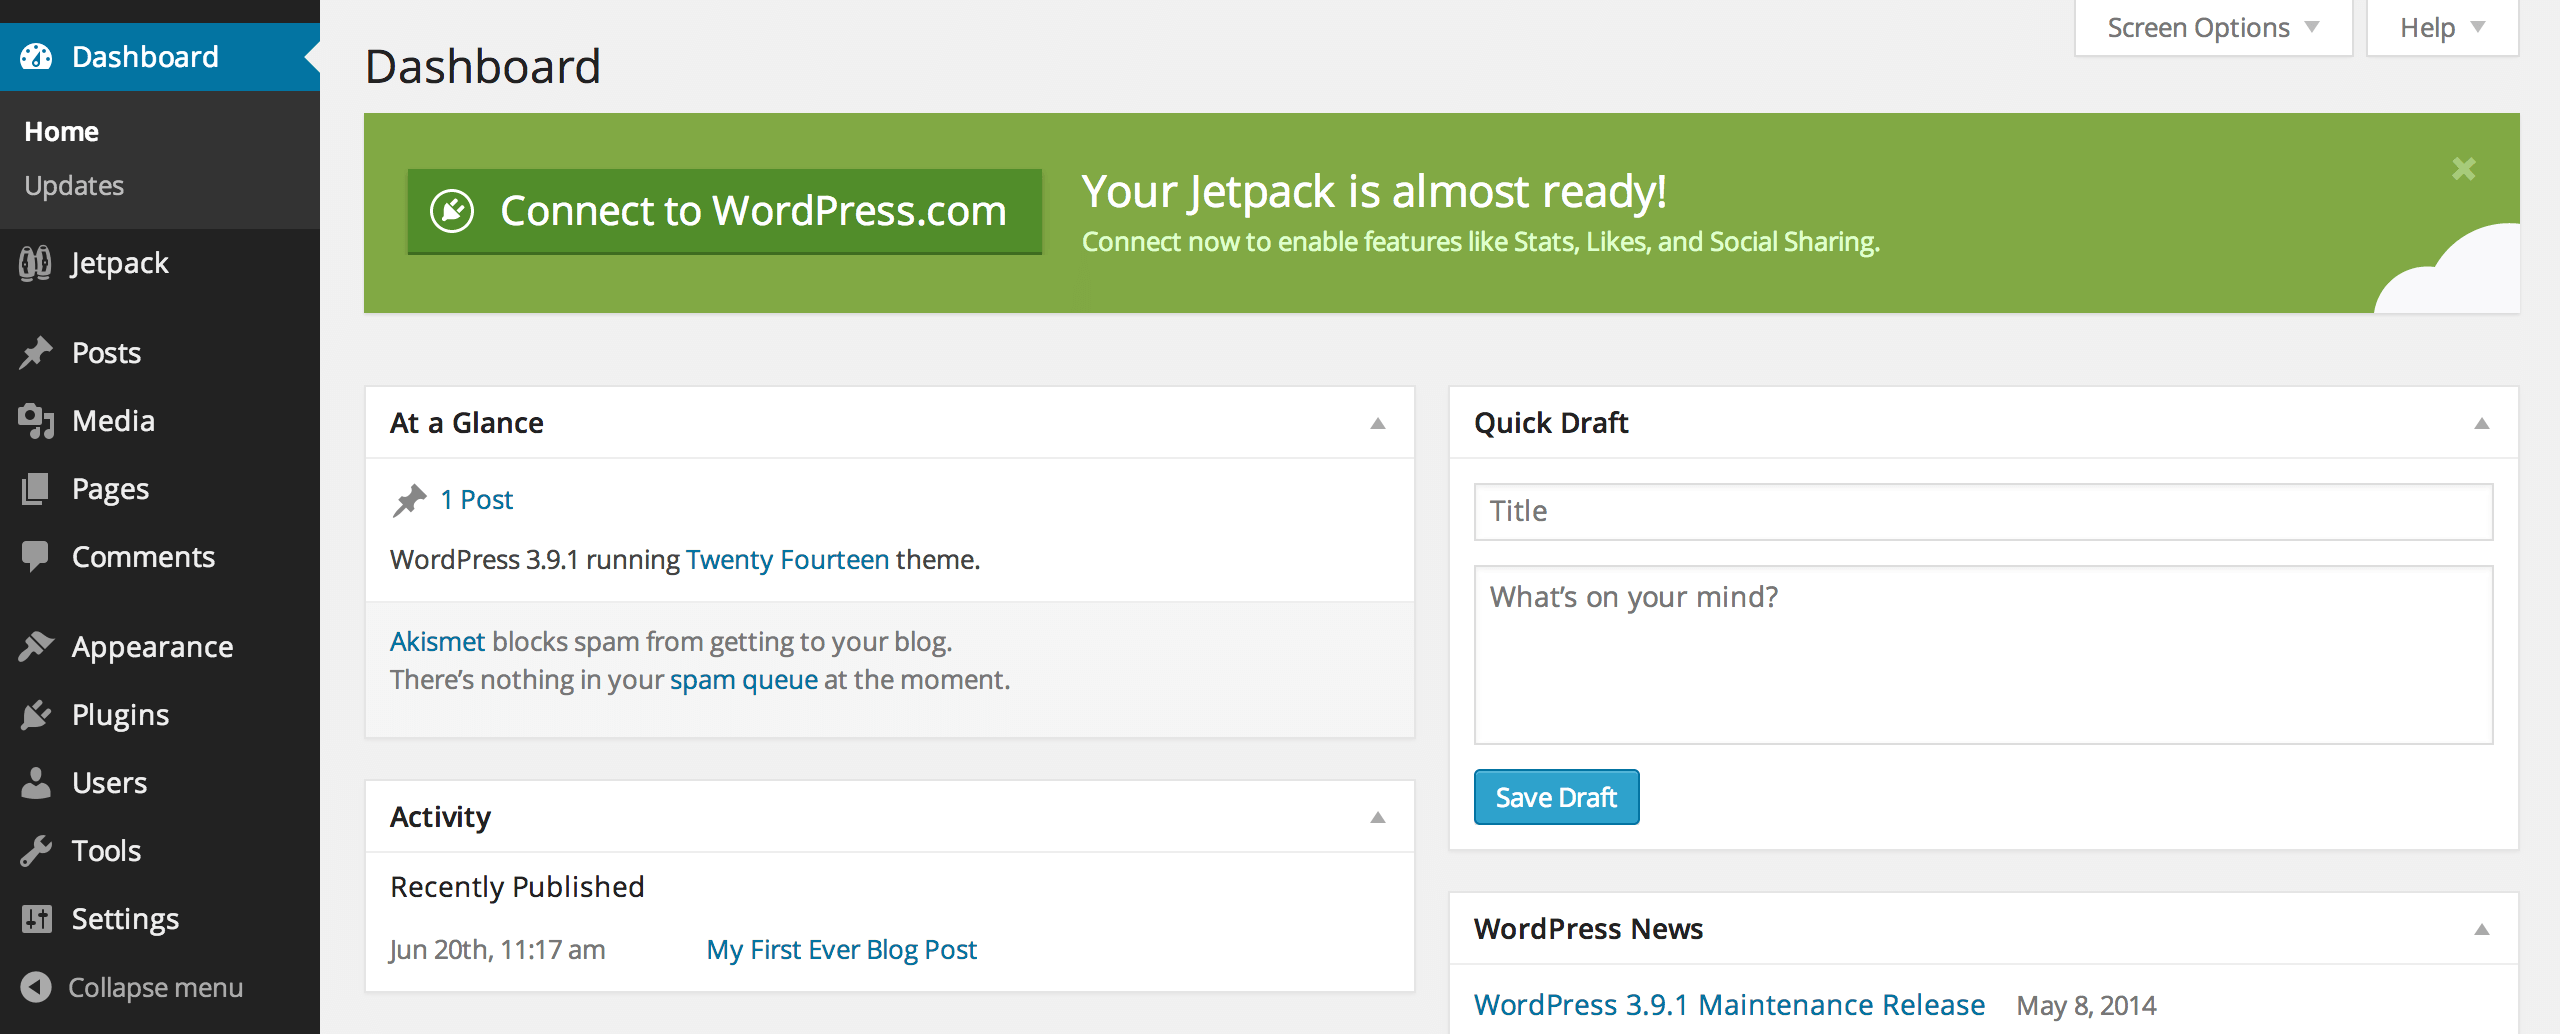
Log into your WordPress Dashboard. You’ll see a notification to connect to WordPress.com in order to enable Jetpack’s functionality:

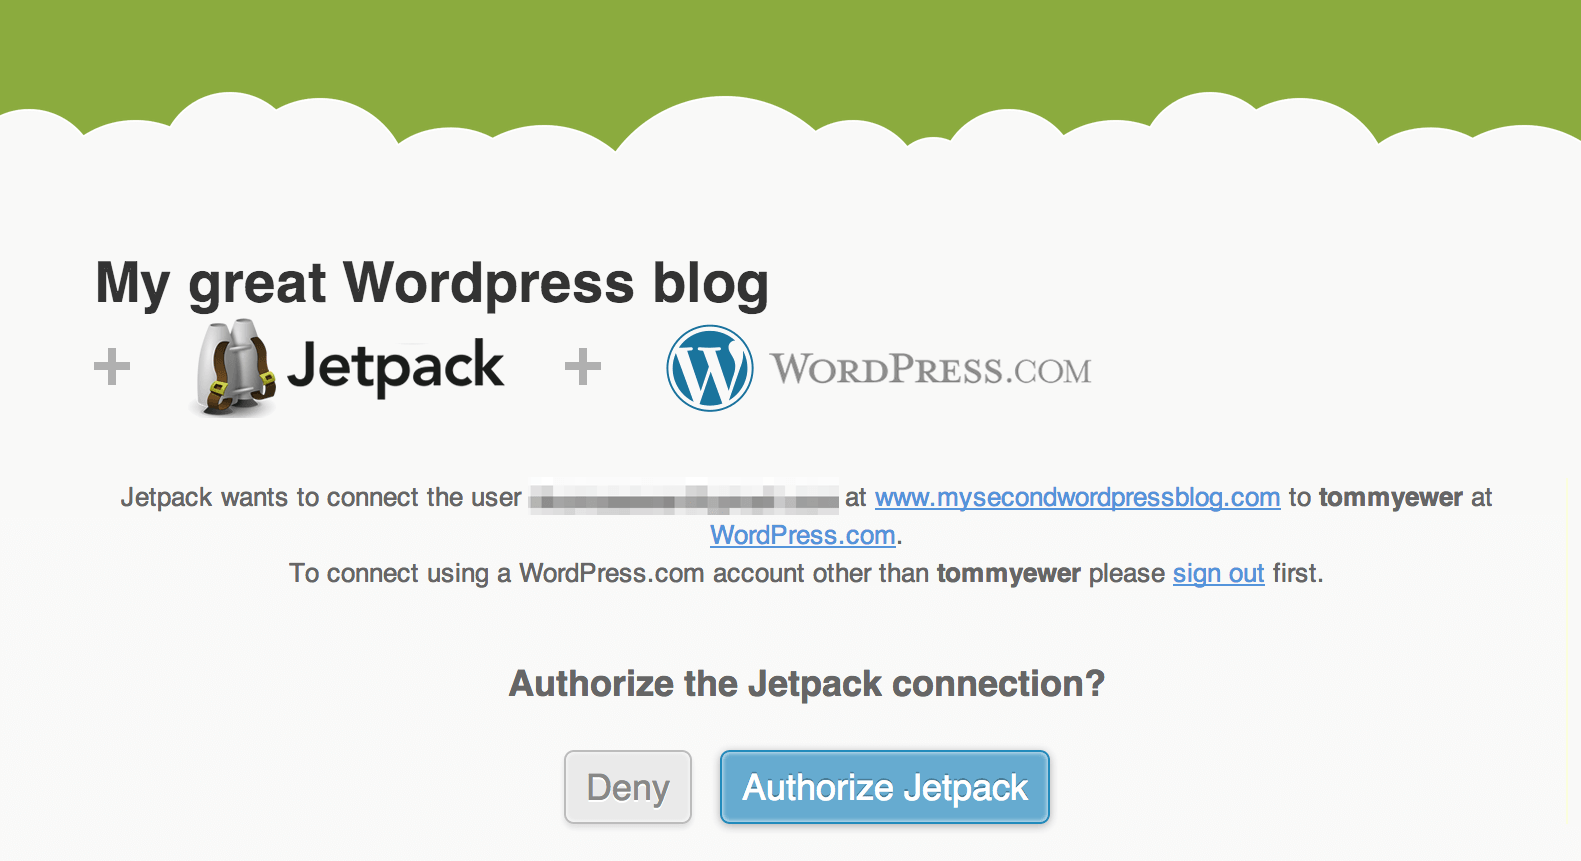
Click on the Connect to WordPress.com button, then Authorize Jetpack on the following page:

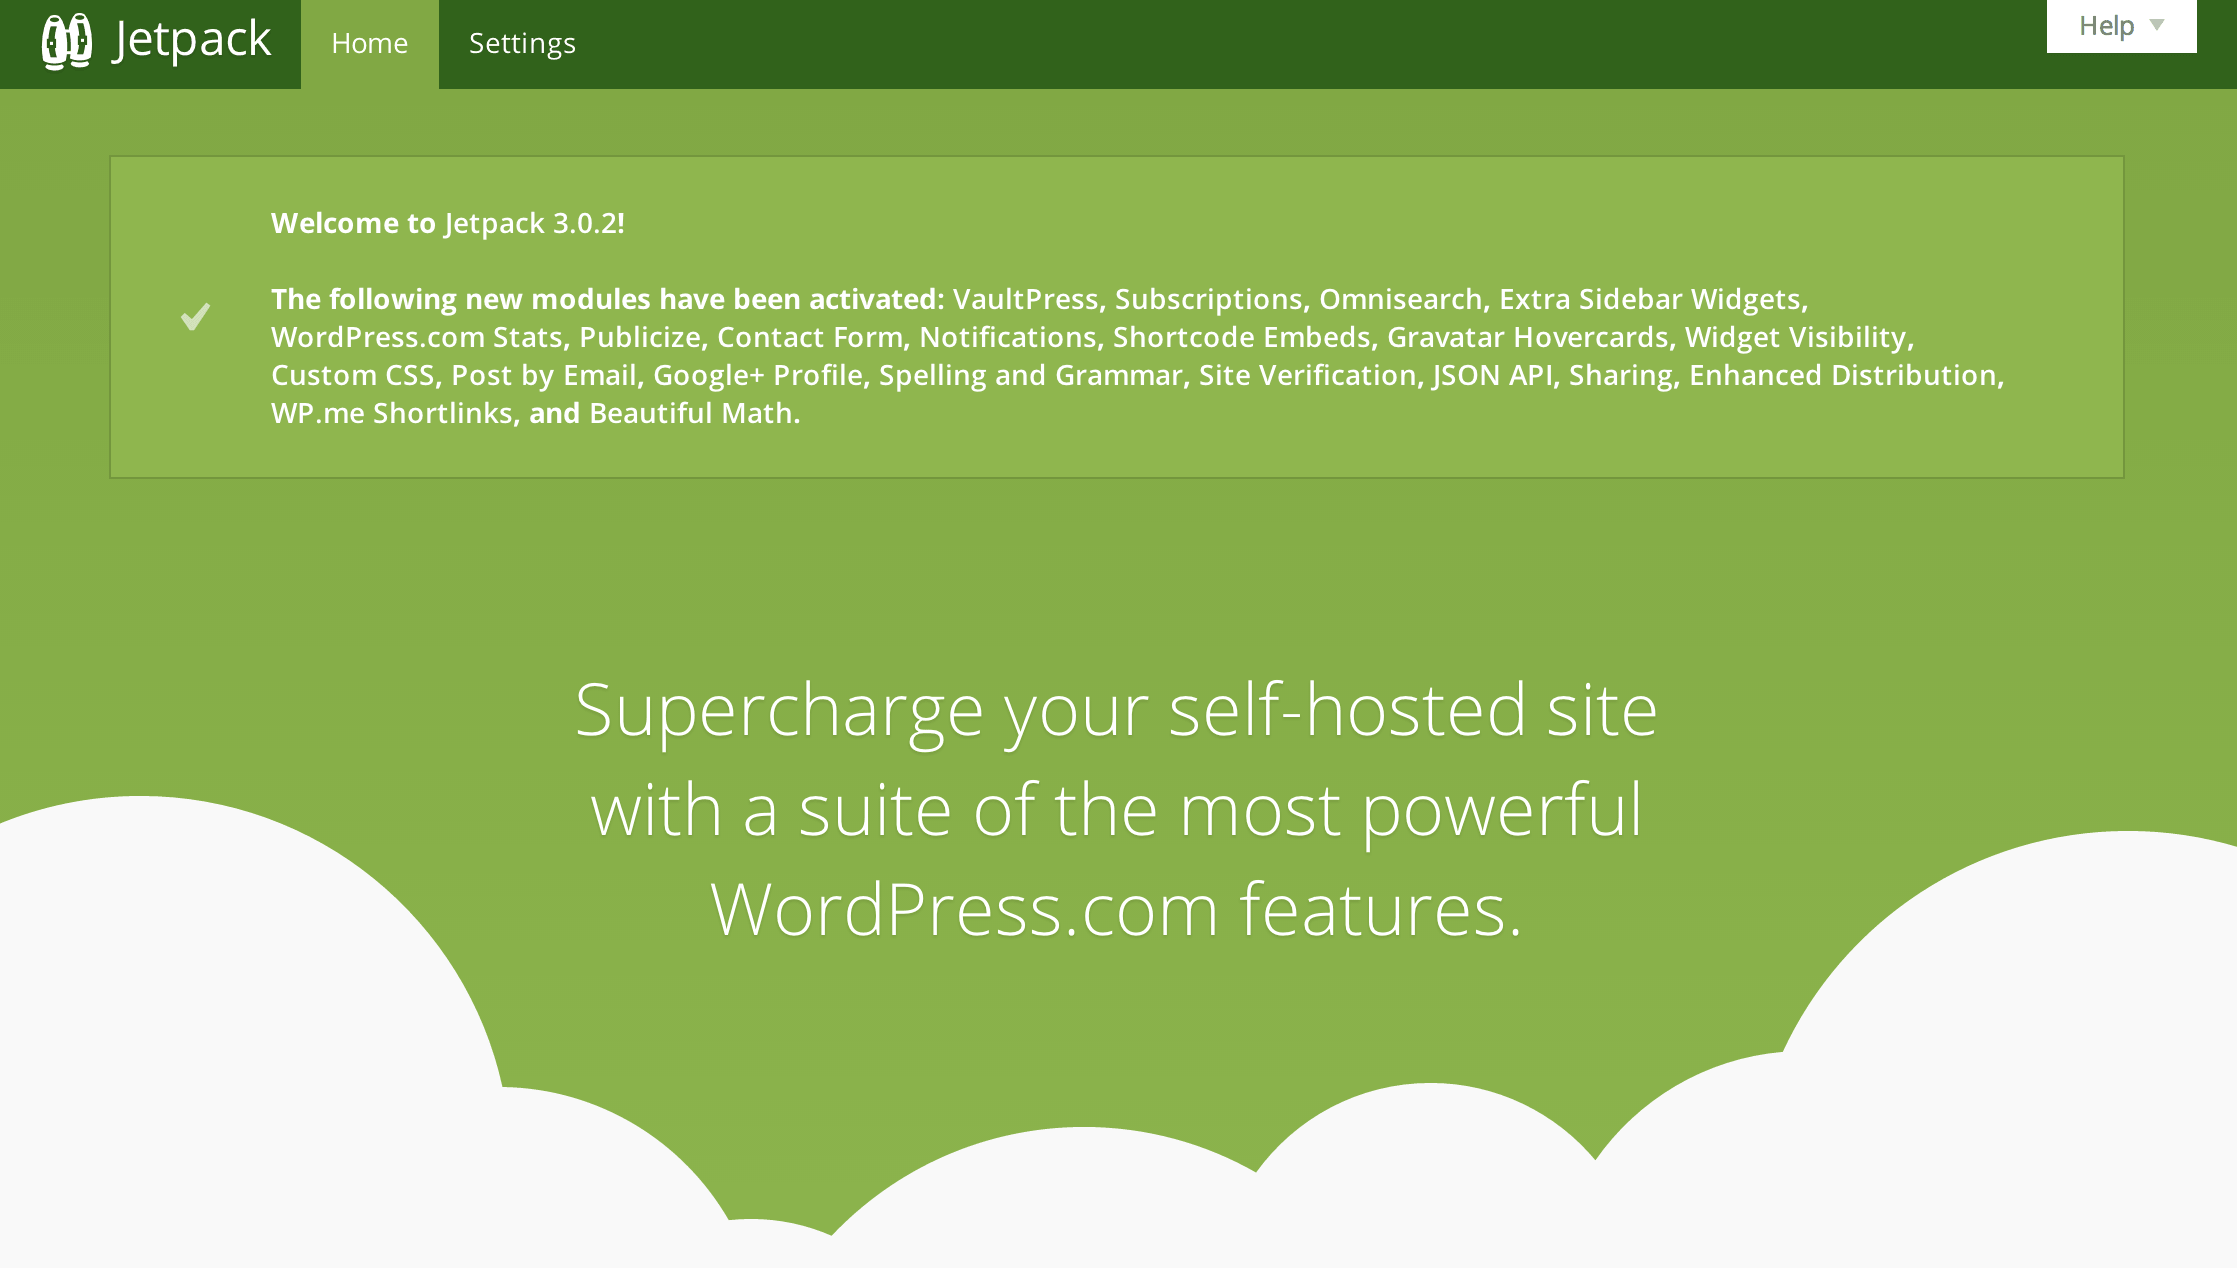
After a moment or two, Jetpack will be authorized, and you will be brought to the Jetpack welcome screen back on your WordPress Dashboard:

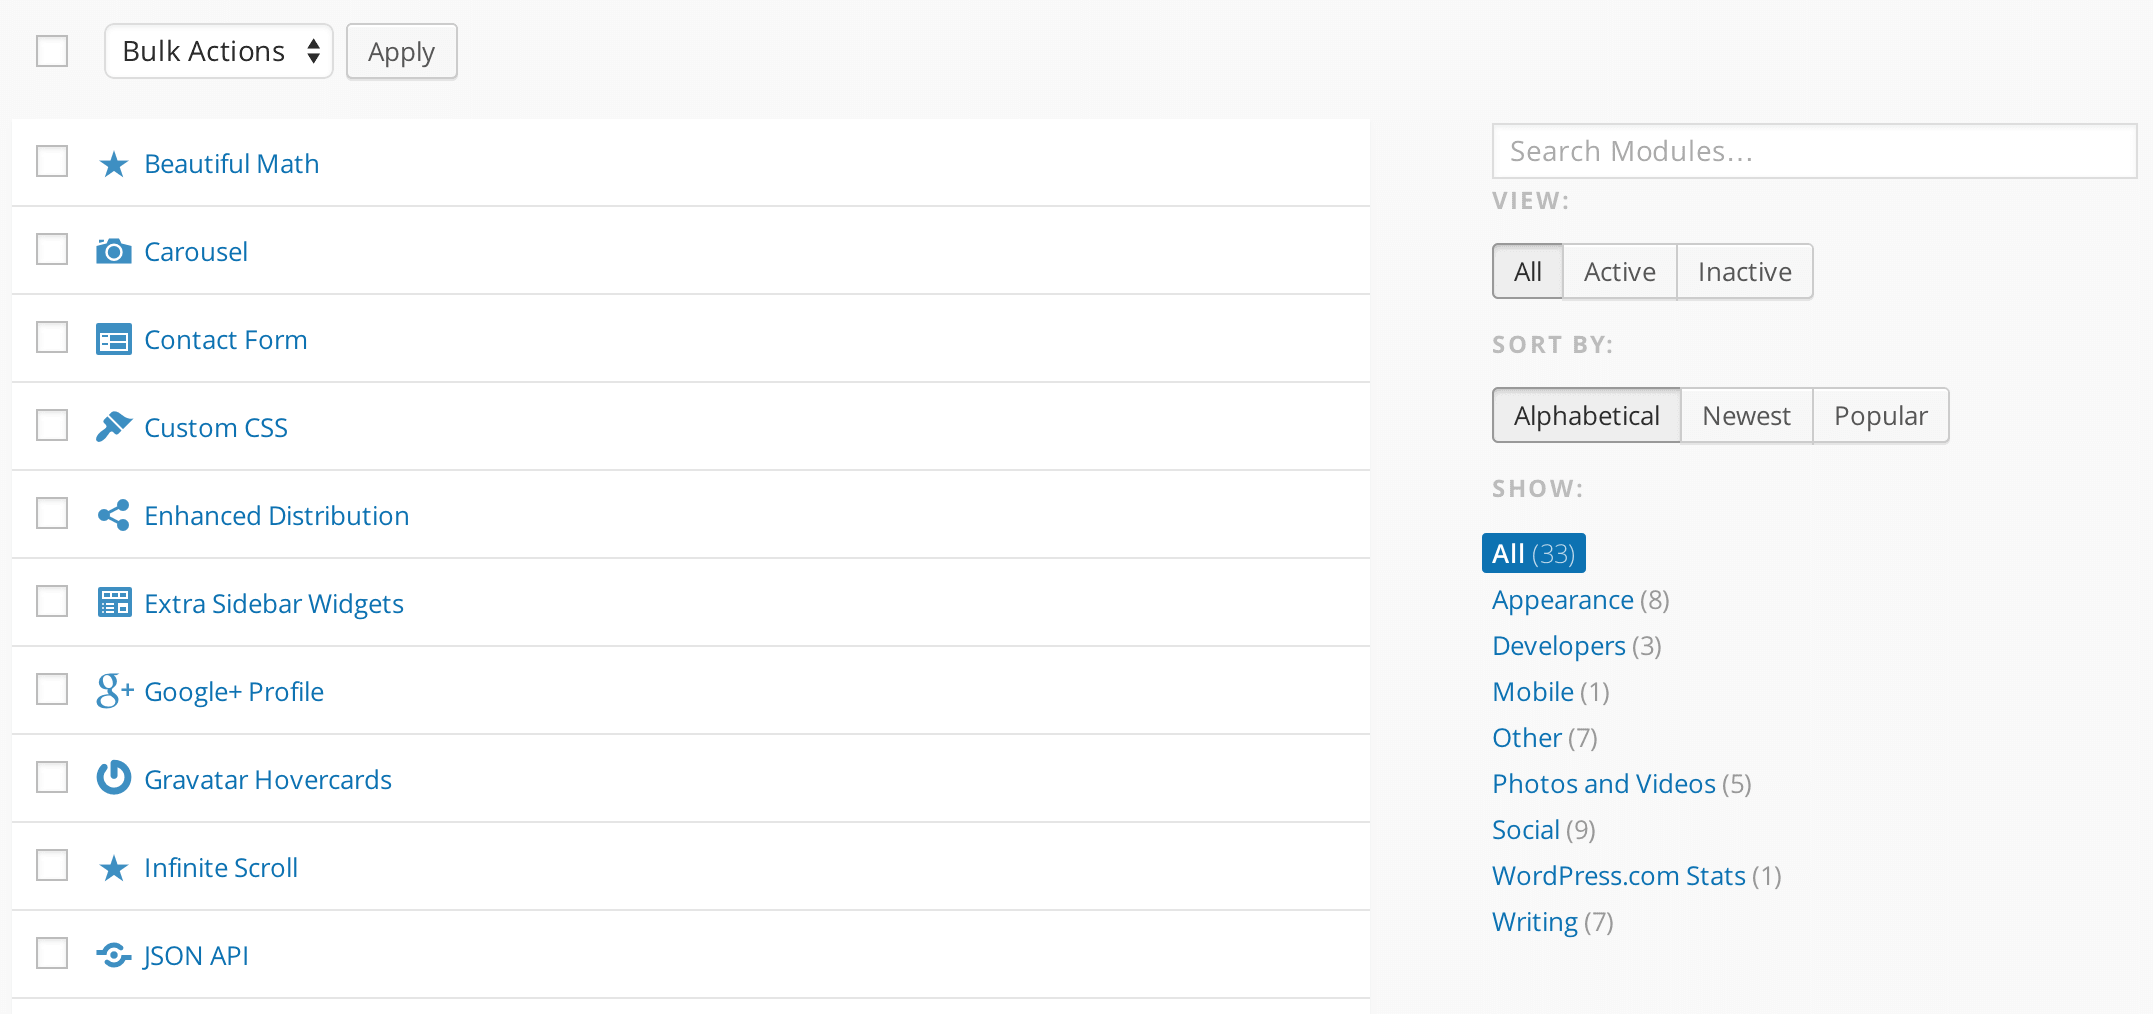
Click on the Settings tab at the top of that screen. You will be presented with a complete list of the modules that Jetpack consists of:

That’s it! Jetpack is running on your WordPress blog. The only thing left to do is activate the modules that you need to use.