How to Signup to AWeber and Create Your First Email List
by Tom Ewer on
![]() In my opinion, AWeber is the best premium email marketing service provider around.
In my opinion, AWeber is the best premium email marketing service provider around.
I used AWeber for all of my blogs, including (of course) this one. I use them because they are reasonably priced and offer the best functionality for bloggers. The first month’s subscription is just $1, there is no tie in, and there is a 30 day money back guarantee for your complete peace of mind.
If you’re wondering why you should choose AWeber over a free option (such as Jetpack’s Subscriptions module) read our post on the pros and cons of premium versus free email marketing services.
Once you’re done with that and you’re ready to get started with AWeber, keep reading!
How to Signup to AWeber
Click here to access the AWeber homepage and click on the Get Started For $1! button:
On the next page you’ll start by selecting a pricing plan:

I recommend that you start with the default monthly option. While you do save money with the quarterly and yearly options, it’s better not to be tied into anything longer than a month to start with. You can always upgrade when you’re ready in the future. (I have a yearly plan because I know I’ll be with AWeber in the long term, but I started out with a monthly plan.)
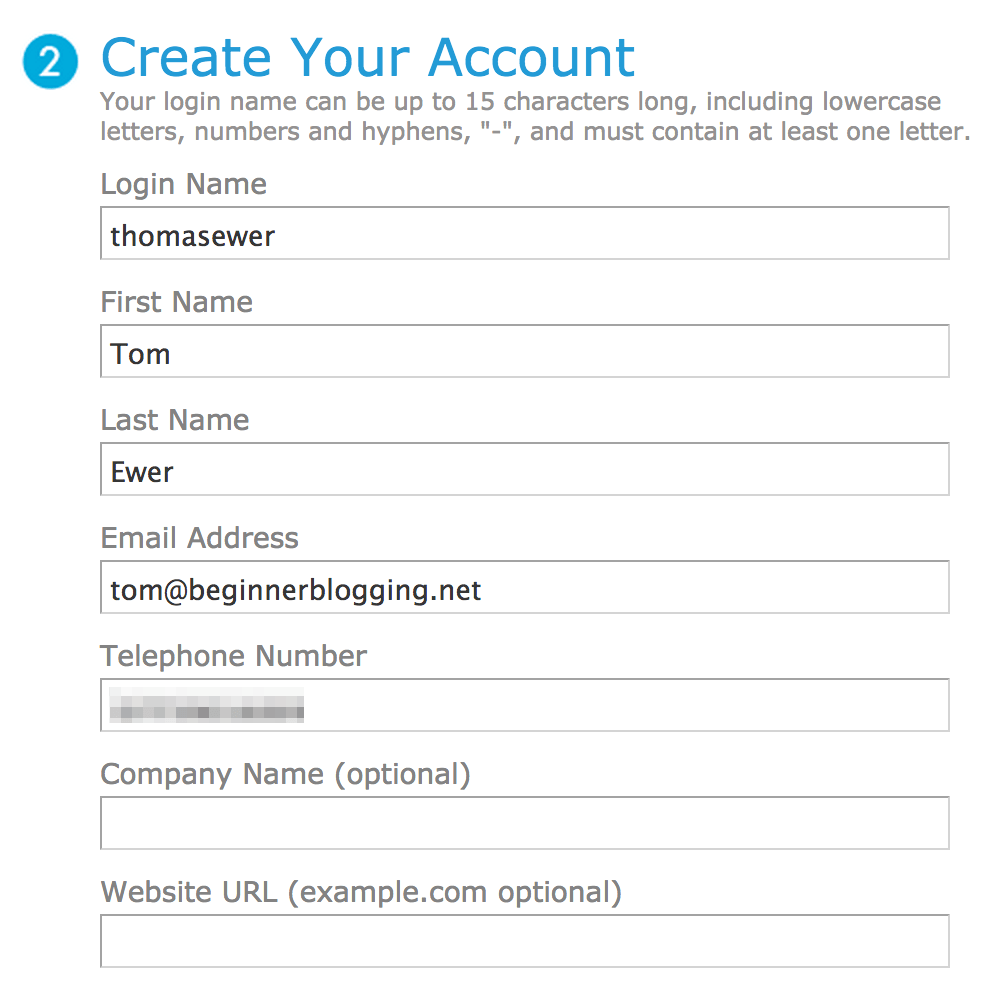
Next you’ll need to enter some basic account information:
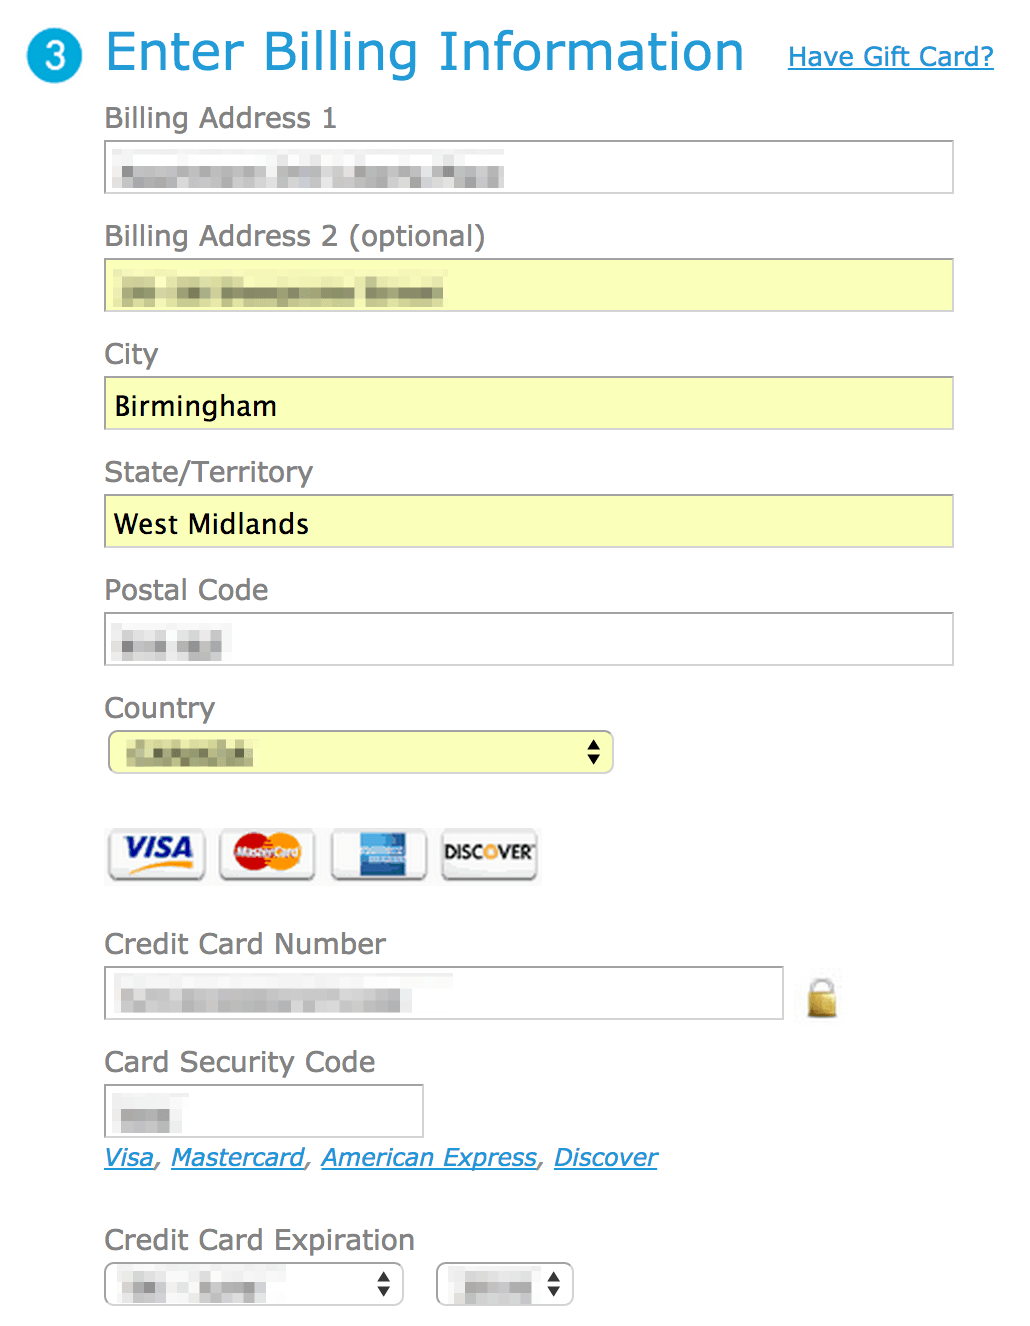
Followed by your billing information:
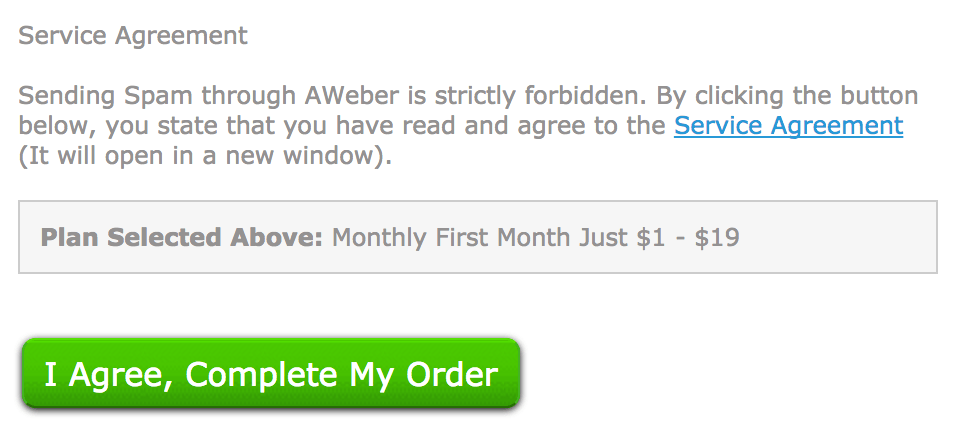
Finally, read through the service agreement (if you would like), double check the pricing plan you have selected, and click on the green button:
On the following page you may receive an offer for a list-building guide:
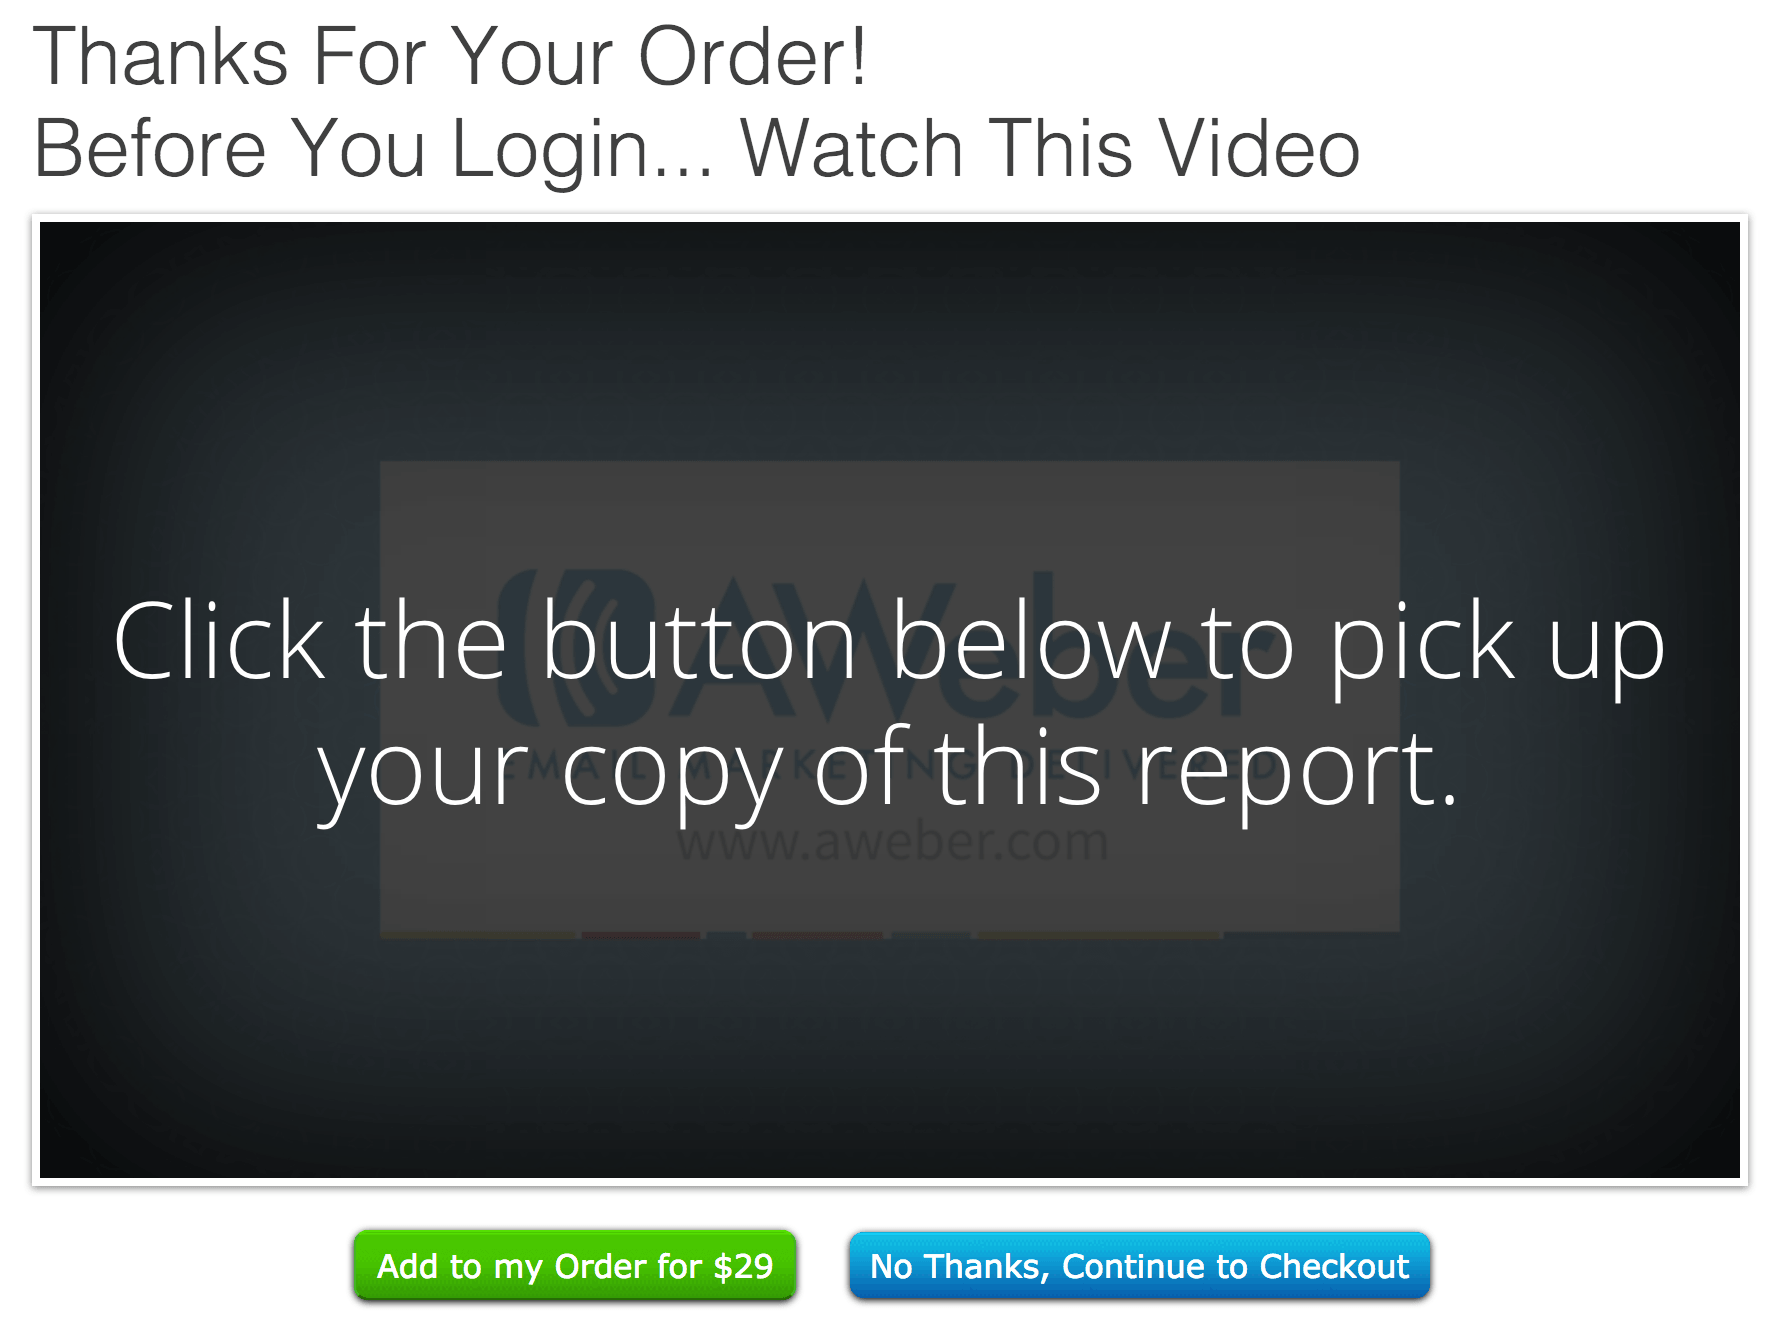
You don’t need this, but it might be worth checking out. There is a full money back guarantee if you don’t find it useful. It’s up to you!
I’m going to continue by clicking on the No Thanks, Continue to Checkout button.
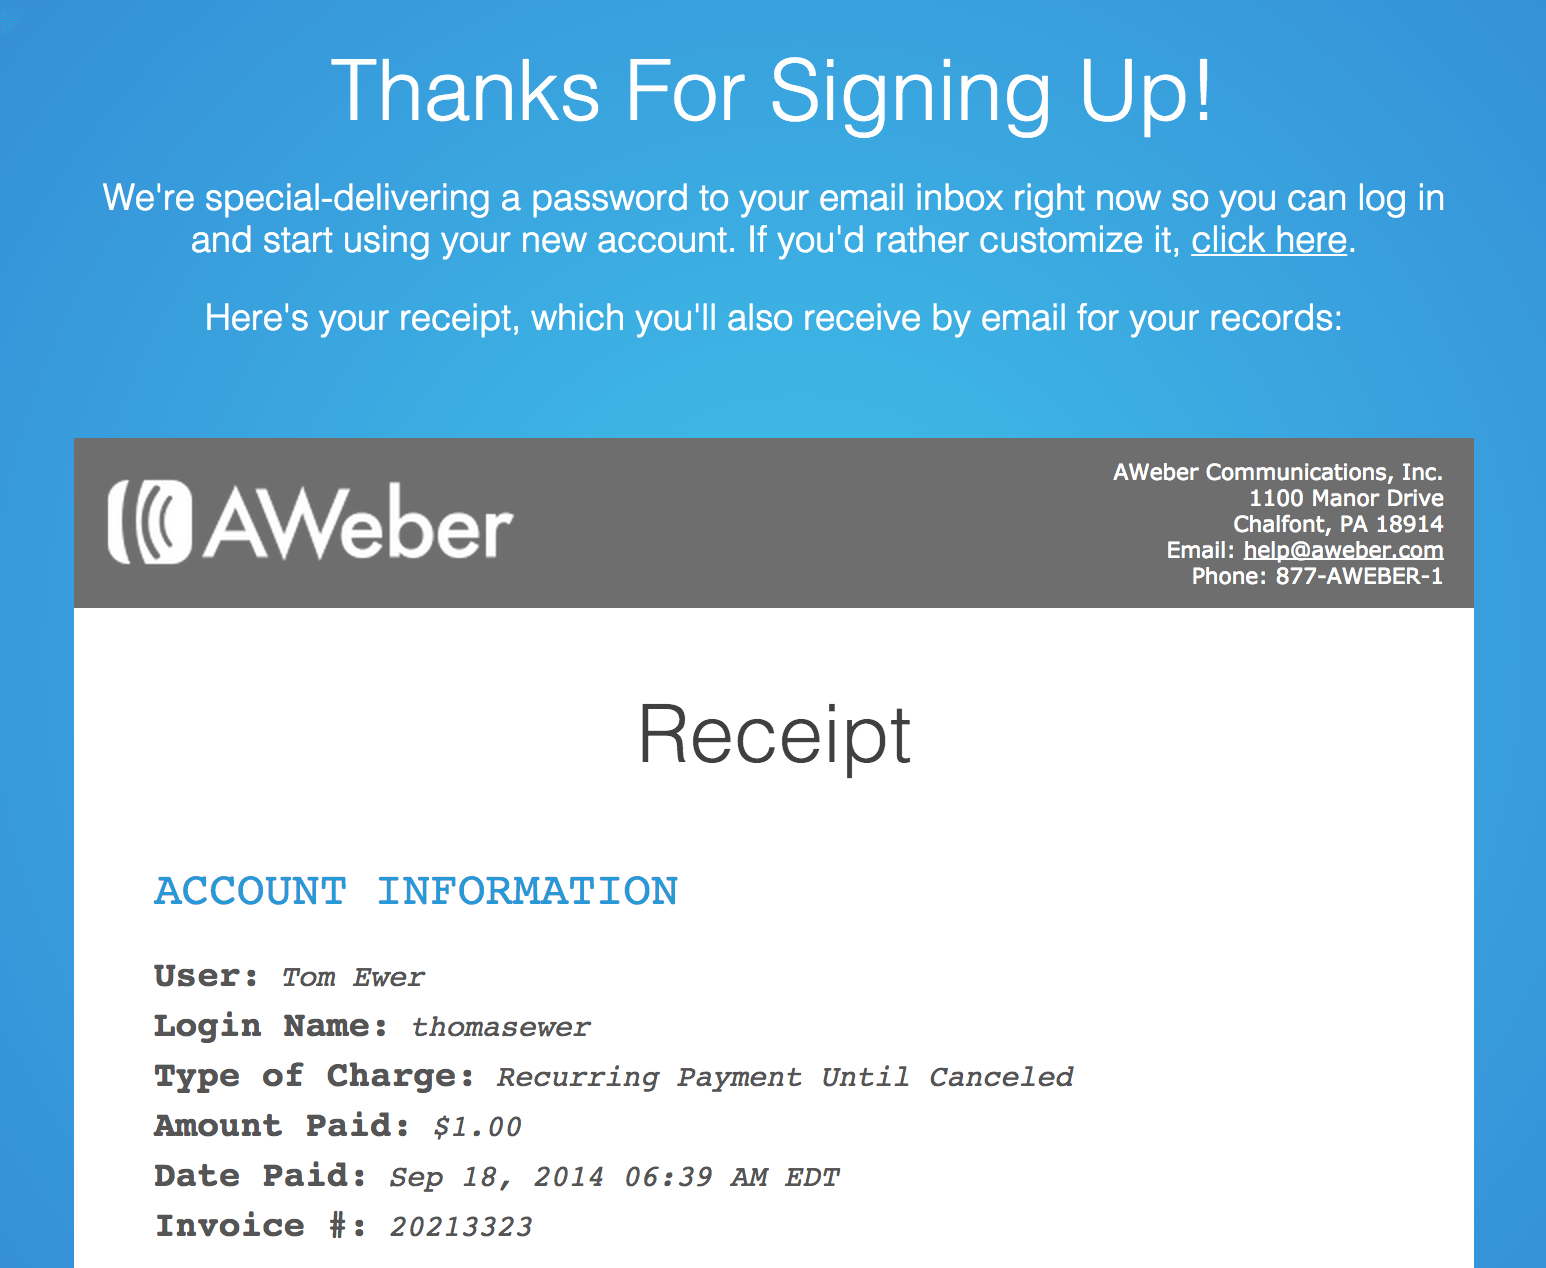
And that’s it! You’ve successfully signed up to AWeber. You should be presented with a confirmation screen:
An email like this will also be sent to you:
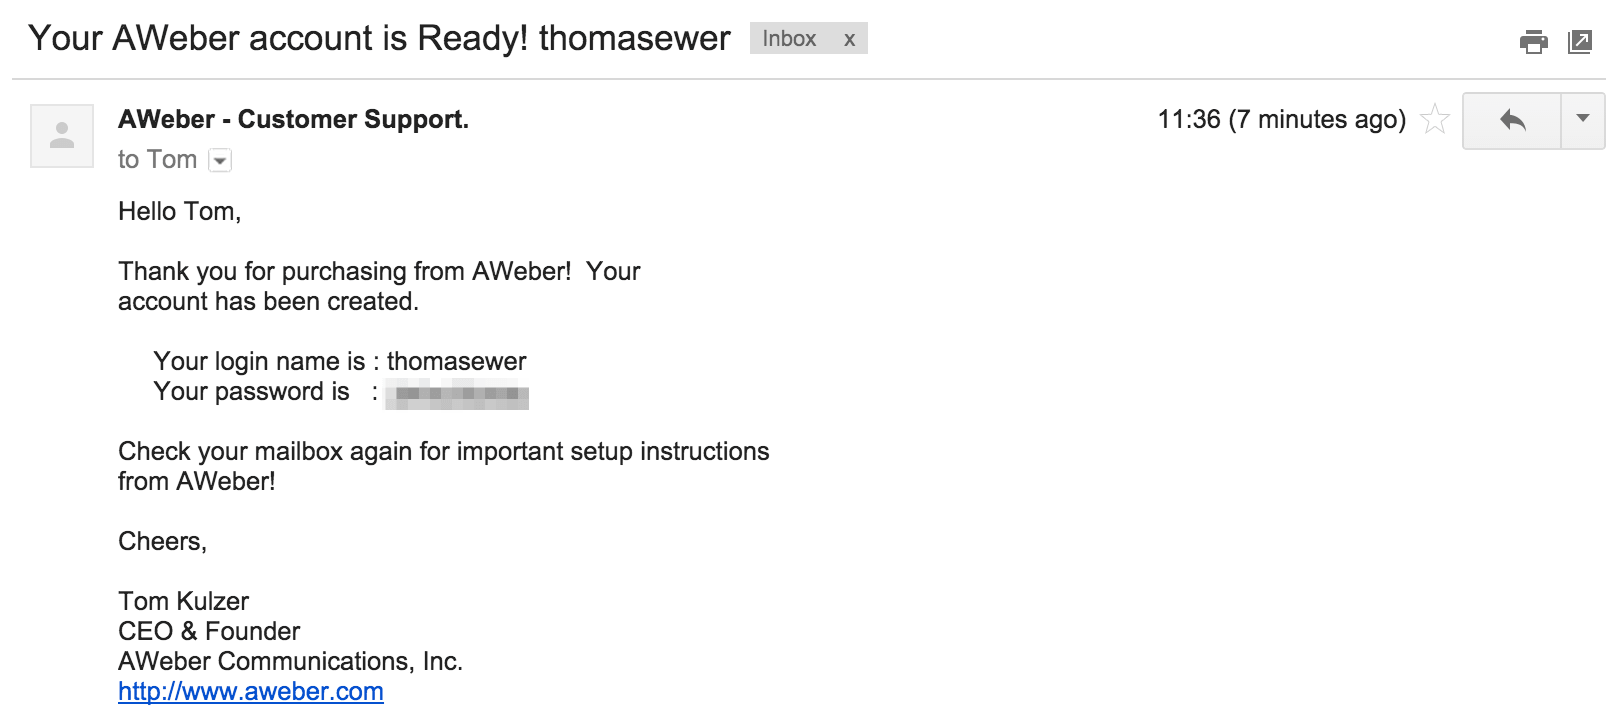
If it doesn’t appear in your inbox, check your spam folder.
How to Setup Your First Email List in AWeber
Click here to access the AWeber login page. You may want to add this page to your favorites so you can access it with ease in the future.
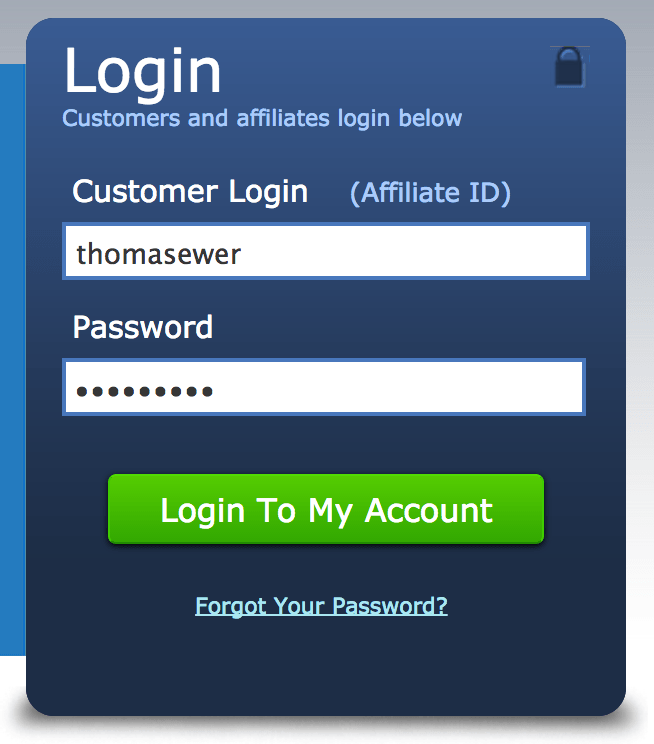
Enter your login details (i.e. the login name and password that were emailed to you) into the form on the right of the screen and click on the Login To My Account button:
You may be presented with a ‘Welcome to the world of email marketing!’ screen, with a video introduction from the CEO of AWeber. You can watch this if you want, but it doesn’t offer any useful information. Either way, click the Skip this video → link under the video to continue.
On the next screen you’ll need to enter some information. You can easily edit all of this information in the future if you want to change it.
The first two fields – Your Company Name and Your Company Website – are optional, but you will need to enter an address that will be included at the bottom of the emails you send out:
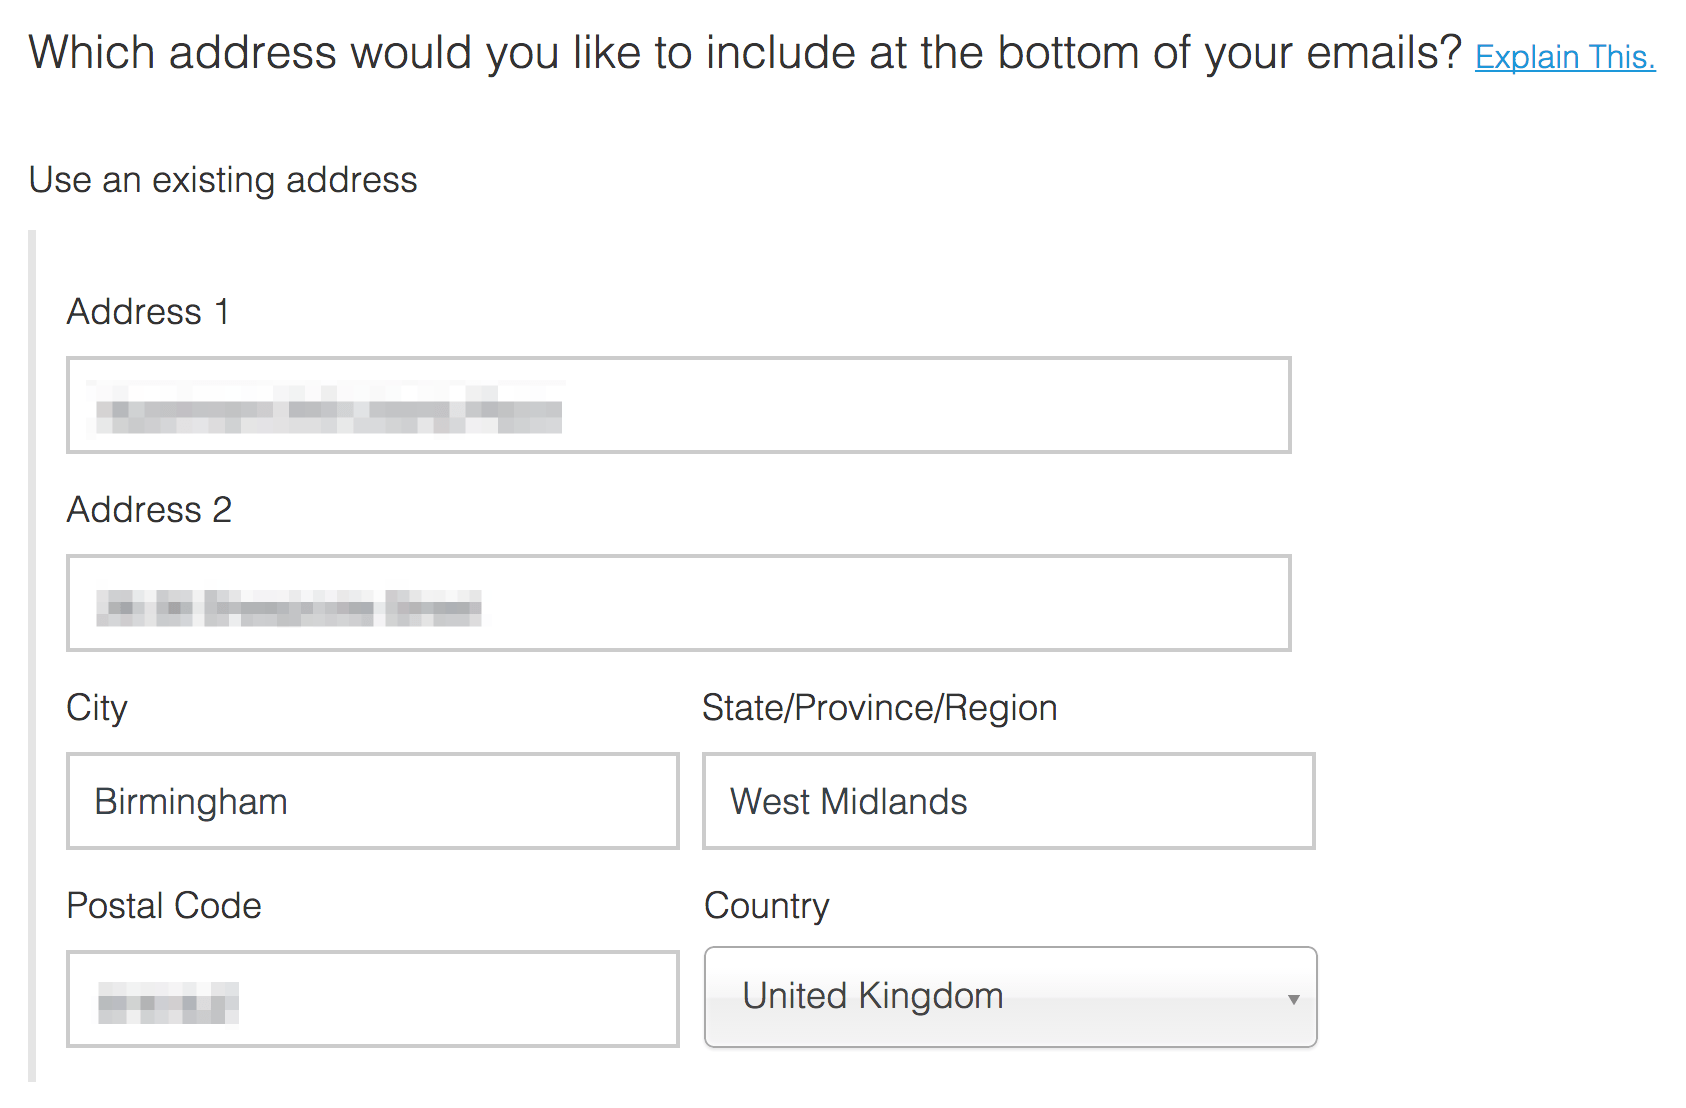
This is a legal requirement – click here to learn more.
You may be reticent to enter your home address, and rightly so. Personally speaking, I wouldn’t recommend that you do so (although I did when I started). Your options are as follows:
[The address] can be your current street address, a post office box you’ve registered with the U.S. Postal Service, or a private mailbox you’ve registered with a commercial mail receiving agency established under Postal Service regulations.
Make your choice and enter an address.
The last two fields define what name and email address will show up when subscribers receive your emails:
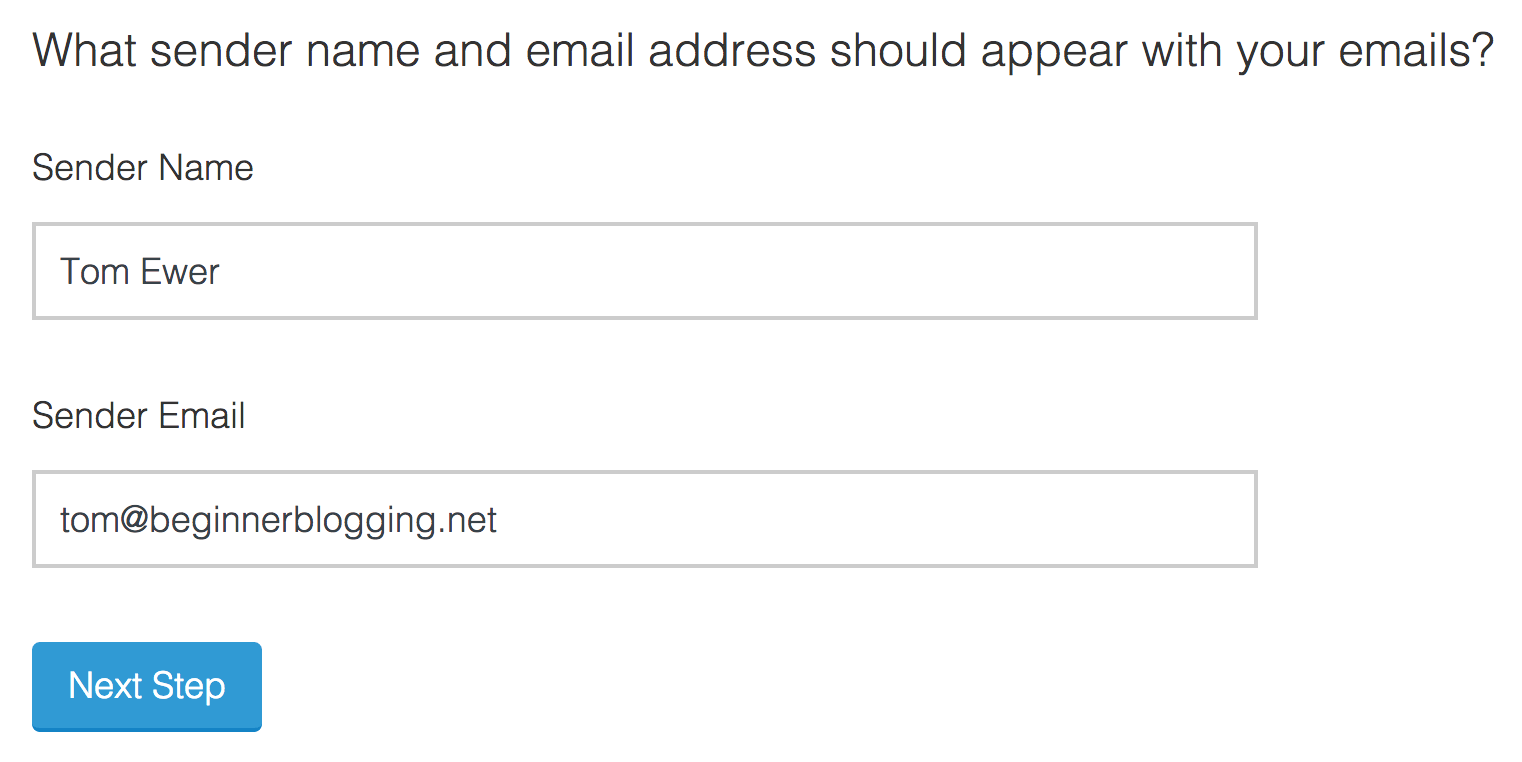
Click Next Step when you’re finished.
On the next page you get to name and describe your list:
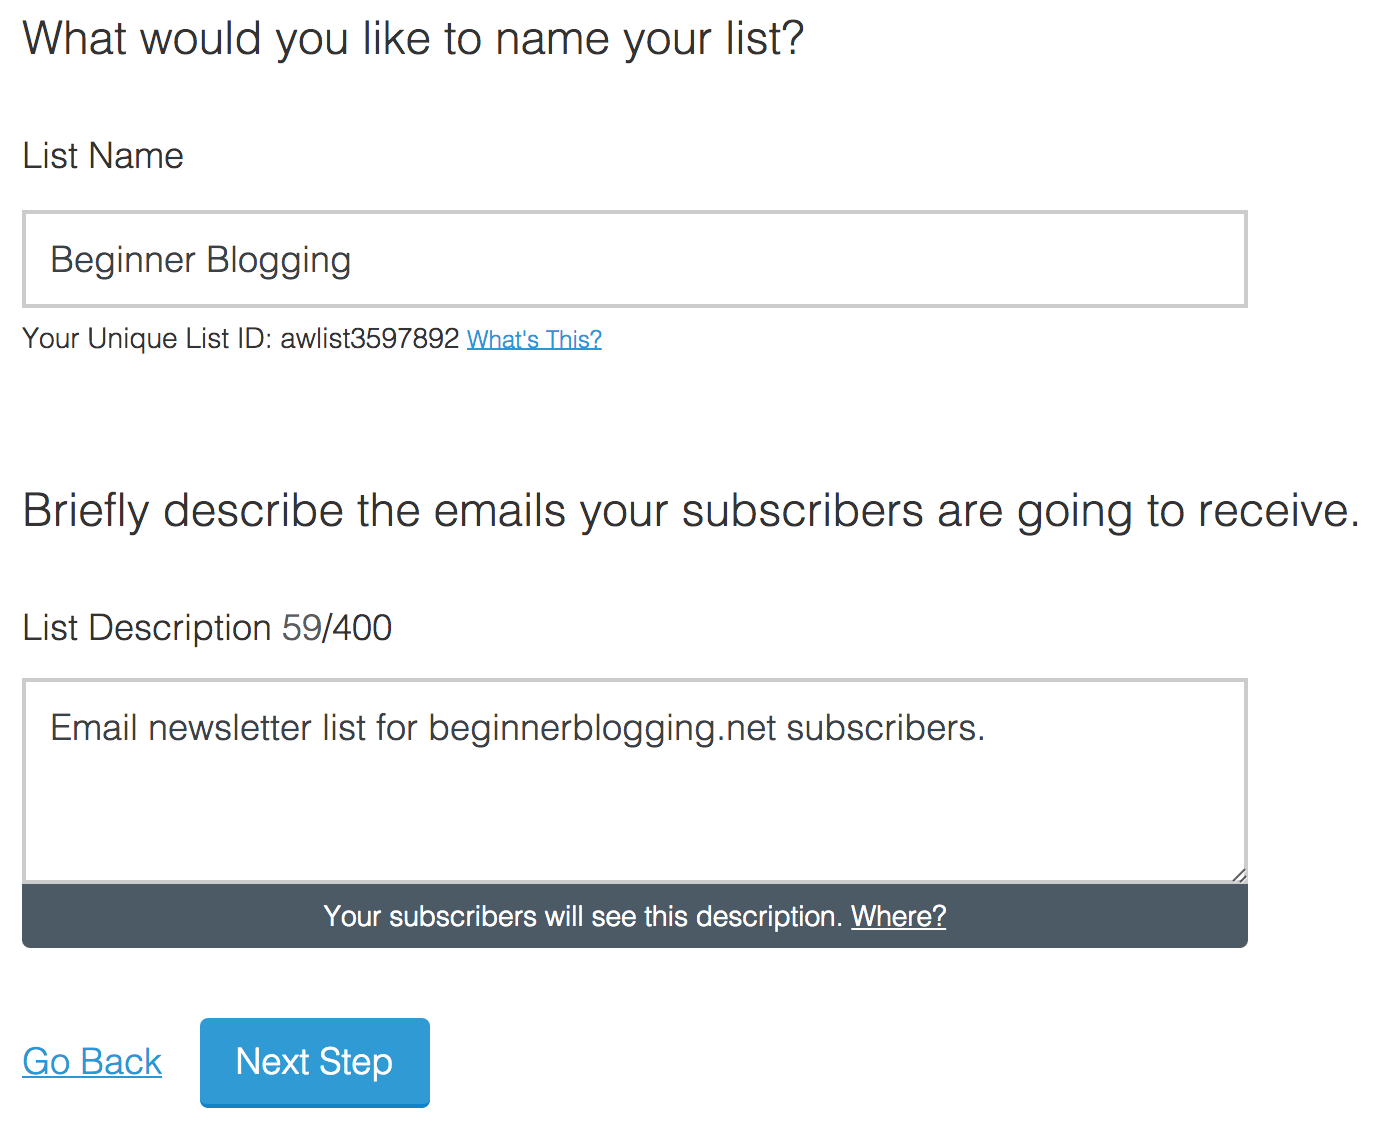
You can call your list just about anything you like; it’ll be assigned a Unique List ID to distinguish it from other lists.
Take a moment to consider your description, as people will see it when they choose to unsubscribe. If they’re attempting to unsubscribe in error, a clear description may remind them that they actually want to stay subscribed. It doesn’t have to be anything flash – something direct and simple like the above does the job.
Click on the Next Step button when you’re finished.
On the following screen you can edit and approve the confirmation email that people receive when they attempt to subscribe to your list.
Subscribers have to click a link in a confirmation email before they are subscribed to an email list. This is known as the double opt-in process and is used to ensure that people aren’t signed up to your list in error. If there was no double opt-in process, anyone who knew your email address could sign you up for anything, so it is your friend!
Let’s start with the email’s subject line. You have a few pre-approved subjects to choose from:
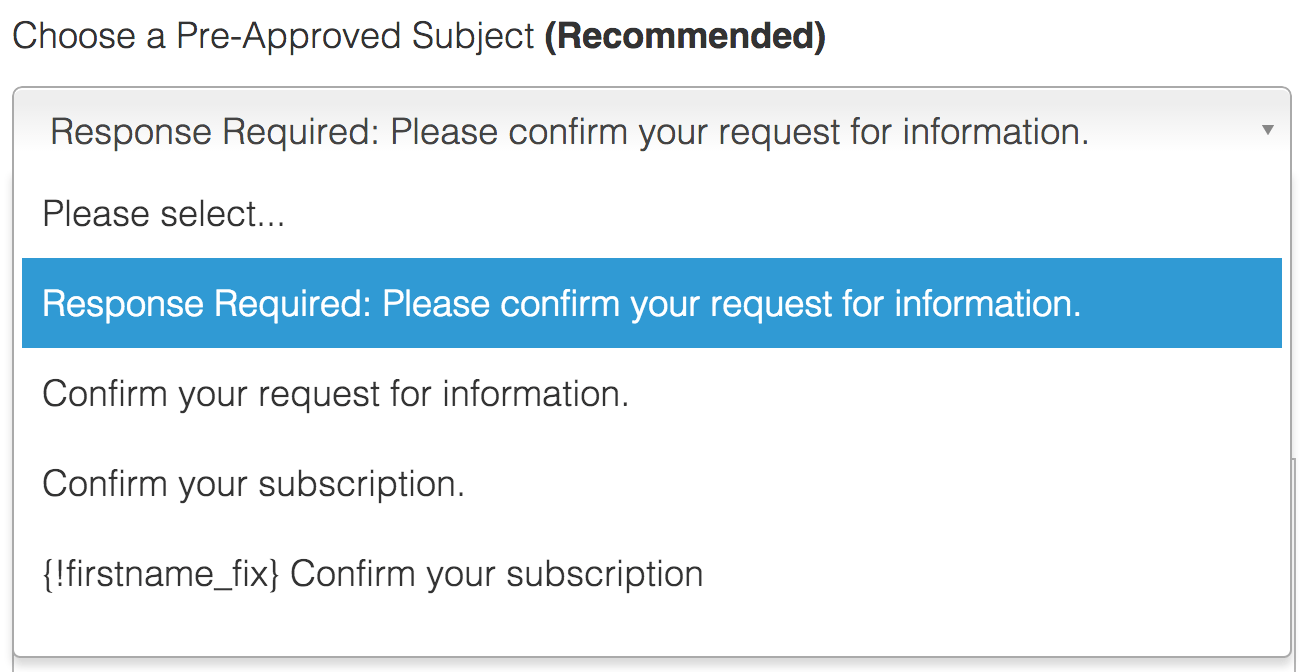
Alternatively, you can request approval for a custom subject line (by clicking on the link below the drop down box). This enables you to personalize your subject line, which can make it more likely for the email to be clicked on.
However, approval can take up to one working day and isn’t guaranteed. At this point I’d advise that you select a pre-approved subject line and move on – it’s unlikely to make any real difference to you at this point.
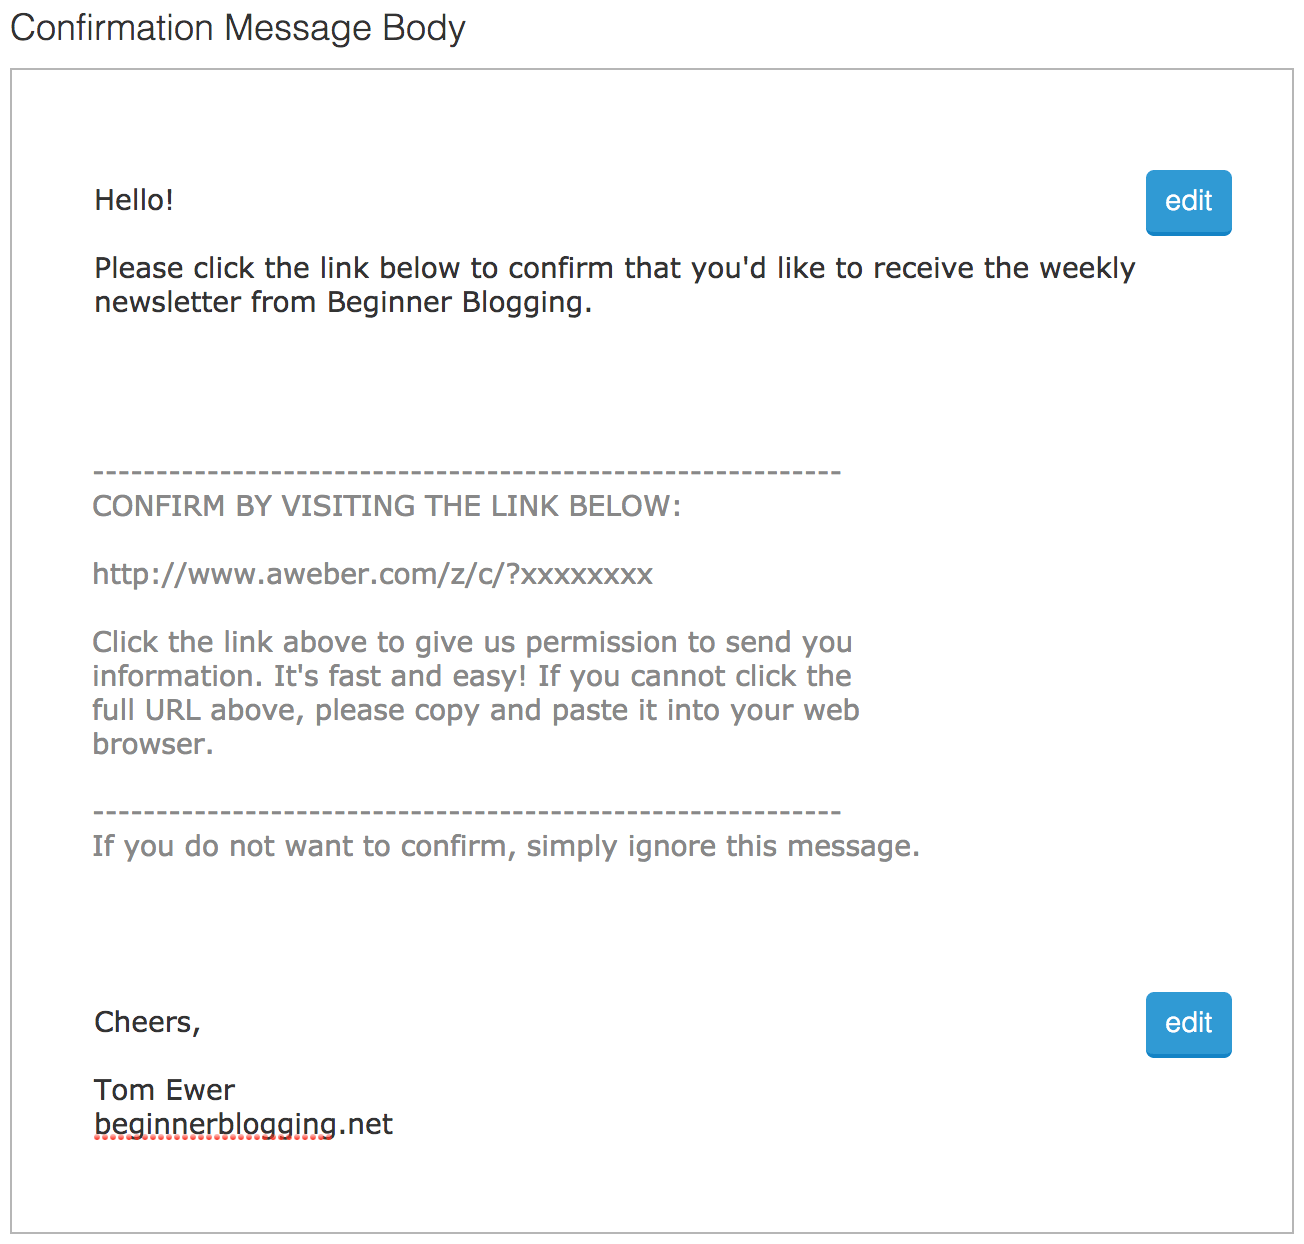
Next, you have the option to change the content of the confirmation message:

You can edit the top and bottom parts of the message, but not the middle (which contains the link that people must click to confirm their subscription).
If you’ve named your list appropriately, the message should be good to go. If it doesn’t make sense, you can take this opportunity to edit the top and bottom of the message:
Once you’re finished, click the Approve Message & Create List button at the bottom of the page.
That’s all there is to it! The infrastructure is now in place for people to join your email list. All you need to do now is add signup forms to your site.