How to Add a Sidebar Signup Form to Your Blog With AWeber
by Tom Ewer on
![]() Once you’ve signed up to AWeber and created your first email list, you’ll need to add signup forms to your site so that people can subscribe.
Once you’ve signed up to AWeber and created your first email list, you’ll need to add signup forms to your site so that people can subscribe.
Unfortunately, this can be easier said than done. While AWeber offer a wonderful range of sign up form designs and customization options, getting a form to integrate with your blog design can be tough at the best of times.
This is the same with any email marketing service – the fact is that form designers cannot account for the specific design and formatting of your blog.
With that in mind, you have two options:
- Run through the tutorial below and experiment with different form designs until you find one you like
- Purchase OptinMonster – the best sign up forms plugin for WordPress
It’s totally up to you, but if option one is your choice, continue reading!
How to Design an AWeber Signup Form
Before we start, you’ll need an AWeber account. If you haven’t signed up and created your first email list yet, run through the steps in this tutorial before you continue.
Once you’re ready to start, log into your AWeber account. You’ll be presented with an Account Overview screen which contains a number of tabs across the top:
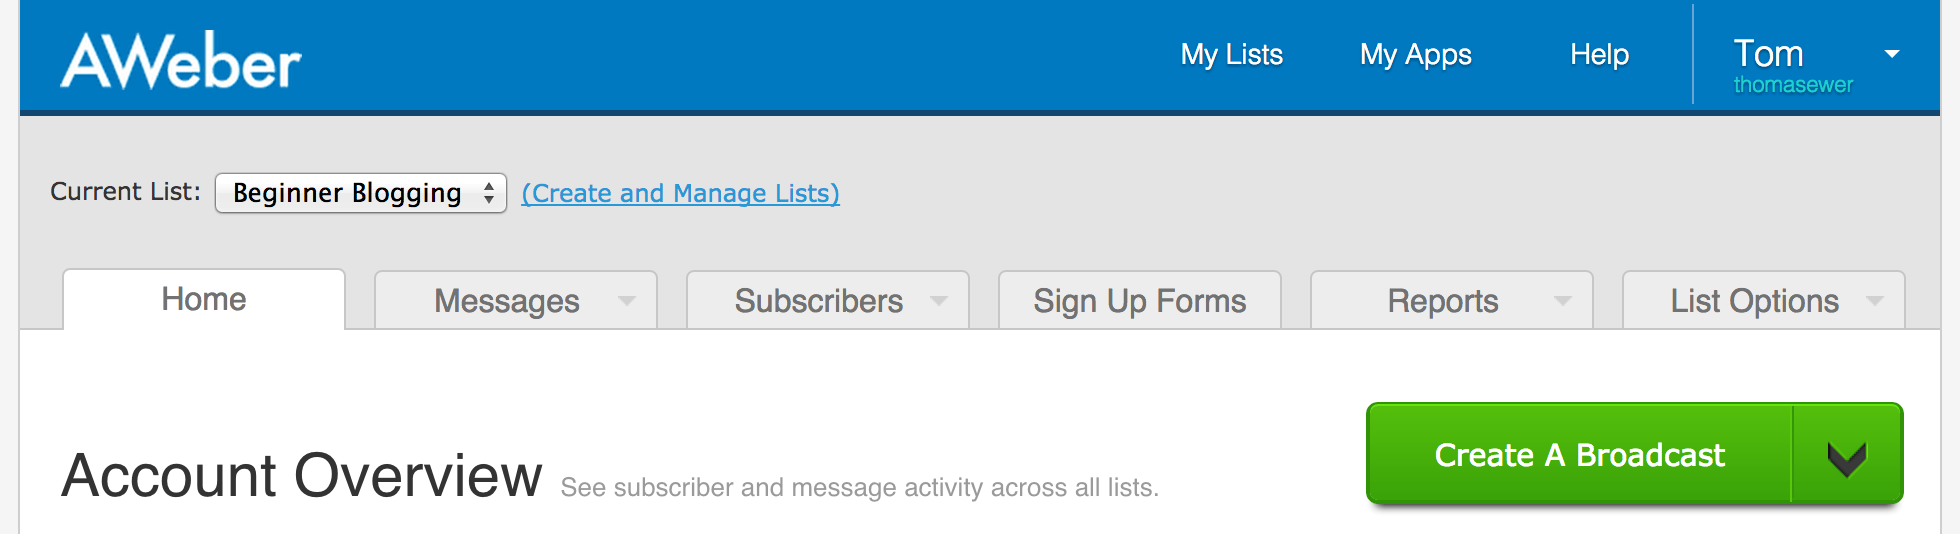
Click on the Sign Up Forms tab, then click on the Create Your First Sign Up Form button on the resultant screen:
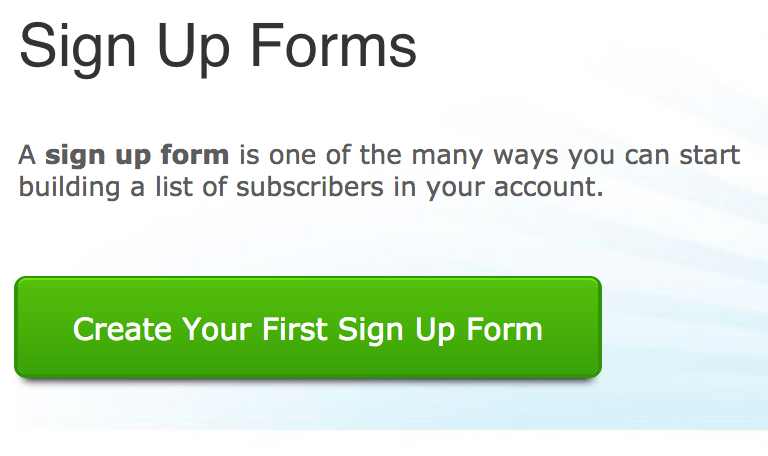
You’ll now be presented with the Sign Up Form Generator screen, which is made up of three main sections. First, you have Fields:
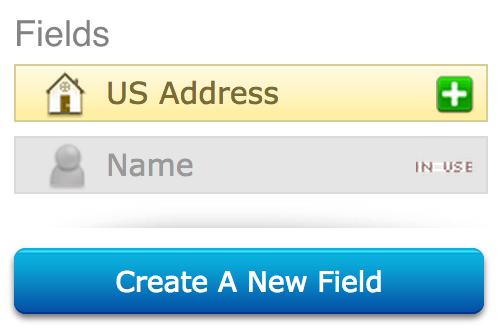
This is where you can add extra fields to your sign up form. You’re not likely to need this feature right now, as the sign up form includes Name and Email fields as default.
Bear this in mind: the more fields you add to a sign up form, the less likely people are to complete it.
Next we have the Templates section:
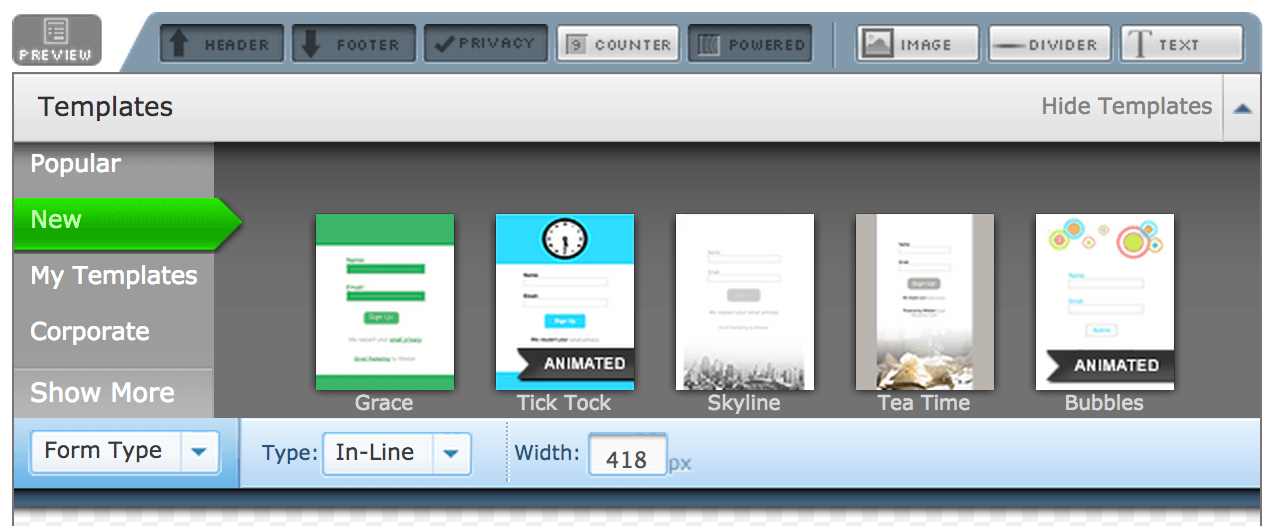
You can do three different things in this section:
- Preview your sign up form
- Add and remove elements (like header, footer, privacy text, images, and so on)
- Select a sign up form theme/design
Let’s start by setting up the structure of your sign up form. By default it will include the following:
- A Header. You can add text to this section.
- A Name field. This is where subscribers will add their name. You can then use their name in emails.
- An Email field. Obviously you’ll need this!
- A ‘We respect your email privacy’ message. This can give potential subscribers peace of mind.
- A ‘Powered by AWeber’ message. This doesn’t do anything for you; it only promotes AWeber.
- A Footer. You can add text to this section.
My recommendation is that you include the following in your form: a Header, Name field and Email field, plus the privacy message.
Adding and removing elements is simple: just select or deselect the buttons at the top of the Templates section. For example, to get my sign up form to only include the above elements, I’ll deselect the Footer and Powered buttons. The form shown in the Editor section will change accordingly:

Once you’ve added and removed the elements that you want, you can find a design that you like. Let’s take another look at the Templates section:
From the left you can pick from a number of categories (such as Popular, New and Corporate). The Popular category is a good option if you want something appealing.
Alternatively, if you want to explore additional categories, click on the Show More button. I’m going to click on Show More and select the Blog category:
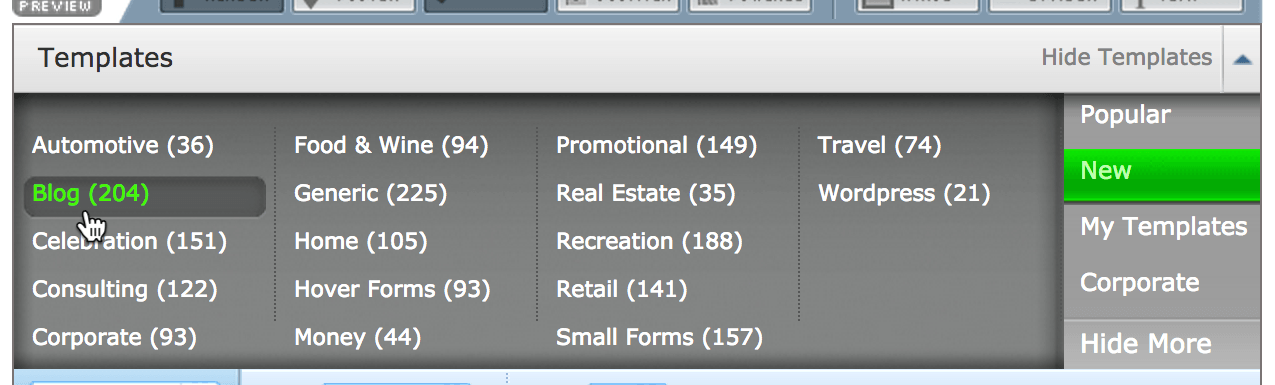
You’ll then be presented with a list of sign up form designs that could work nicely on a blog:
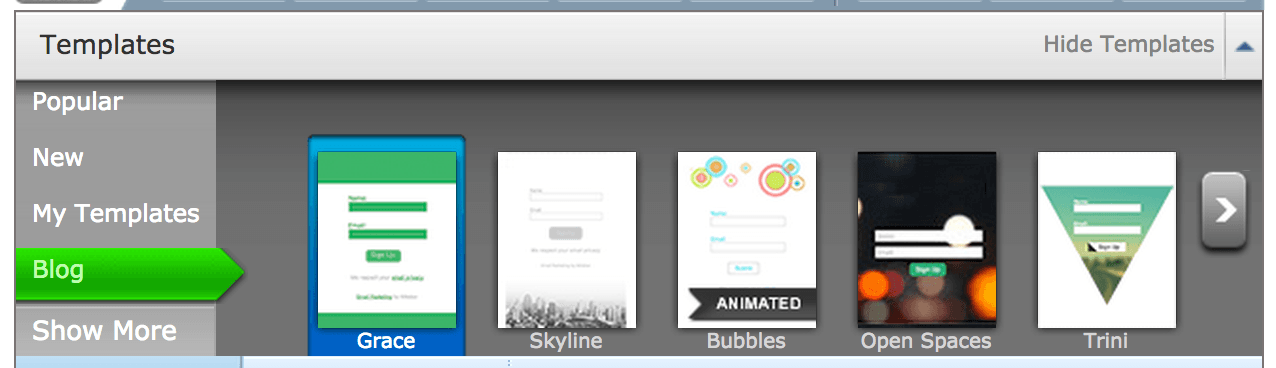
I like the look of Open Spaces, so I’m going to click on that. Now I’m doing this to show you what is possible, but my general advice is to keep the design simple. AWeber is not perfectly integrated with WordPress and cannot possible account for the variances in theme design, so more complicated designs may lead to issues in display.
Ultimately you can experiment with different designs to find something that works, so don’t sweat it if things don’t look great first time around!
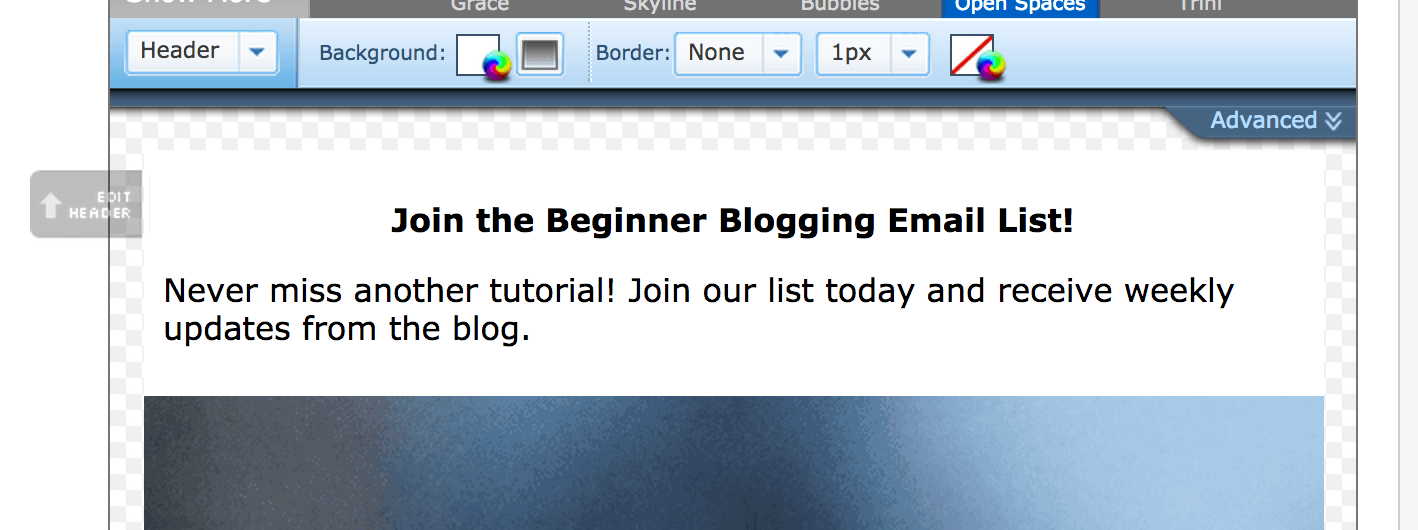
Clicking on Open Spaces brings up a Preview box, where you can choose a color scheme and load the template into the Editor:
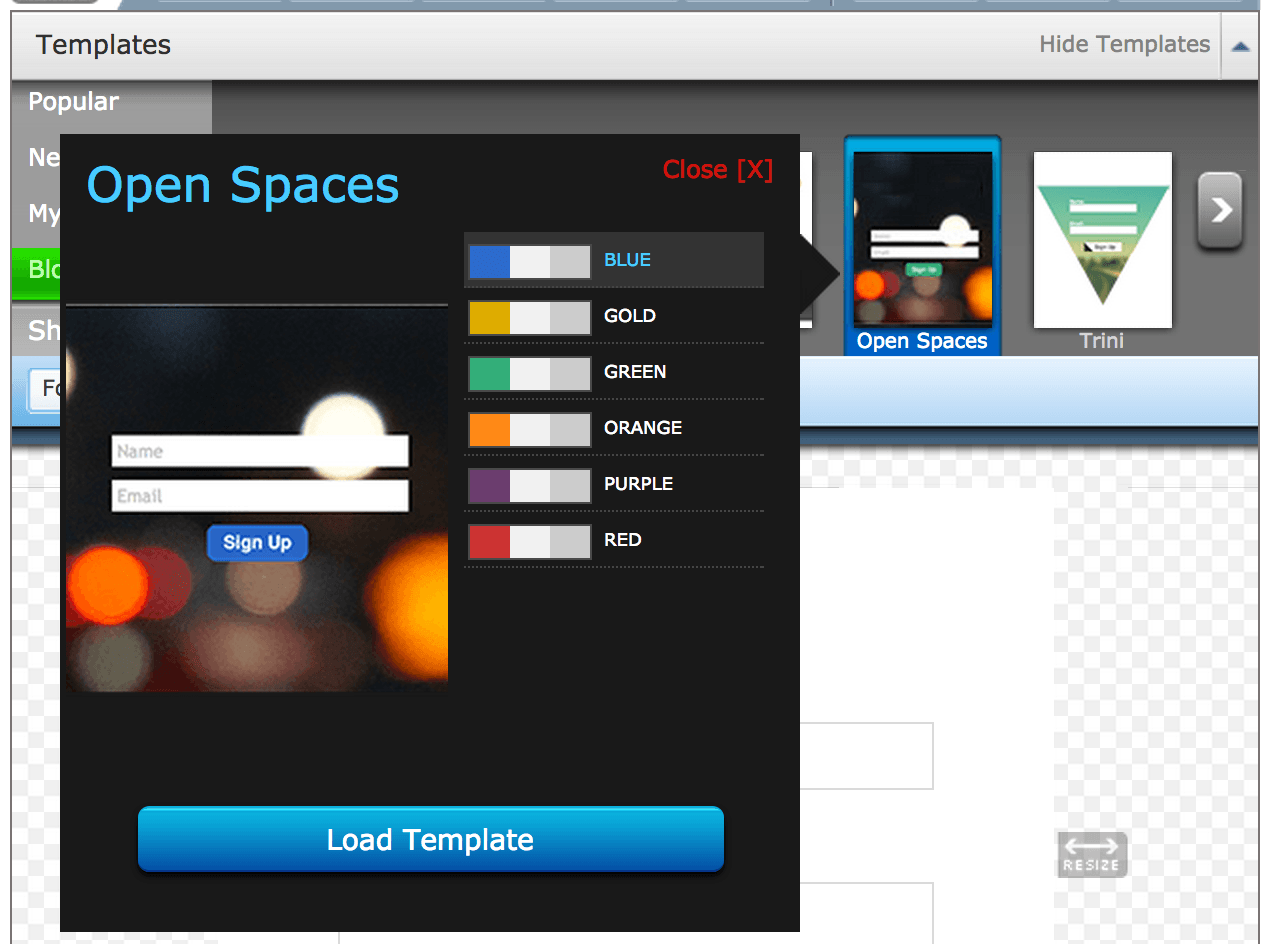
I’m going to choose the green color scheme and click on the Load Template button. The Editor will change to accommodate the new design:

Now we can use the Editor to add some text to the Header. Just click the Edit Header label at the top left and a new screen will pop up:
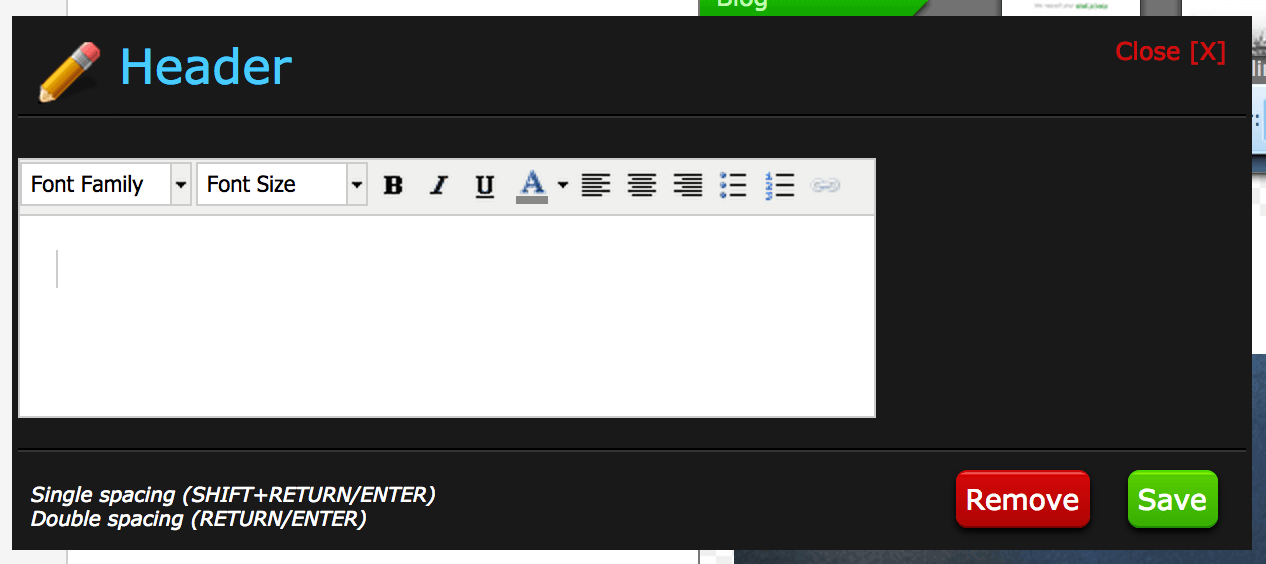
You can add a header and perhaps some text to this section to tell people why they should sign up. You can use the fields at the top of this screen to format the text, just like you would in a word processor:
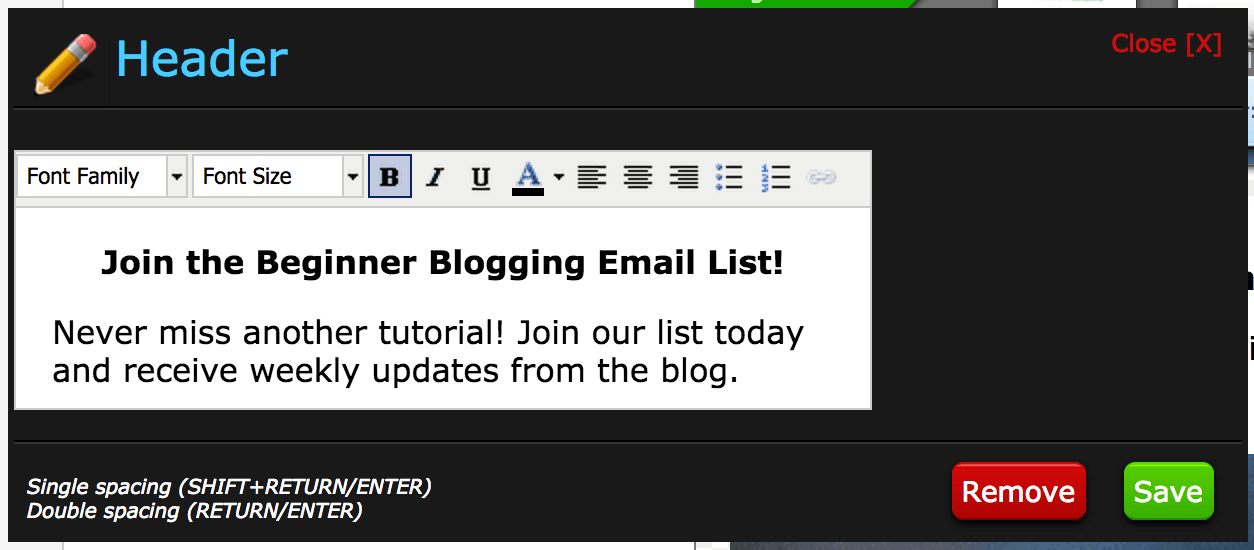
Click Save when you’re finished and the changes will be reflected in the Editor:
You can edit other sections of your sign up form in the same way. You can also resize the form using the Resize option to the right of the Editor.
Once you’re finished with the form, click on the Save Your Form button at the bottom of the page. When the form has been saved, click on the Go To Step 2 button at the bottom of the page, which will take you to the Settings screen:
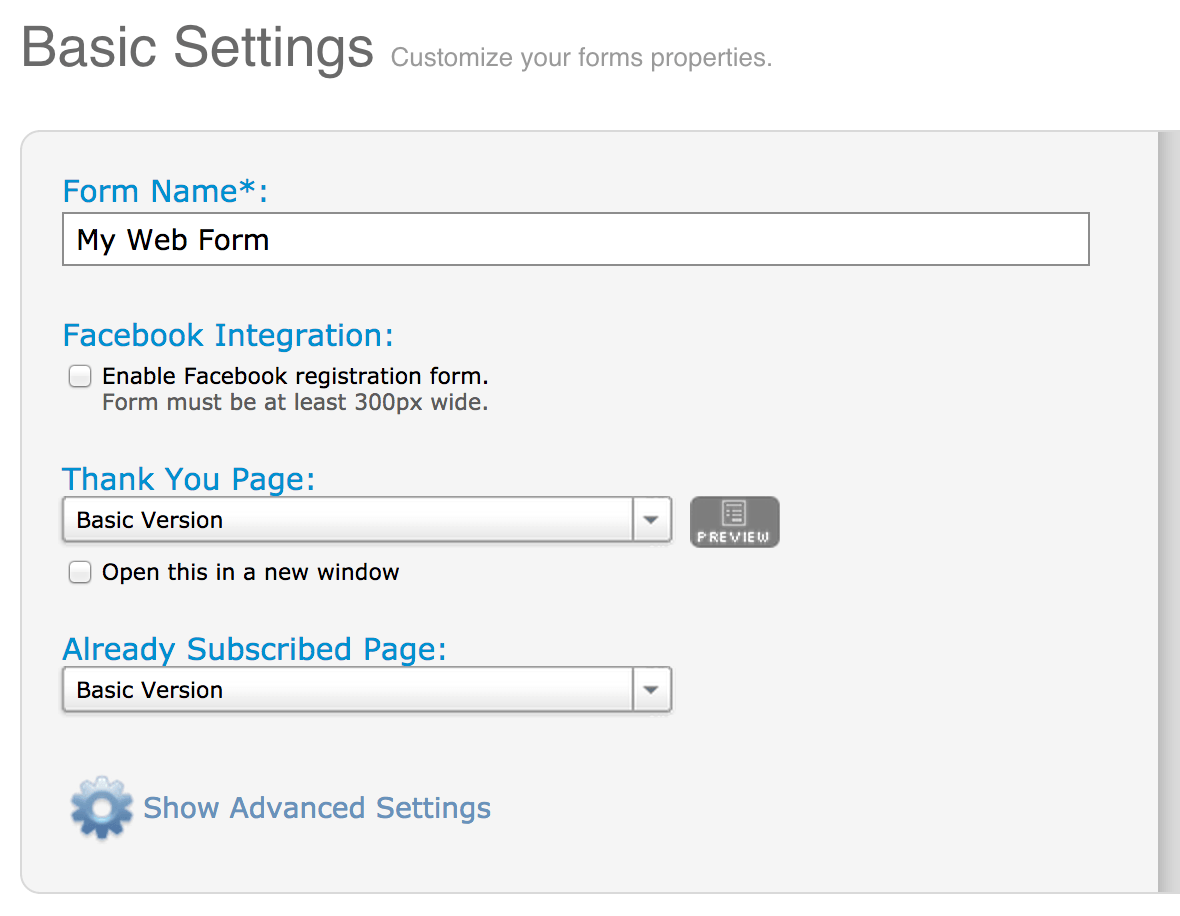
I recommend that you name your form appropriately. When you have more than one form design, it’ll be handy to know which is which.
Beyond that, you can leave everything as it is. While there are other tweaks you can make, there’s no need to dive into unnecessary complications at this stage.
I named my form Sidebar (because that is where I’m going to put it on my blog), then clicked on Save Your Form followed by Go To Step 3.
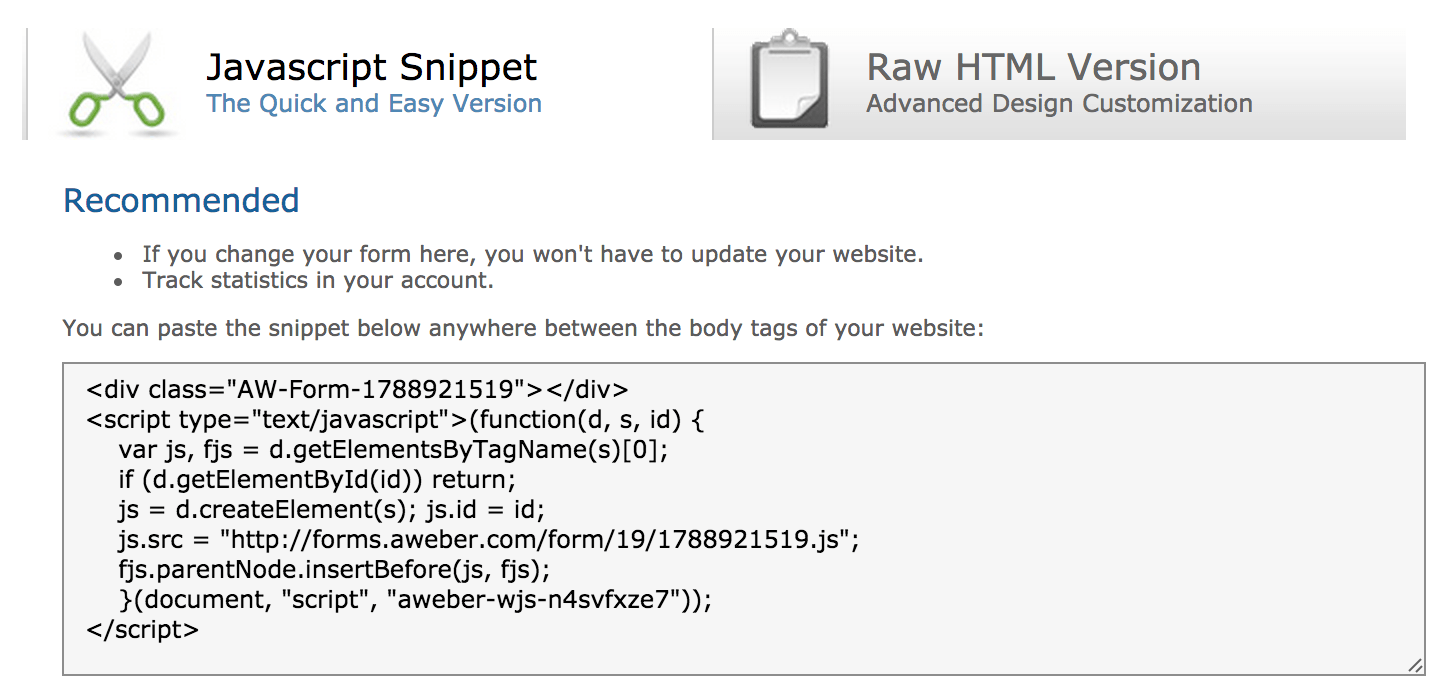
It is now time to publish your form:

Fortunately, this is the easy bit. Click on the I Will Install My Form button and copy the Javascript snippet that appears:
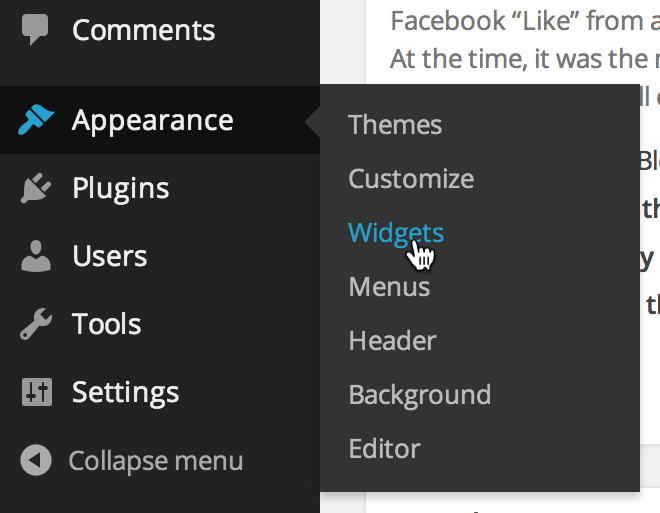
Next, log into your blog’s WordPress Dashboard and click on Appearance > Widgets in the WordPress sidebar:
You will be presented with a screen similar to this:
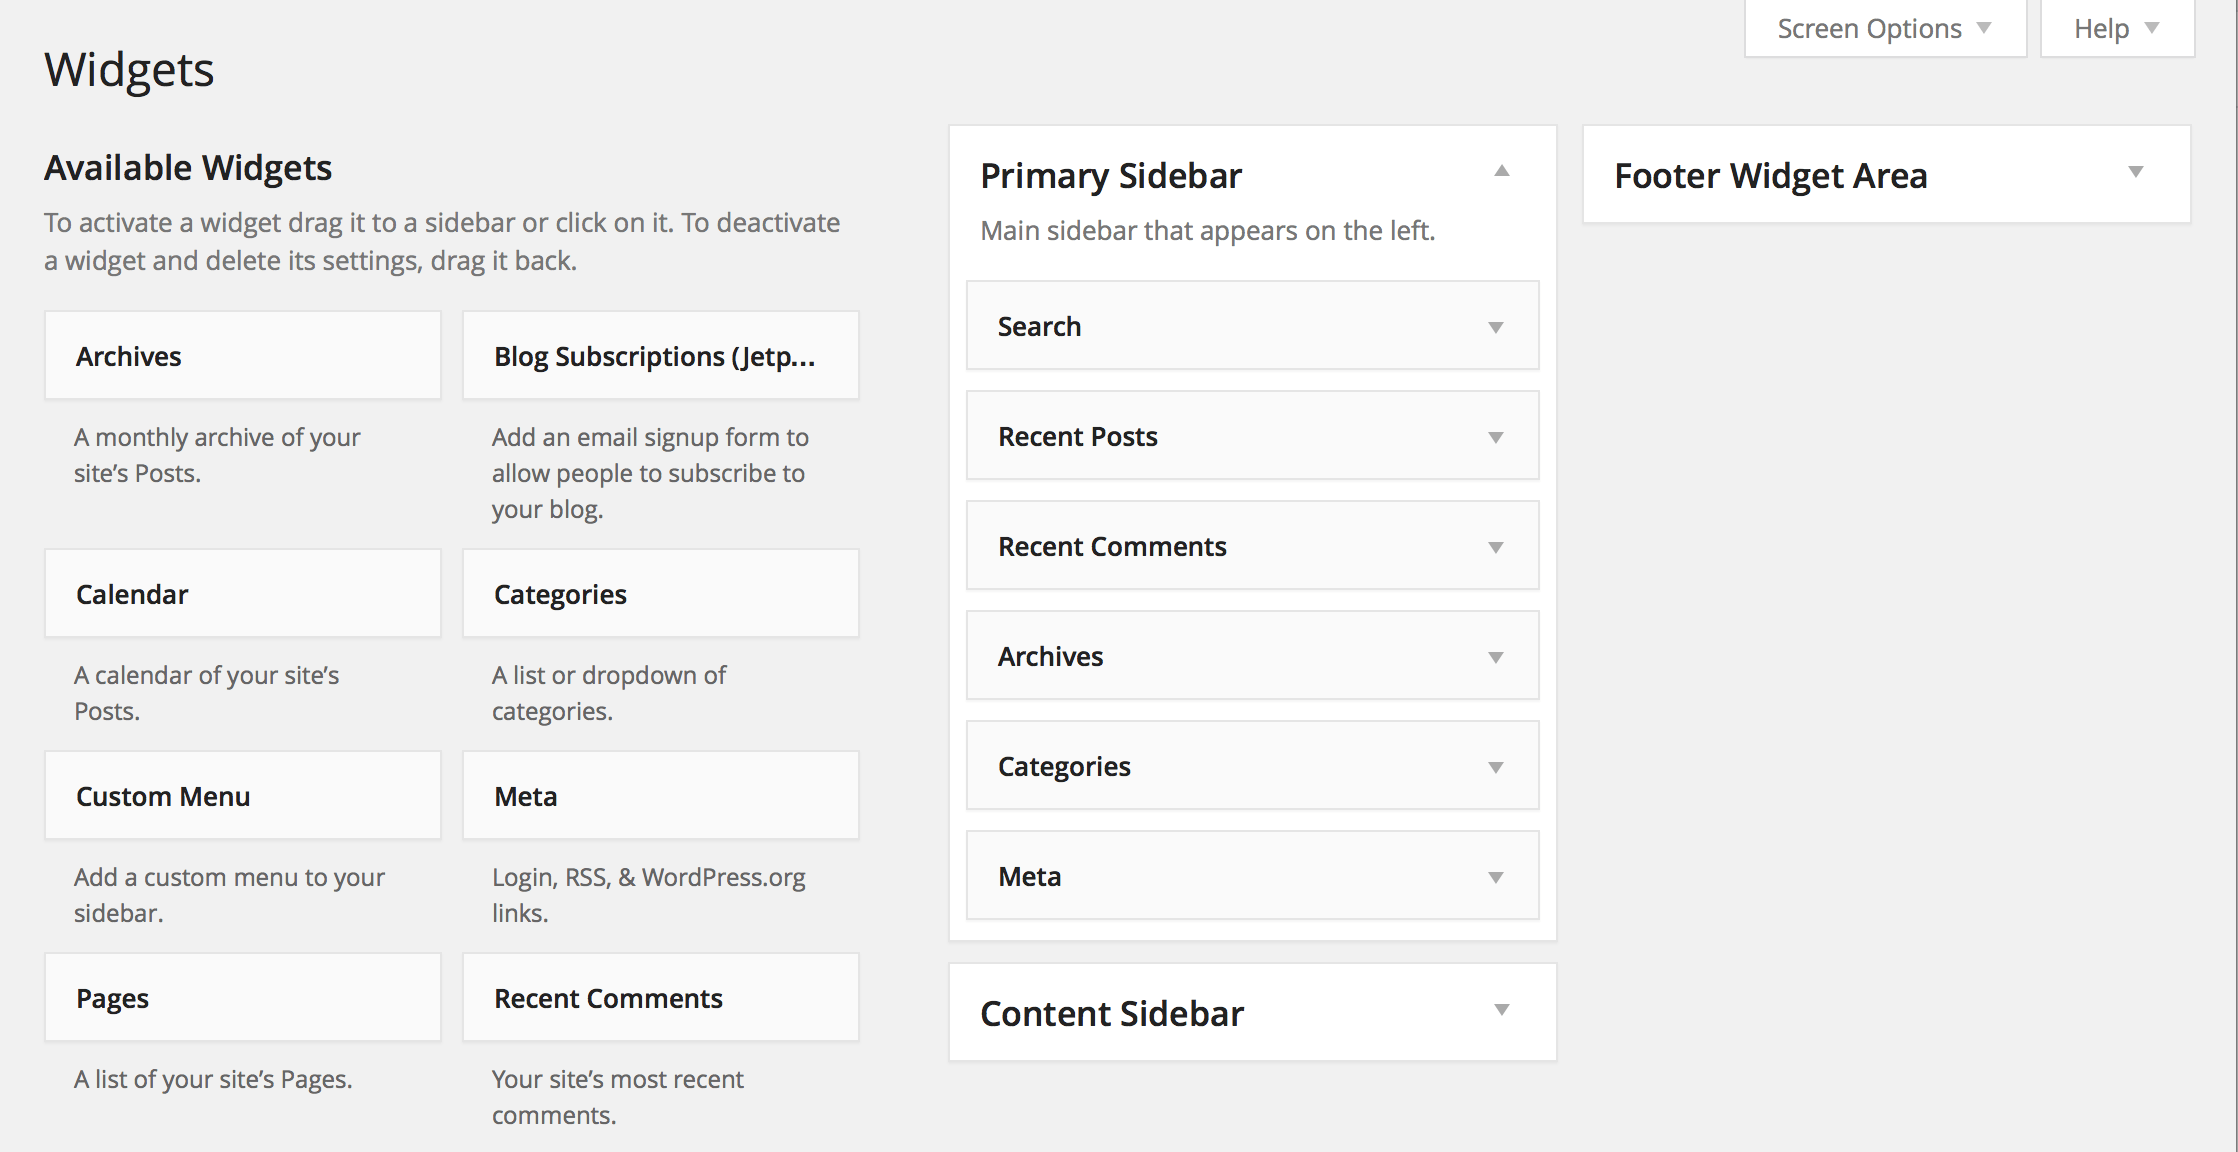
If you’ve completed Part 7 of the free Beginner Blogging course, you’ll be familiar with this screen and know that widgets are standalone items that can be inserted into any ‘widgetized’ area of your site (such as the sidebar).
To the left you’ll see the Available Widgets, and to the right you will see the widgetized areas on your blog. What you see on your screen will vary depending on what theme you have installed; the above screenshot is taken from a blog running the free Hemingway theme.
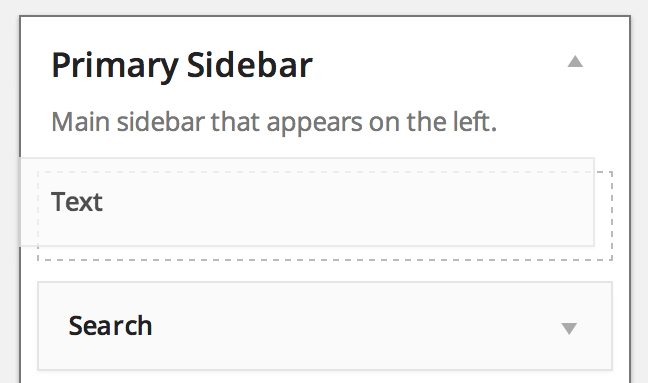
We’re going to insert our signup form into a Text widget. If you can’t immediately see this amongst your Available Widgets, scroll down until you find it (they’re listed in alphabetical order). When you do find it, drag and drop it into your sidebar’s widgetized area:
The Text widget will expand to show its available fields. Paste the Javascript snippet you copied earlier into the main text box:
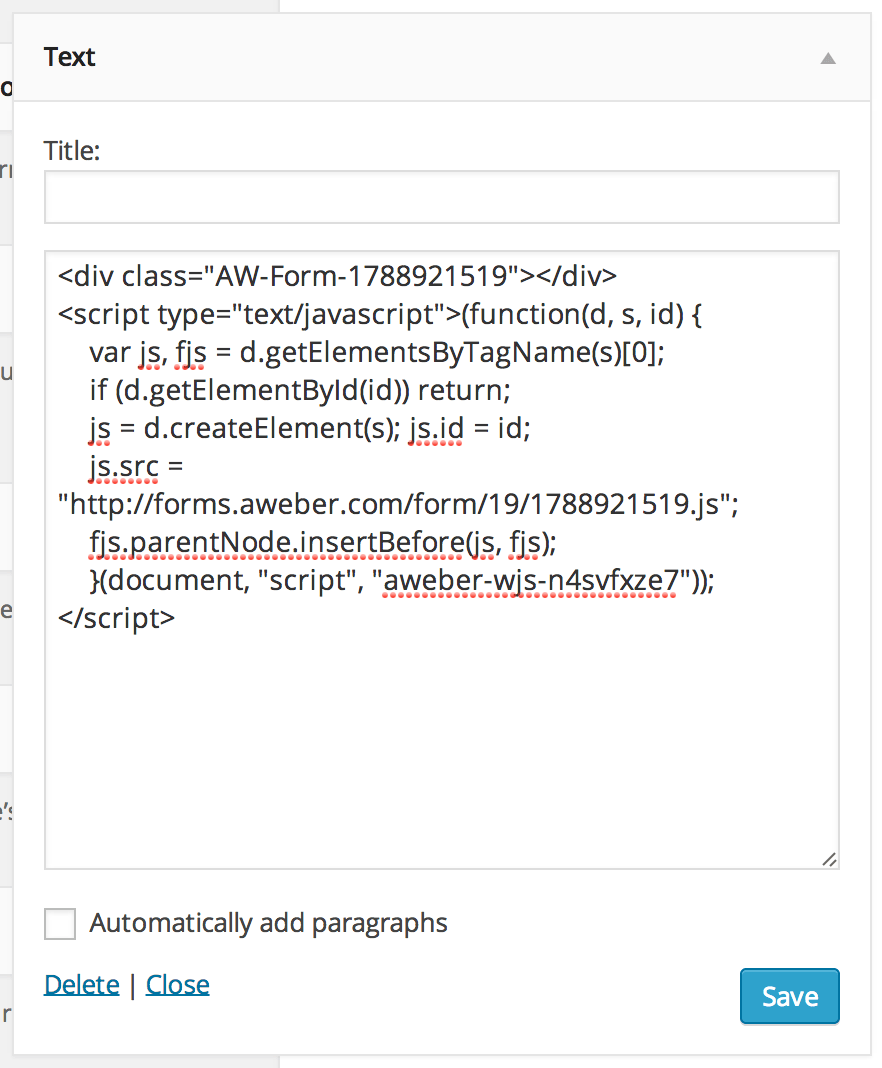
Then click on the Save button.
Congratulations! You have successfully created an AWeber sign up form and inserted it into your blog’s sidebar. People will now be able to sign up to your blog through that form.
Please note that the appearance of your signup form will vary depending upon the theme you are using. This is unfortunately unavoidable – if your signup form doesn’t look perfect, I’d advise that you pick a more simple design or take advantage of our sidebar sign up form design and installation service.
Alternatively, you can use a sign up forms plugin that is specially designed to work perfectly with WordPress. My favorite (by far) is OptinMonster – it enables you to create beautiful signup forms all over your site (from the sidebar, to the bottom of posts, to popups, and much more).
Once you’ve finished designing and installing your signup form, it’s time to send your first broadcast email to your subscribers!
Hello Tom! I just wanted to thank you for your LWB blog and all of the work you’ve put in to help others start their freelance blogging journey. I recently discovered your blog and digested as much as I could within a short span of time. I signed up for the paidtoblog service, zoomed through the Fizzle courses, and I’m well on my way to launching my blog sometime in November!
Again, thank you so much.
Post author
My pleasure Minh! Please let me know if there is anything else I can do to help 🙂
Hi! Is there a reason why my sidebar doesnt appear properly on every page? It appears perfectly on the first page, however for the next few pages it only appears AFTER I refresh the page. I’m using Aweber forms.