Free Blog Installation and Setup Service
Enter your email address below and we'll answer every question you have about blogging. We’ll even install and setup your blog for you when you’re ready to get started – completely free of charge. No catch, no strings attached.
Now, let’s get down to the really important stuff: creating content.
For the time being, all the content production you will be doing will revolve around Posts and Pages. (There are other means to add content to WordPress, but you don’t need to worry about them for the time being.)
But let’s not get ahead of ourselves. The first thing we need to do is address the differences between Posts and Pages, so you know where you should be creating your content.
The Differences Between WordPress Posts and Pages
Let’s start by listing the key differences between posts and pages in WordPress:
- Posts are (by default) listed in reverse chronological order on your homepage and other archive pages (such as categories and tags). Meanwhile, Pages are ‘static’ and not listed by date.
- Posts usually have comments, pages often don’t.
- Posts can be categorized and tagged.
- Posts are displayed in the RSS feed of a blog.
You’ll use Pages to create the ‘static’ pages of your site, such as About, Contact, and so on. On the other hand, you will write up your blog posts using Posts, which will almost certainly make up the majority of the content on your site.
There’s one other thing you should know about both Posts and Pages: WordPress is awesome at saving your content. It does it automatically – saving both offline and online versions of your content – so that losing content due to a loss of connectivity/power is all but impossible.
Put simply, you don’t need to worry about saving your Posts and Pages. Having said that, it’s best practice to hit the Save Draft button in the Publish box in the top right of the Post and Page screens before you navigate away from either screen.
Exploring the Add New Page Screen
To create a Page, log into your WordPress site and navigate to Pages > Add New from your sidebar.
You’ll be presented with a screen like this:
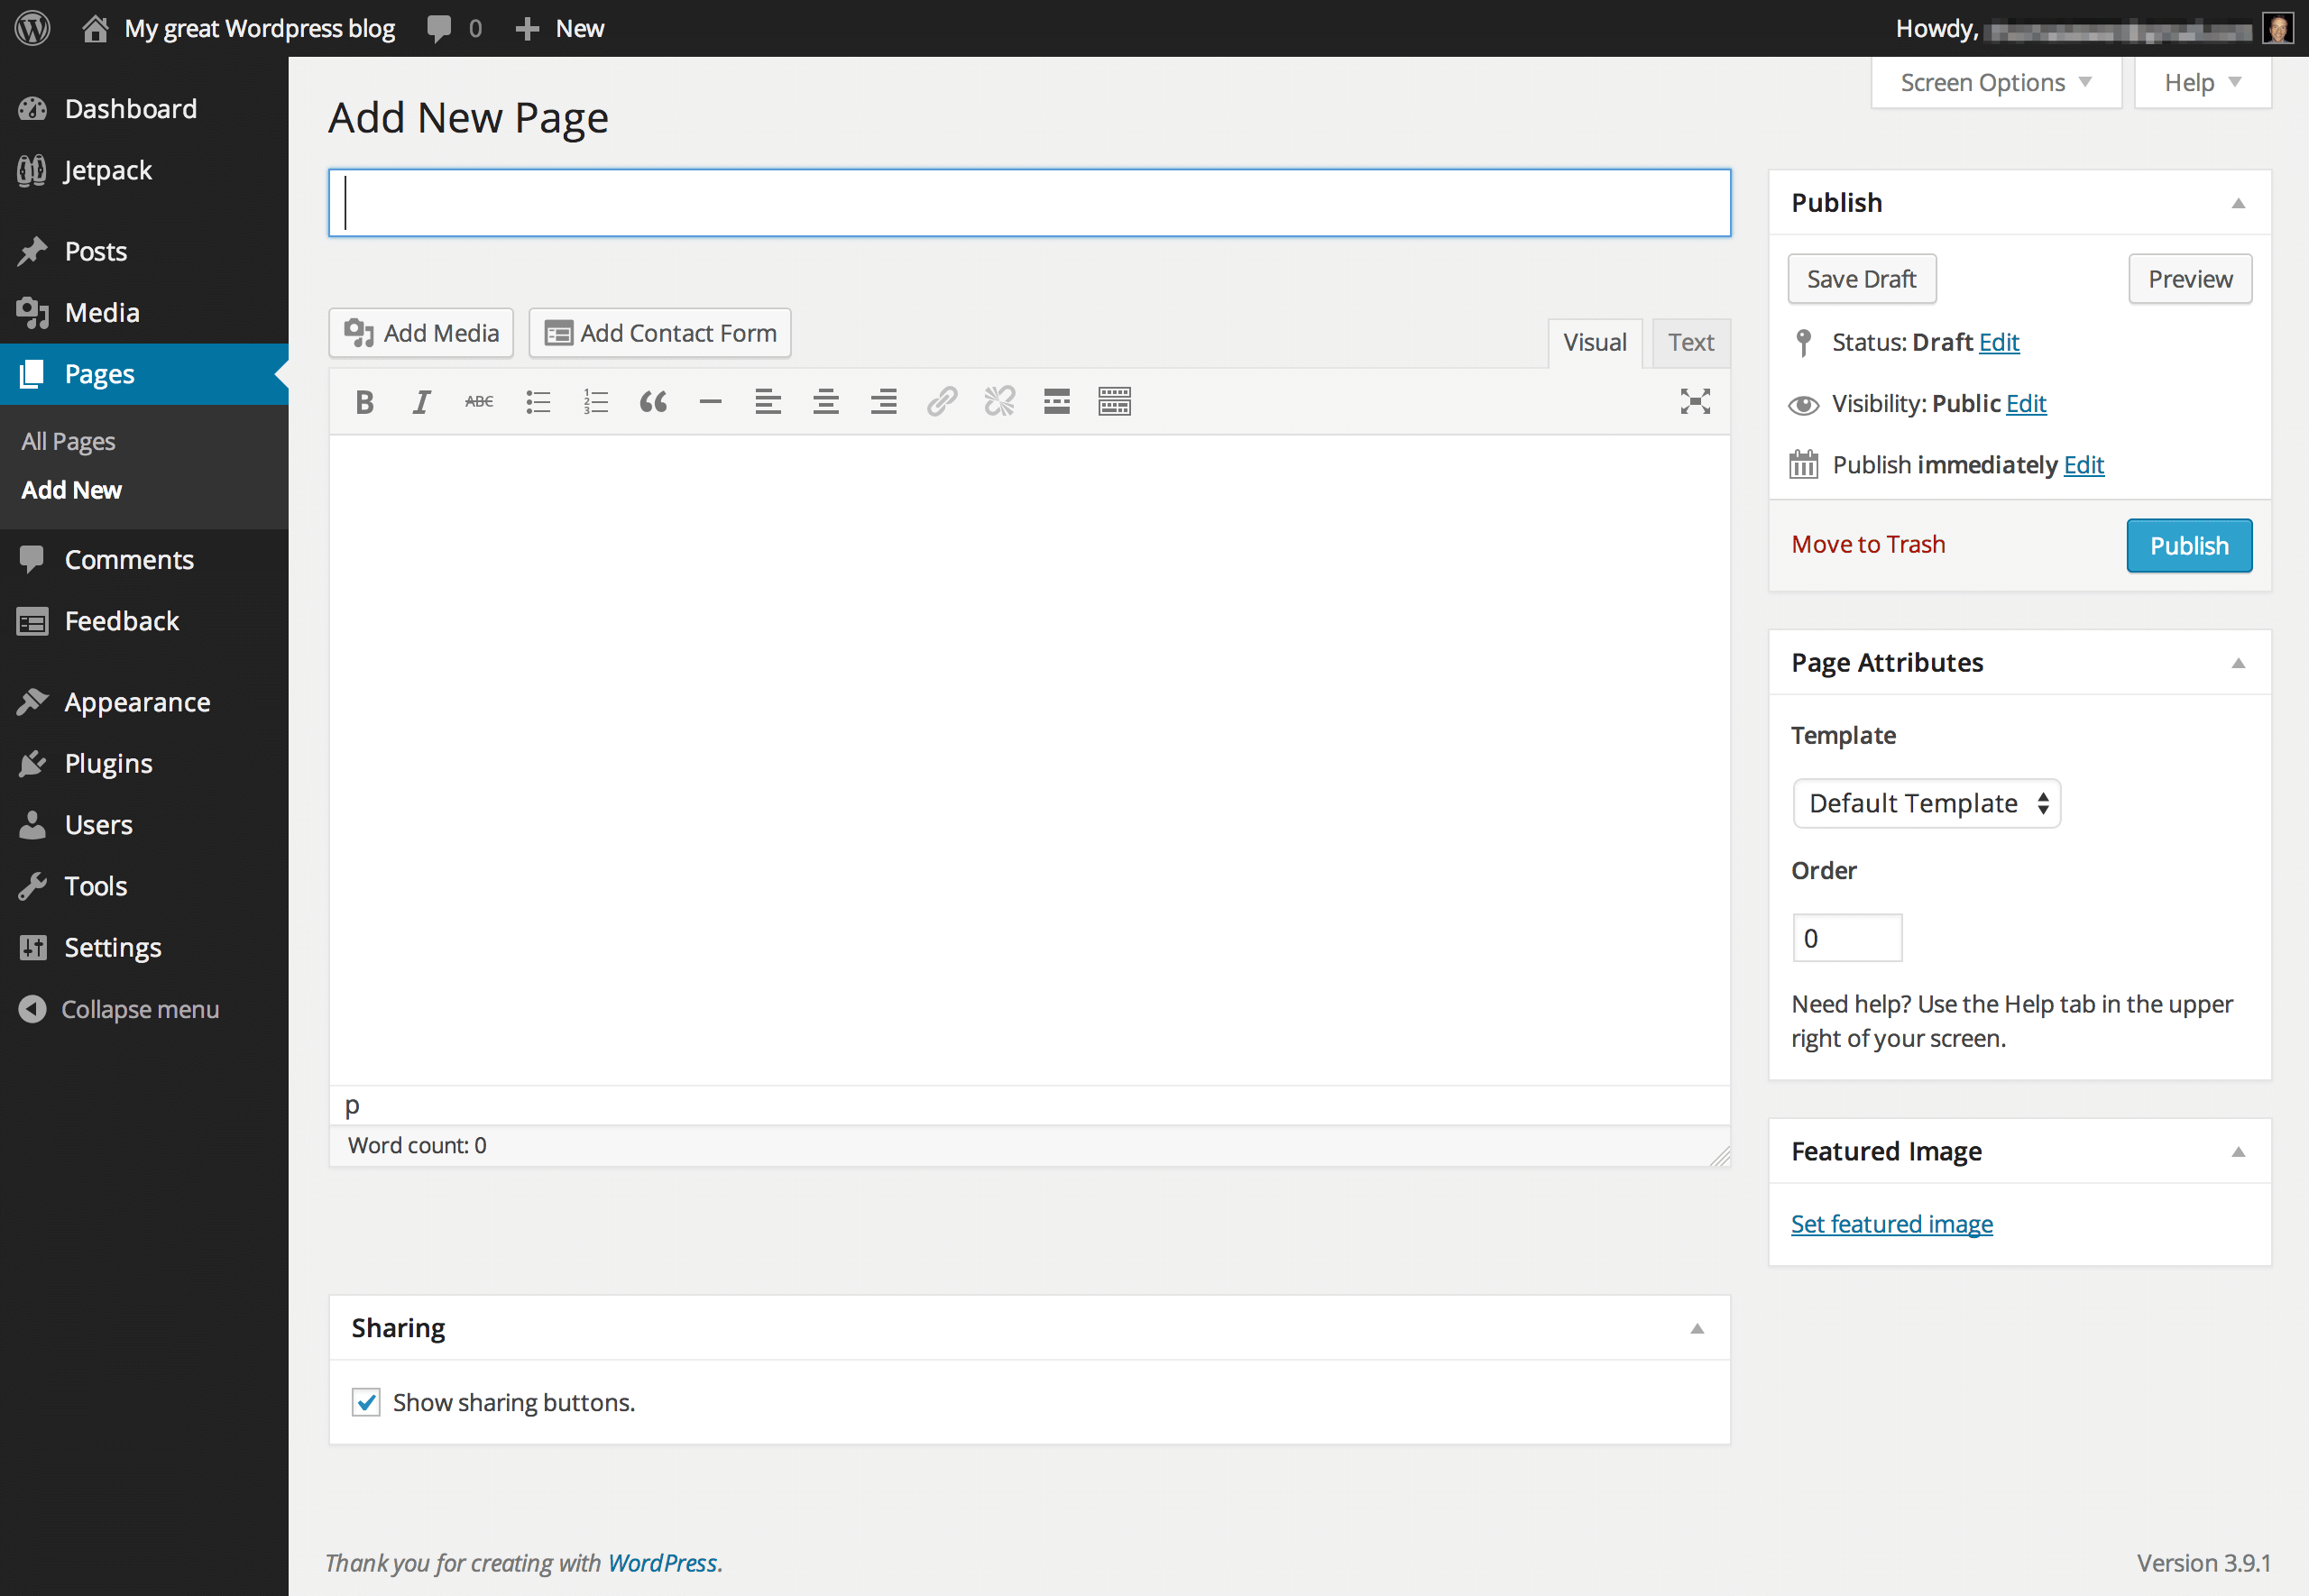
For the purposes of this course, you only need to worry about two things on the Page screen:
- The Title Field
- The Text Editor
As you would expect, the Title Field is where you enter the title of your page (this will usually be displayed on your site). The Text Editor is where you enter the content that will be featured on your page.
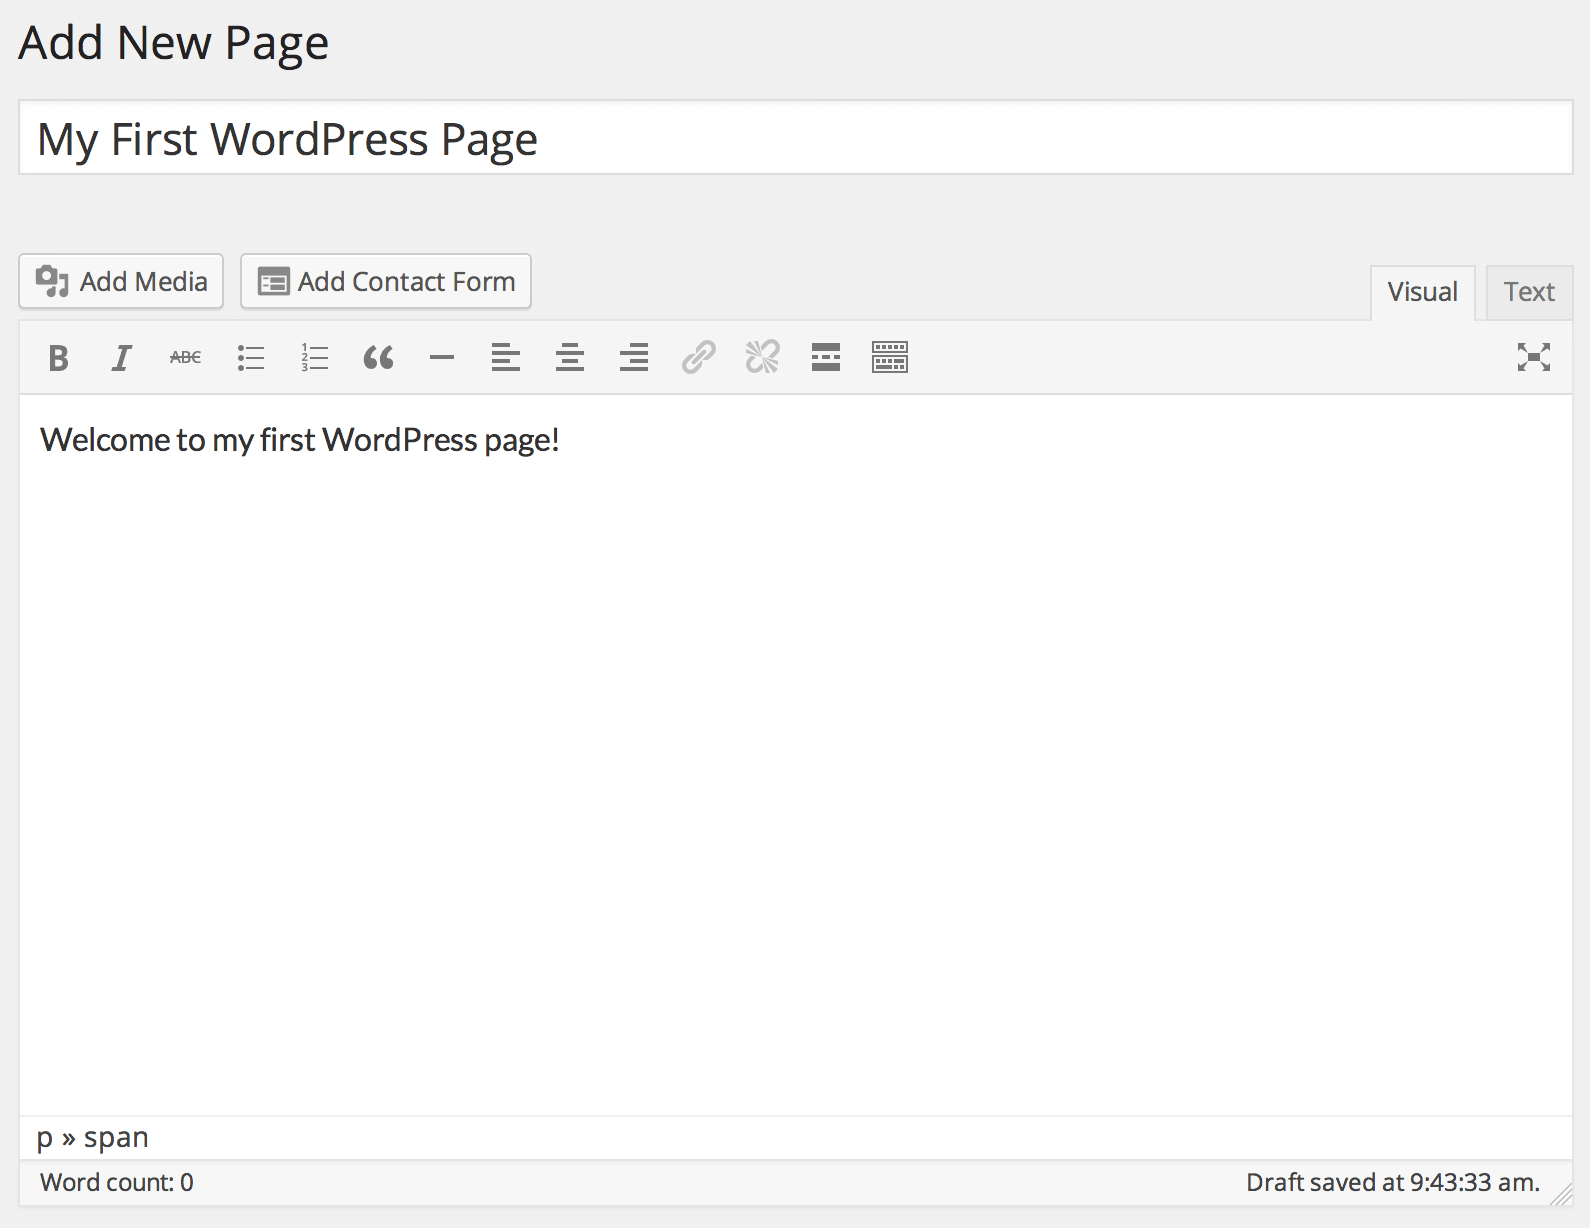
To illustrate this, let’s create a simple page. Enter “My First WordPress Page” in the Title Field and “Welcome to my first WordPress page!” in the Text Editor, like this:
Now click the Publish button to the right to publish the page. The page will reload and a confirmation will appear:
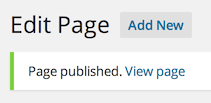
(Note that the title of the page has changed from Add New Page to Edit Page. This is because you are no longer adding a new page – you’re editing an existing one.)
Go ahead and click on View Page. You’ll see something like this:
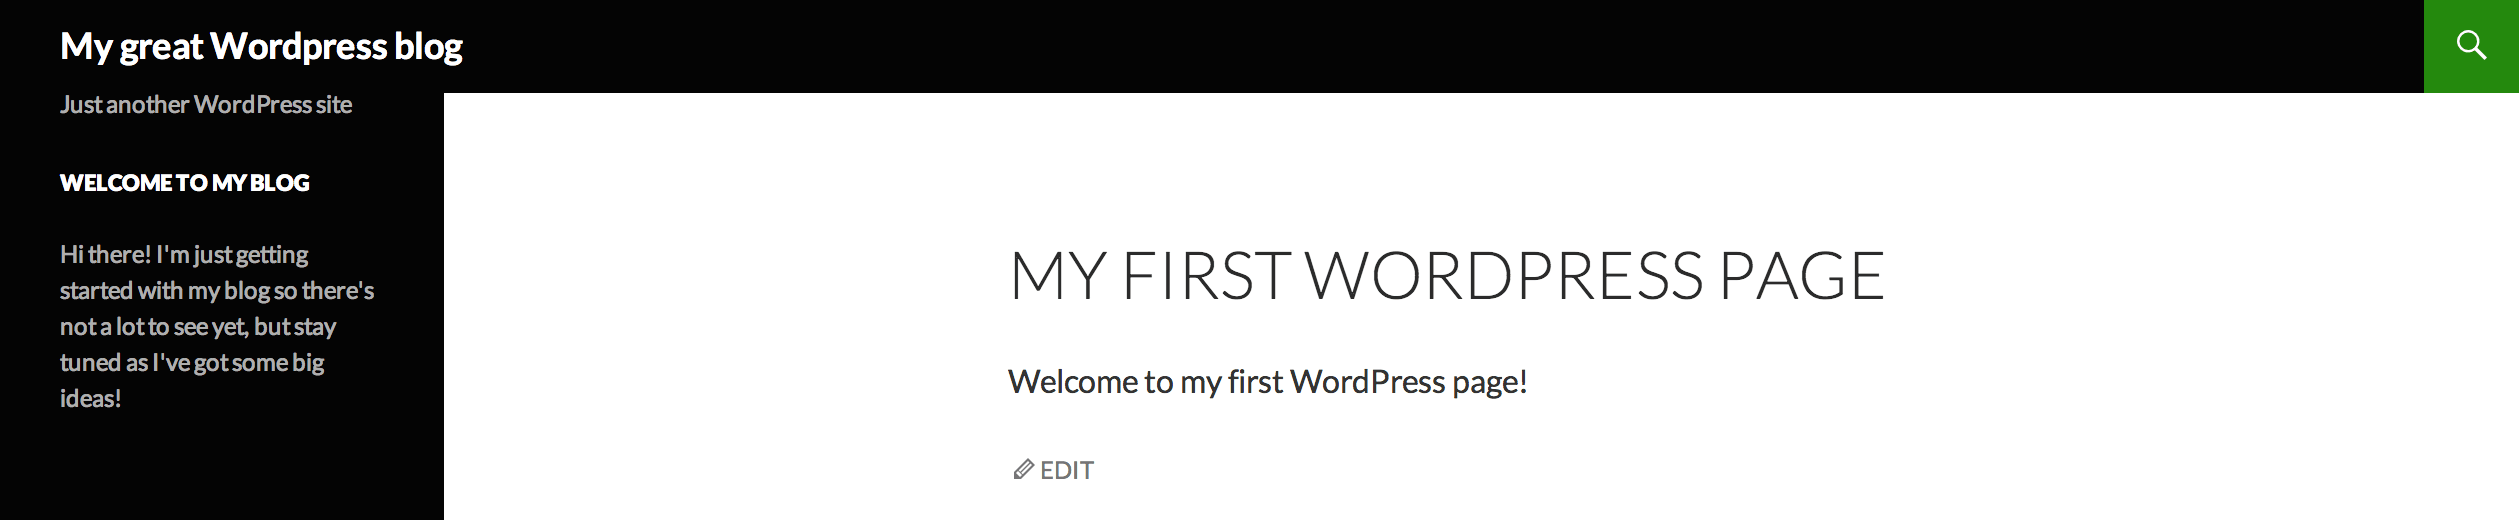
And just like that, you’ve created your first WordPress Page!
Let’s move on and create something a little more interesting using the tools available to us via the Text Editor.
Creating an About Page for Your WordPress Blog
First of all, delete the page you’ve just created, using the same process we first outlined in Part 3 (when you deleted the default page that is installed with WordPress). In its place, we’re going to create your blog’s About page.
Now let’s create a new page by navigating to Pages > Add New from the sidebar. We’ll give this page a more useful name:
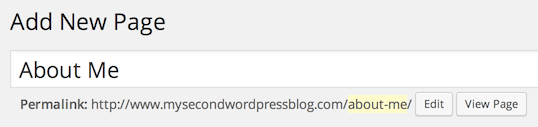
If you set up your permalinks to Post name as per our instructions in Part 3, you’ll see that the Permalink changes to match the title, with spaces replaced by hyphens (-).
Now let’s focus down on where the magic really happens: the Text Editor.
The Text Editor operates much like Microsoft Word or any other rich text editor. You can type in the box to your heart’s content, and there are a number of formatting options available to you.
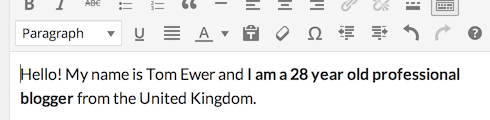
Take a moment to write a few paragraphs about yourself. This will serve as a good foundation for your About page. Don’t worry – you can always come back later to change things up if you’re not happy.
Here’s what I came up with:
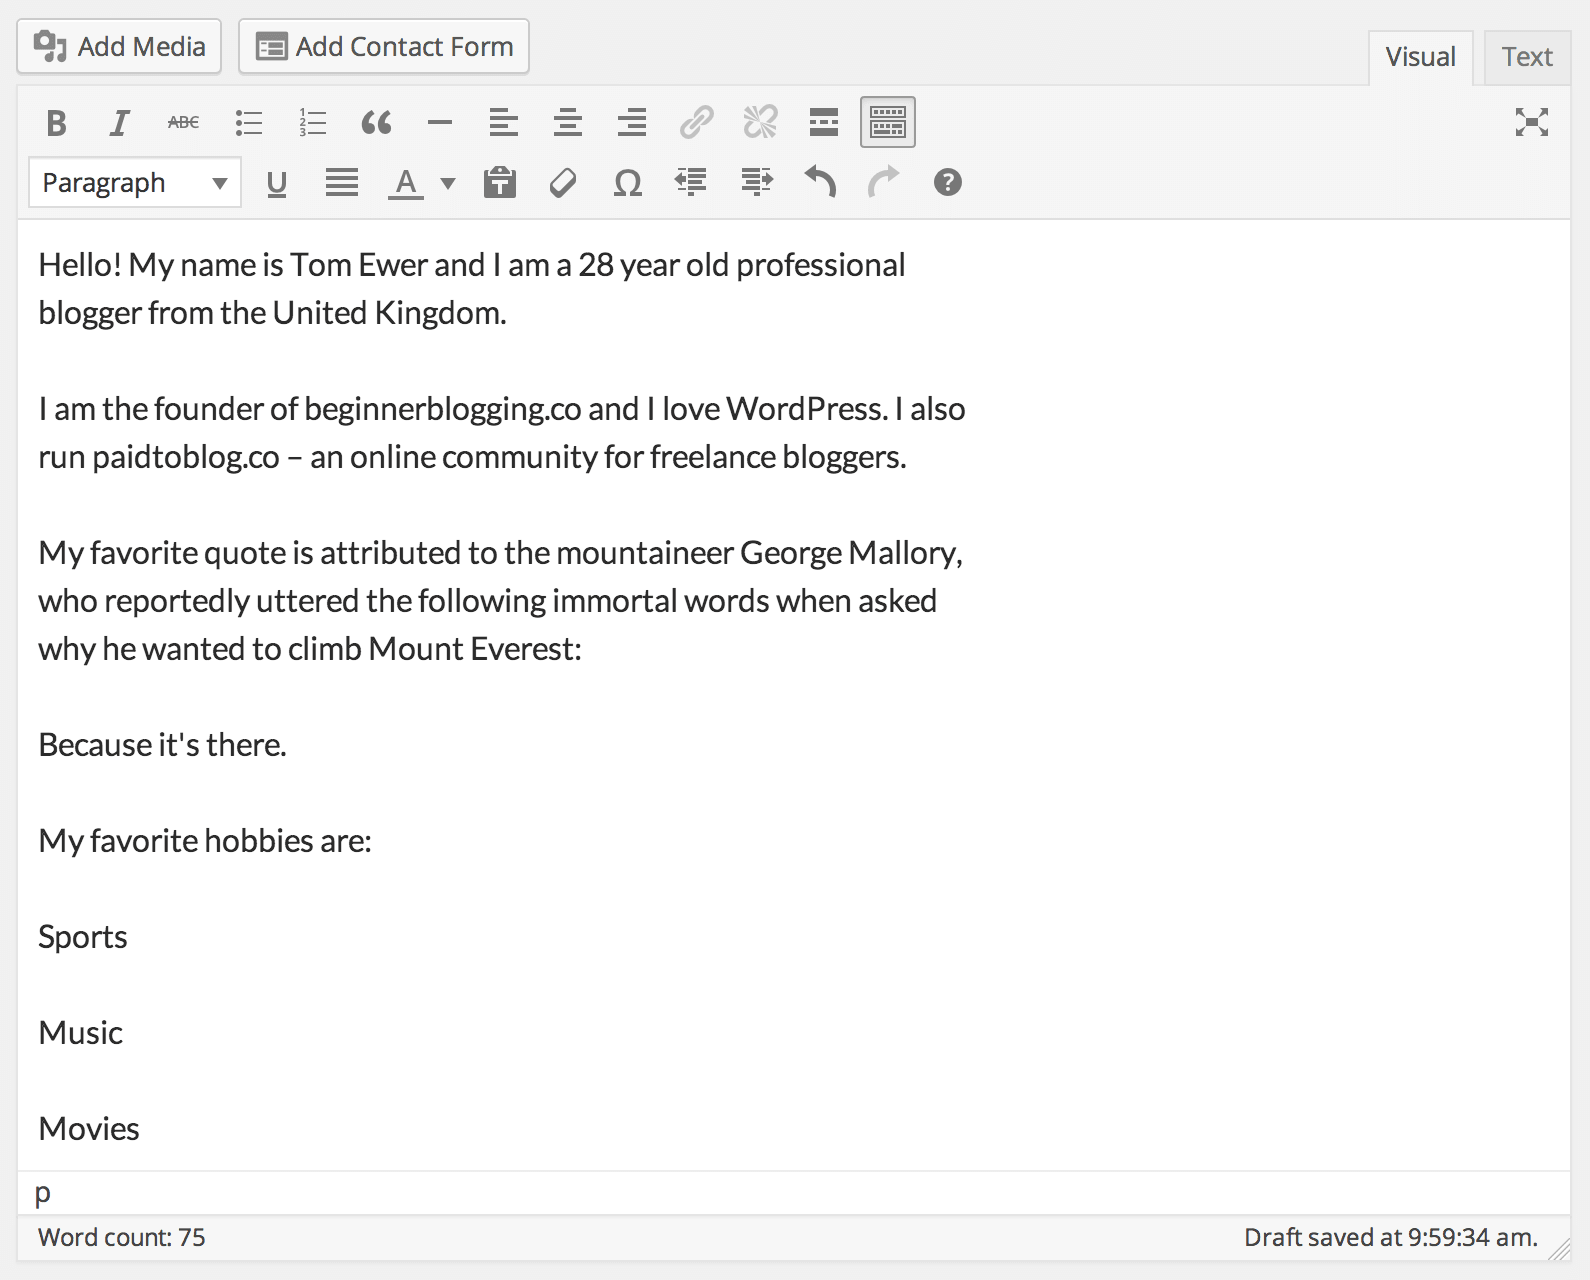
So I’ve got the text down, but it’s not exactly easy to read, is it? Furthermore, I refer to a couple of sites but I don’t actually link to them (something you should always do).
Here’s what it currently looks like to visitors:
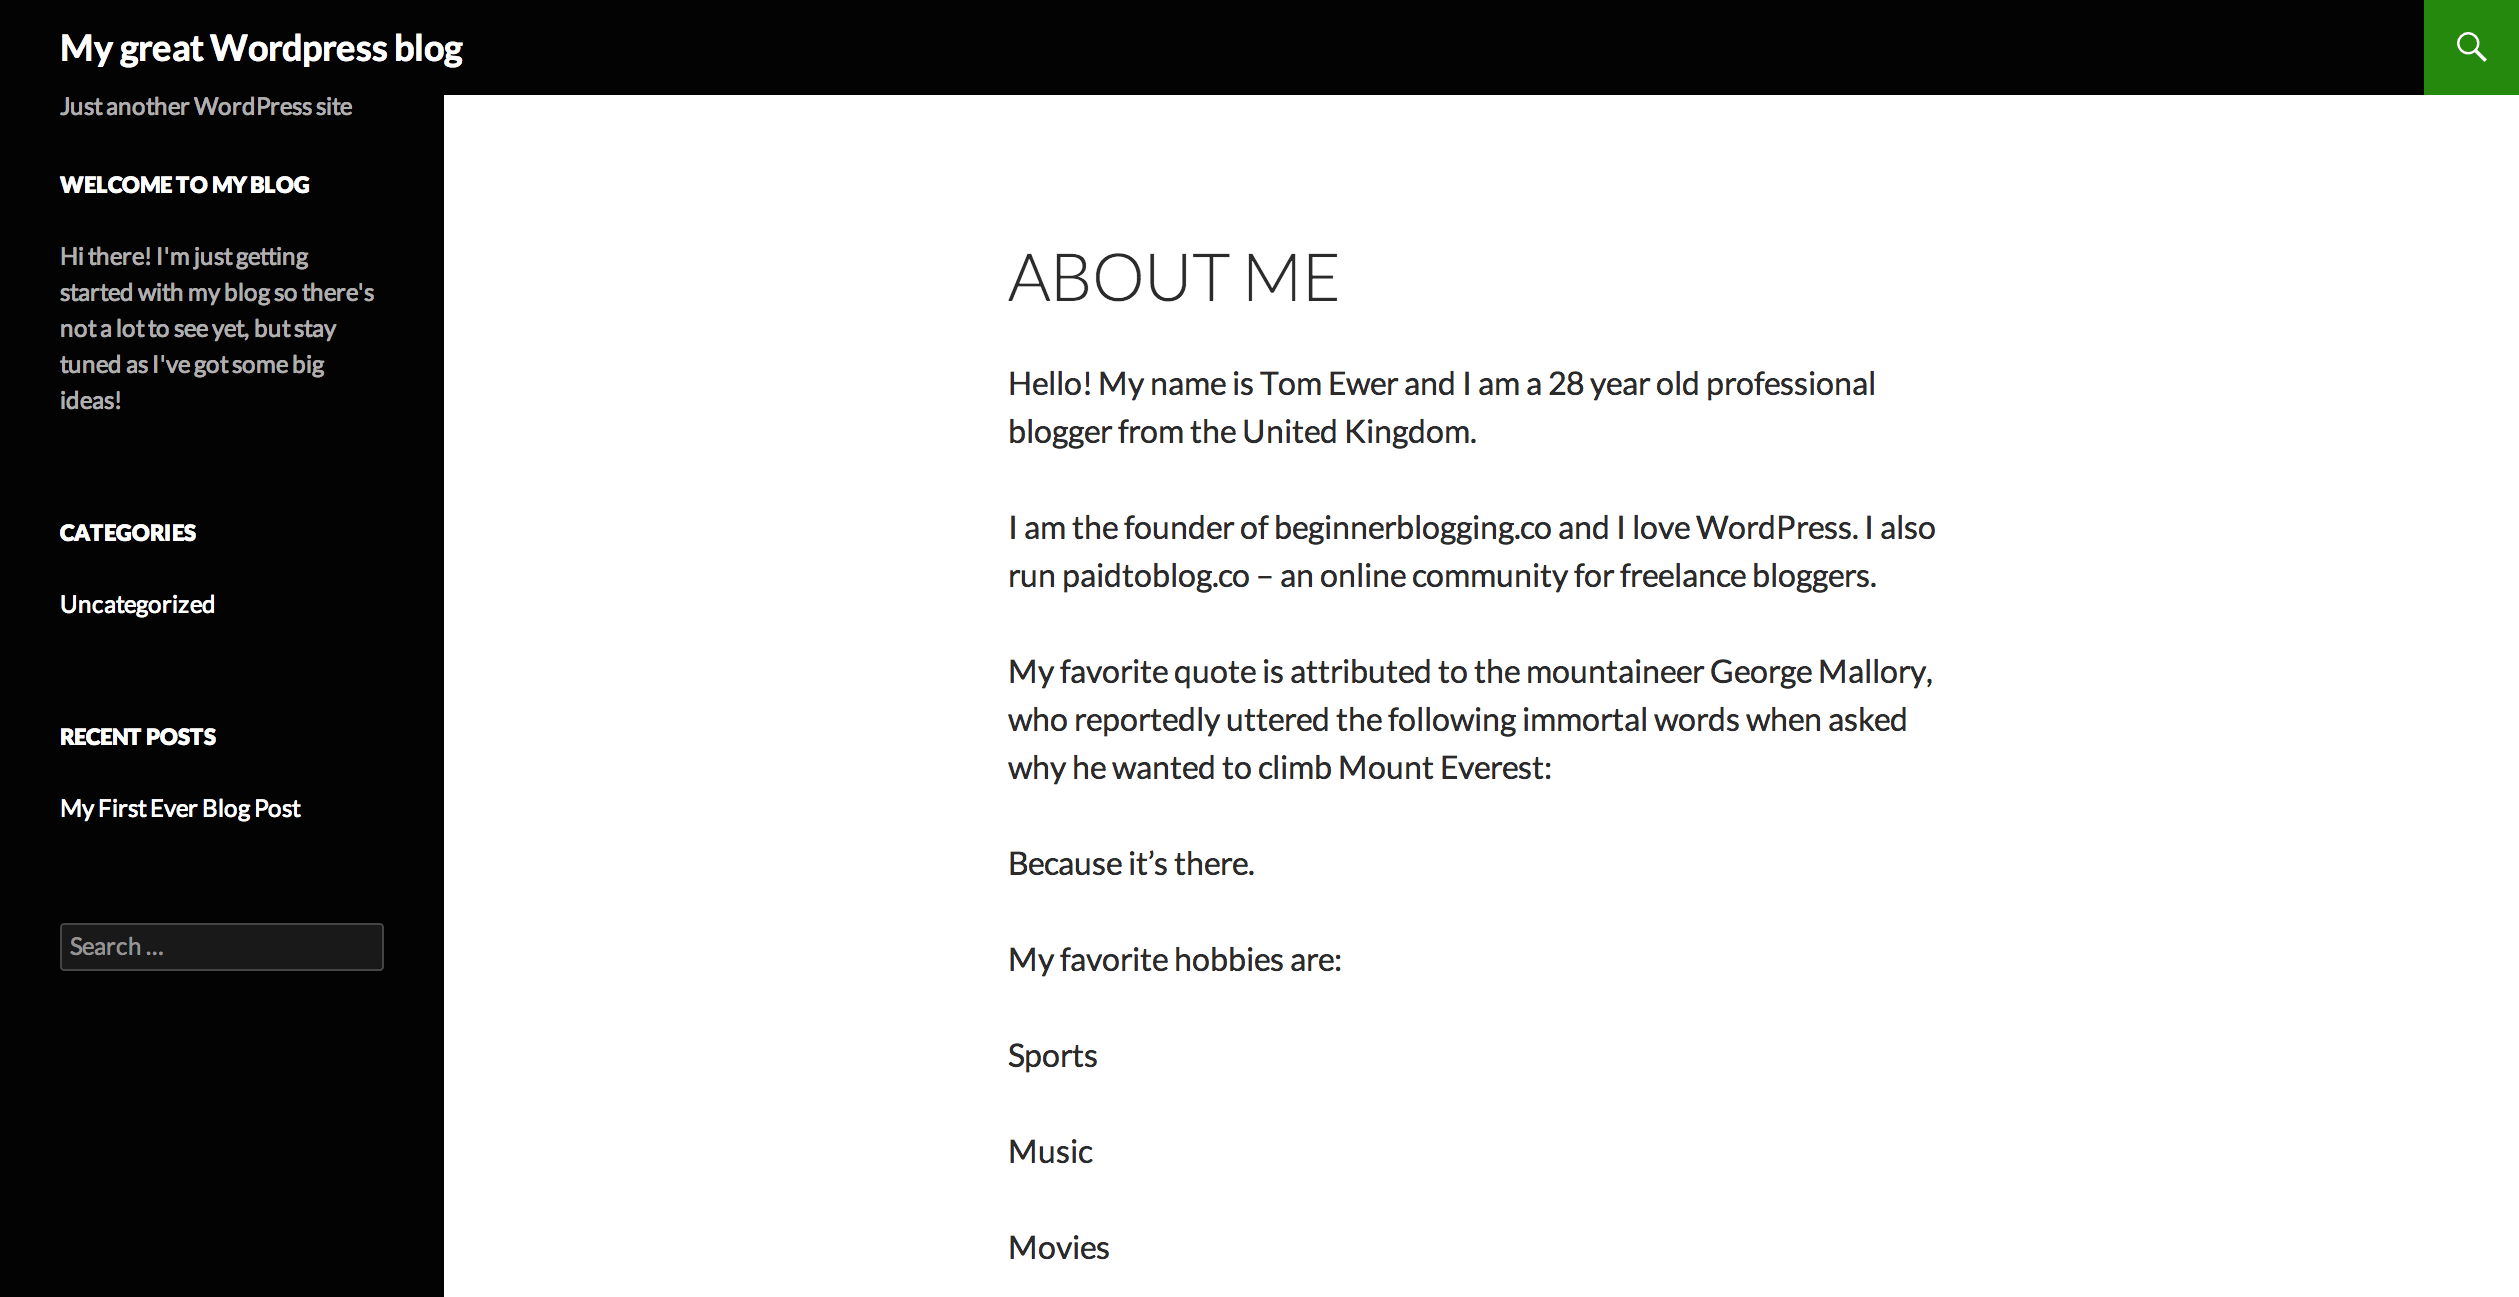
We can do better than that.
Let’s start by formatting the text. We can add bold and italics, create sub-headers, lists and even blockquotes.
Now I really love WordPress, so let’s add italics to emphasize that fact. Just select the text you want to italicize and click the Italic menu item:
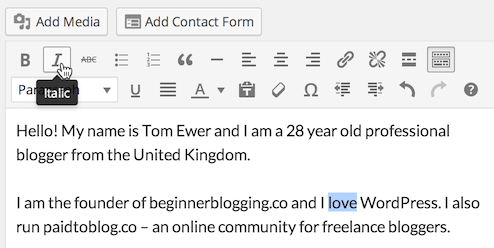
Hey presto:

Bloggers often use bold to highlight key words and phrases, so I’m going to use that particular stylistic tool on my About page:
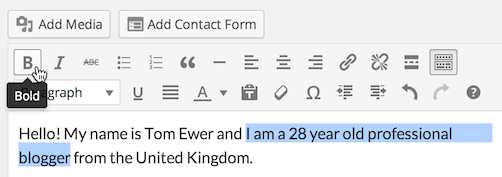
Here’s the end result:

Next, let’s make Mallory’s quote stand out a bit more. In WordPress you can do this with the Blockquote tool, which is used to format any standalone block of quoted text. (You wouldn’t use it for quotes within a larger paragraph of original text.)
As with italicizing and bolding, to Blockquote format a paragraph, just select the text and hit the relevant button:
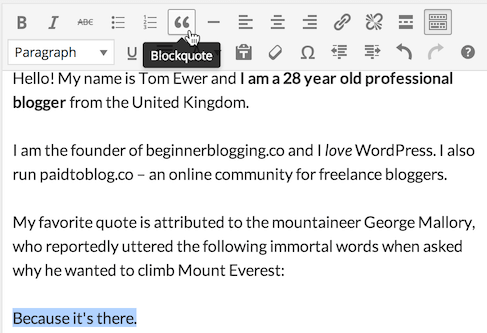
You’ll see something like this:
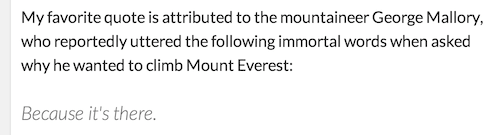
Note that the style may vary, depending what theme you are using.
Now let’s make the “hobbies” section of my About page a little easier to read.
First of all, have you noticed the second row of buttons in the screenshots above? You can toggle those extra formatting options by clicking on the Toolbar Toggle button:
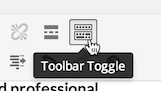
With those options toggled, we can now add a sub-header to our page. I’m going to select the text then select the Heading 2 option from the Paragraph drop down box:
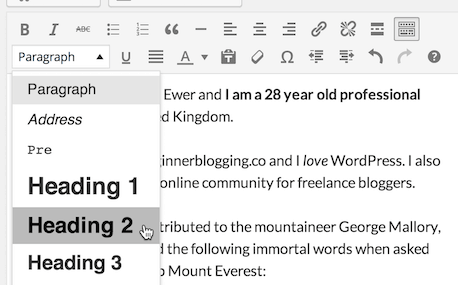
Your blog’s title and the post title usually employ the Heading 1 tag, so I don’t advise that you use it within Posts and Pages. Start with the Heading 2 tag and work your way down if necessary.
My hobbies now have a clear header:
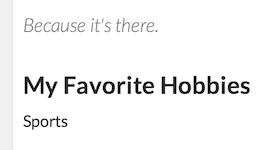
However, the hobbies themselves don’t look great. It would be better to put them into a list.
This is easy with WordPress – just select the items you would like to list and click on either the Bulleted list or Numbered list button:
![]()
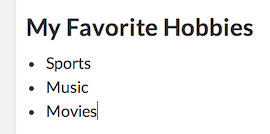
I’ll use the Bulleted list option for my hobbies list, as I have no reason to sort them by number.
The hobbies section of my About page looks much better now:
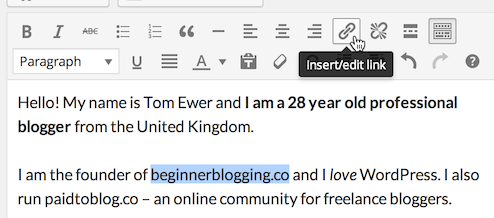
Things are starting to come together! Now let’s add some links.
We’ll start by addressing the obvious ones: the sites I have mentioned. To add a link, select the text you would like to turn into a link and click the Insert/edit link button:
You’ll be presented with a pop-up, where you’ll need to enter the URL (web address) of the website you want to link to:
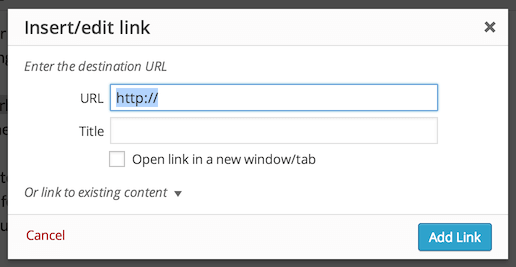
You’ll notice three other options:
- Title: text you enter here will display as a tool tip when people hover over the link. If you feel it’s necessary to explain more about the link, you could add text here.
- Open link in a new window/tab: check this box and the link will be opened in a new window/tab when clicked on.
- Or link to existing content: this gives you an easy means to link to other pages and posts on your site. Always use it when linking internally.
For now, I’m going to enter the URL I want to link to and check the Open link in a new window/tab box:
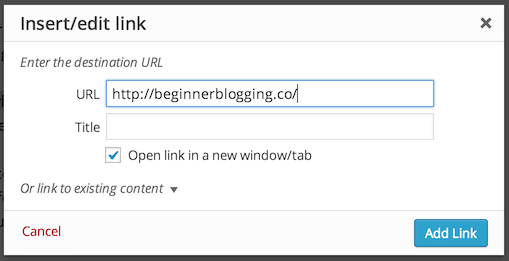
Click on Add Link when you’re done, and the link will be added to your page:

I’m going to repeat the same process for the other link (paidtoblog.co) for good measure.
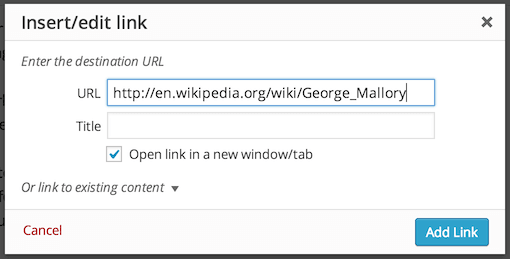
It would also be helpful for me to link to a Wikipedia page for George Mallory – (1) to provide a source for the quote and (2) so people can read more about him if they want to.
As before, I’ve selected the text I want to link to and entered the URL I want to link to:
We’re nearly done with our page! The last thing I want to do is add a photo of myself. Images are very important on the web – they capture people’s attention and add color to sites.
Uploading and inserting an image onto your website isn’t difficult at all. First, place the cursor where you would like the image to appear.
I want my image to be at the top of the page, alongside the first paragraph, aligned to the right. So I’ll place the cursor in the top left of the Text Editor:
You may note that I’ve placed the cursor to the left even though I intend to align the image to the right. This is correct as, we’ll sort out the alignment of the image after we’ve uploaded it – the placement of the cursor isn’t what defines the image’s alignment.
Next, click on the Add Media button just above the Text Editor:
You’ll be presented with an Insert Media screen:
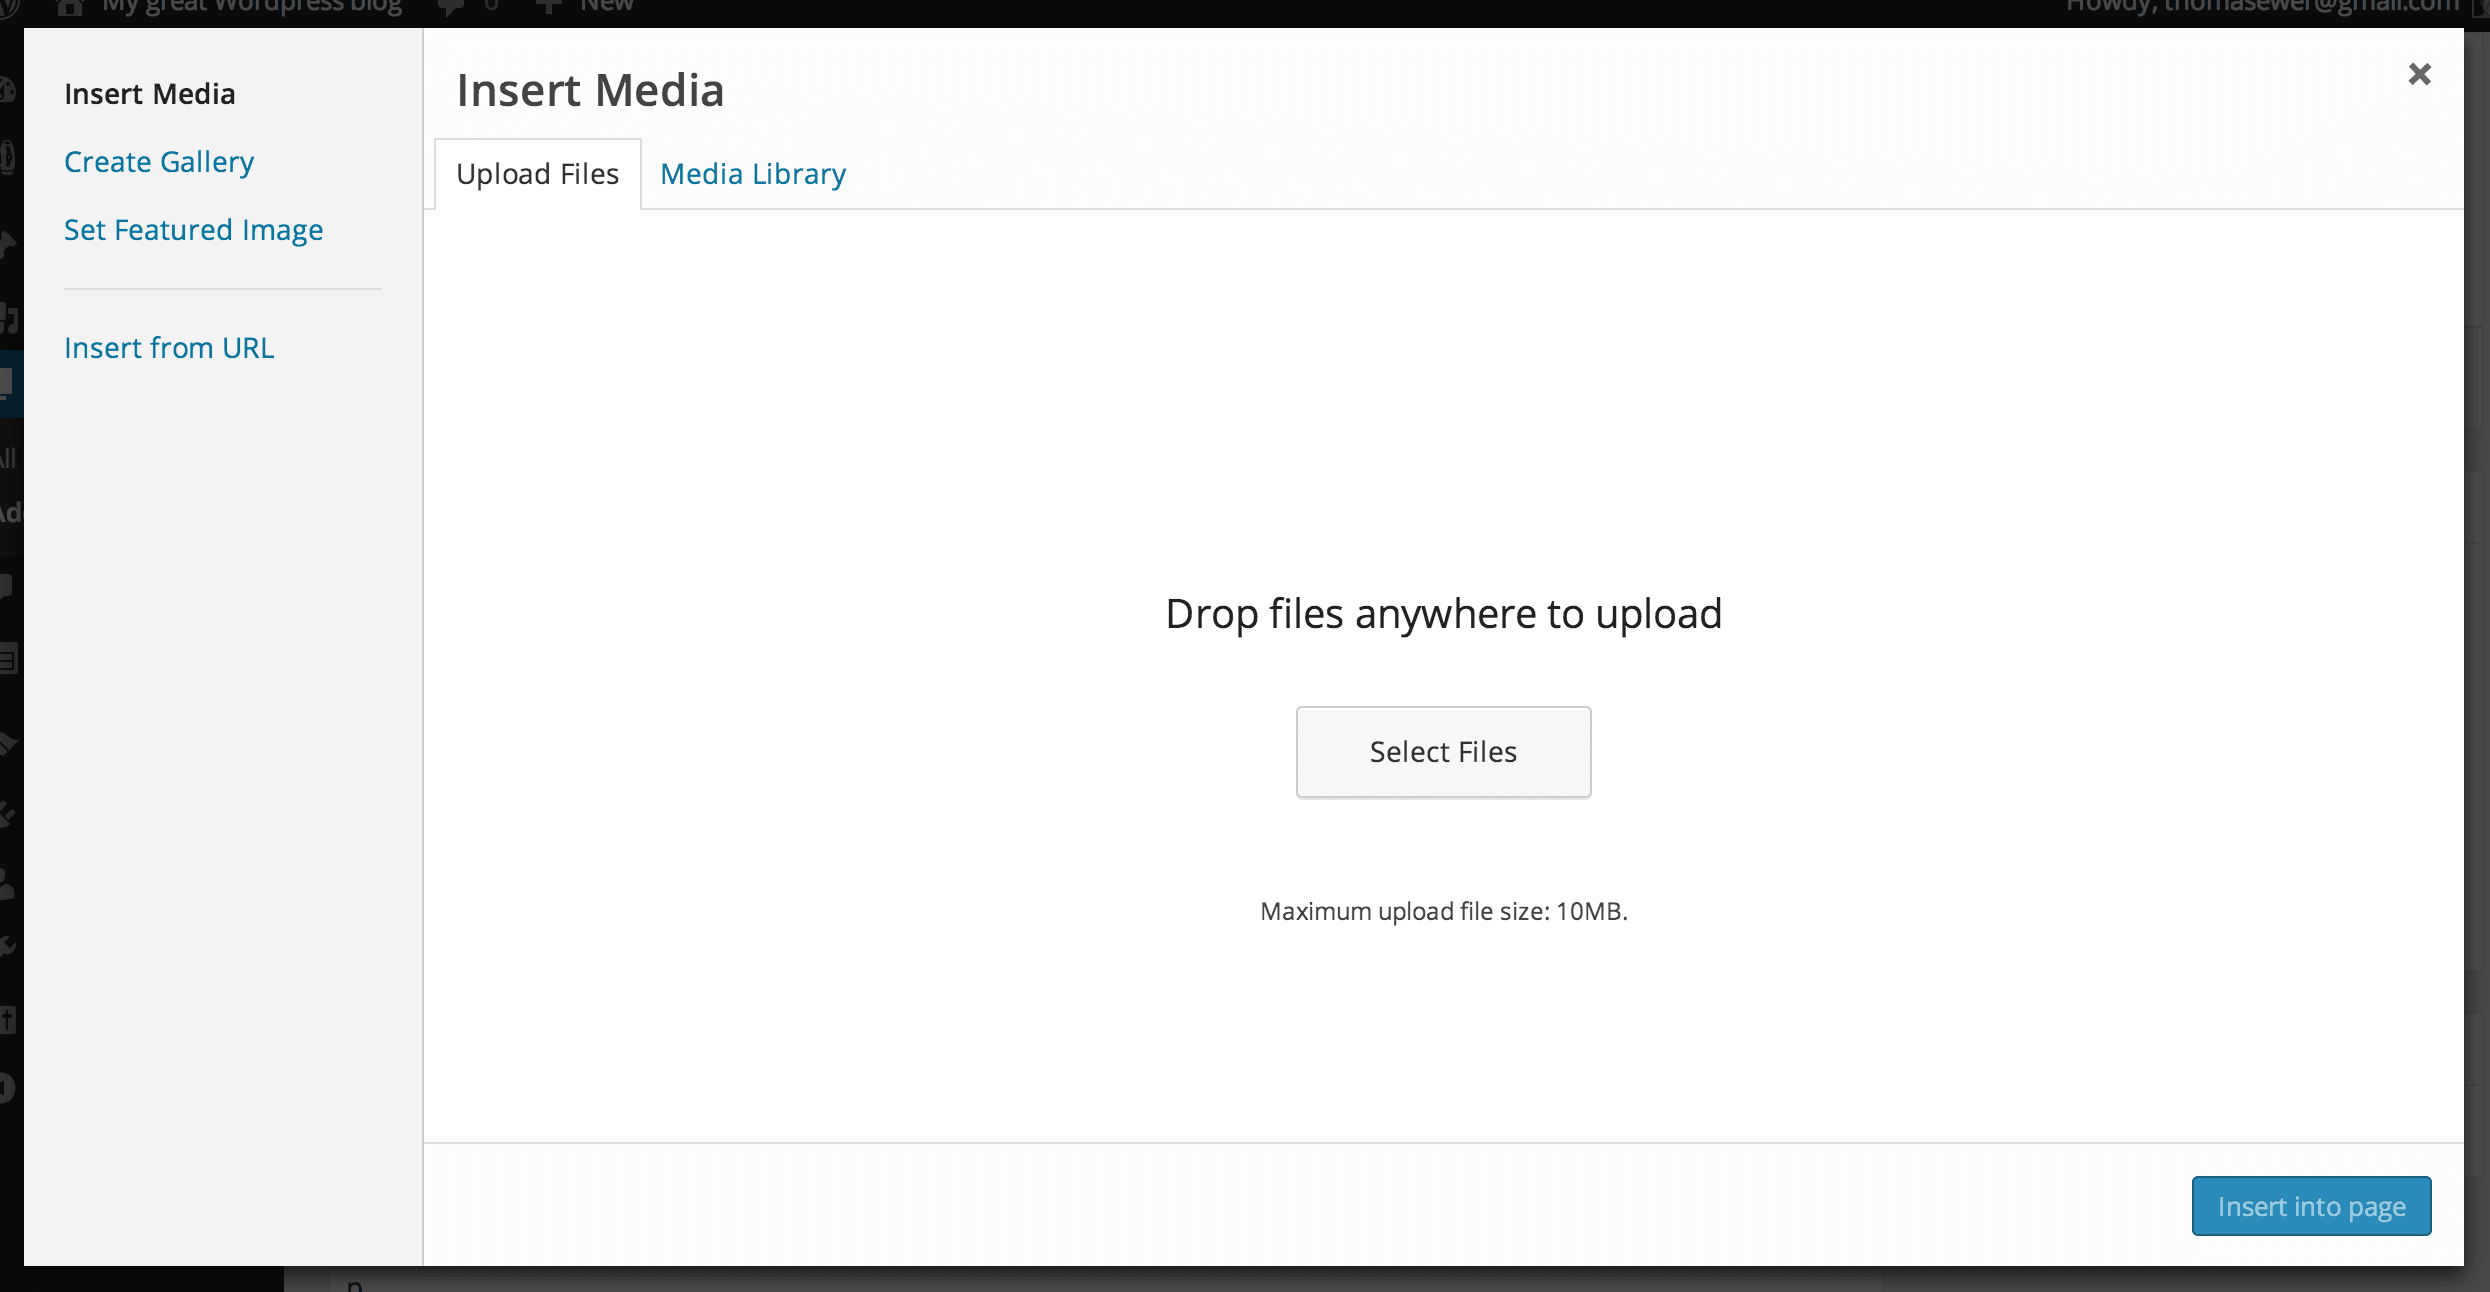
You can either drag and drop images onto this screen to upload them, or use the Select Files button to browse through your computer.
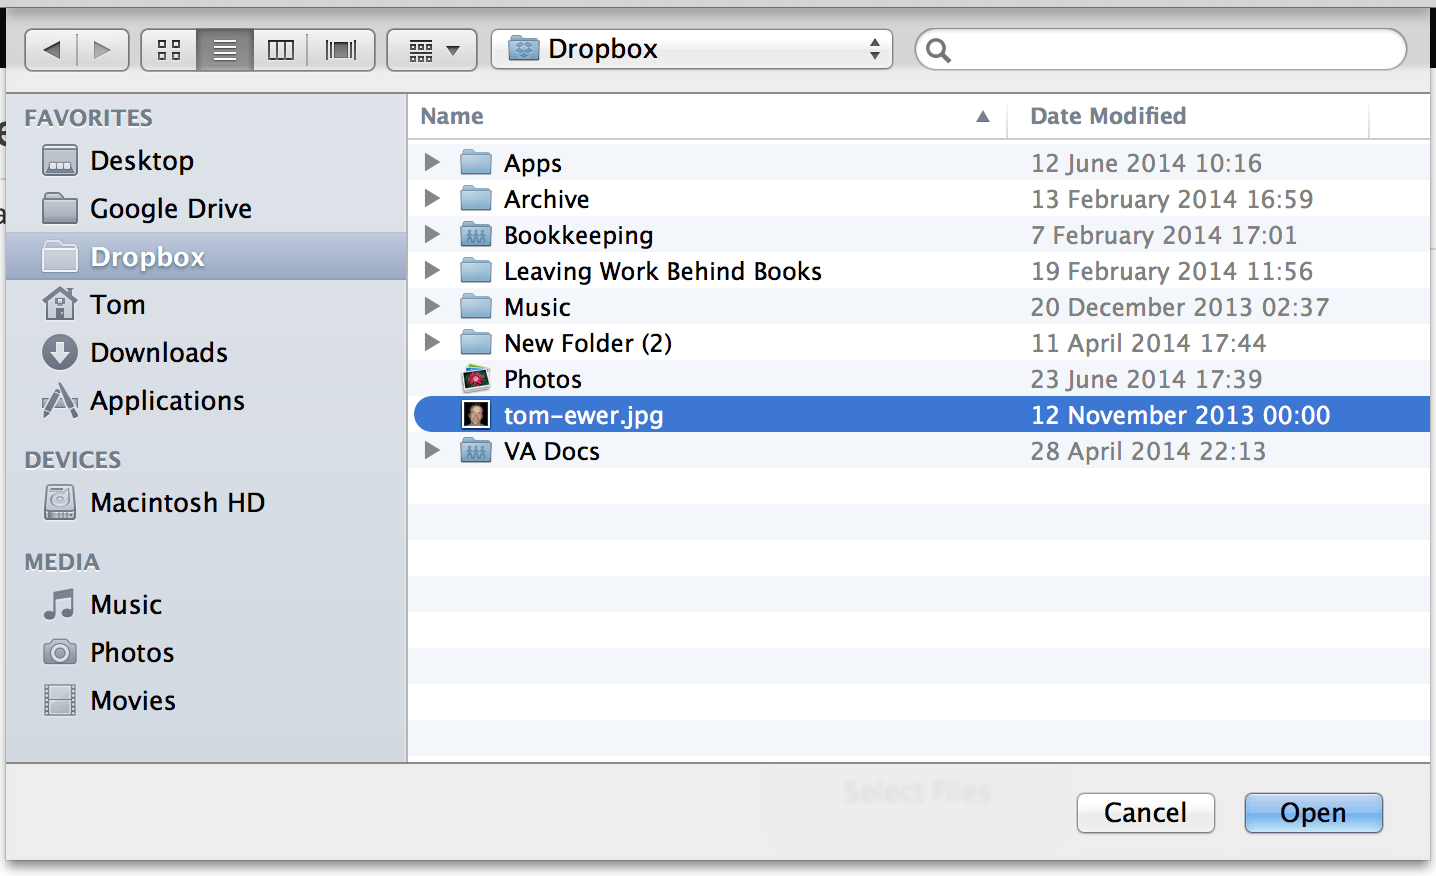
I prefer the second option. When you click the Select Files button you’ll be presented with a file explorer menu, so you can locate the image you want to use on your computer:
Once you have selected your image and clicked on the Open button, you’ll be taken to the Media Library tab. The image you have uploaded will be selected and you’ll have a few options to the right:
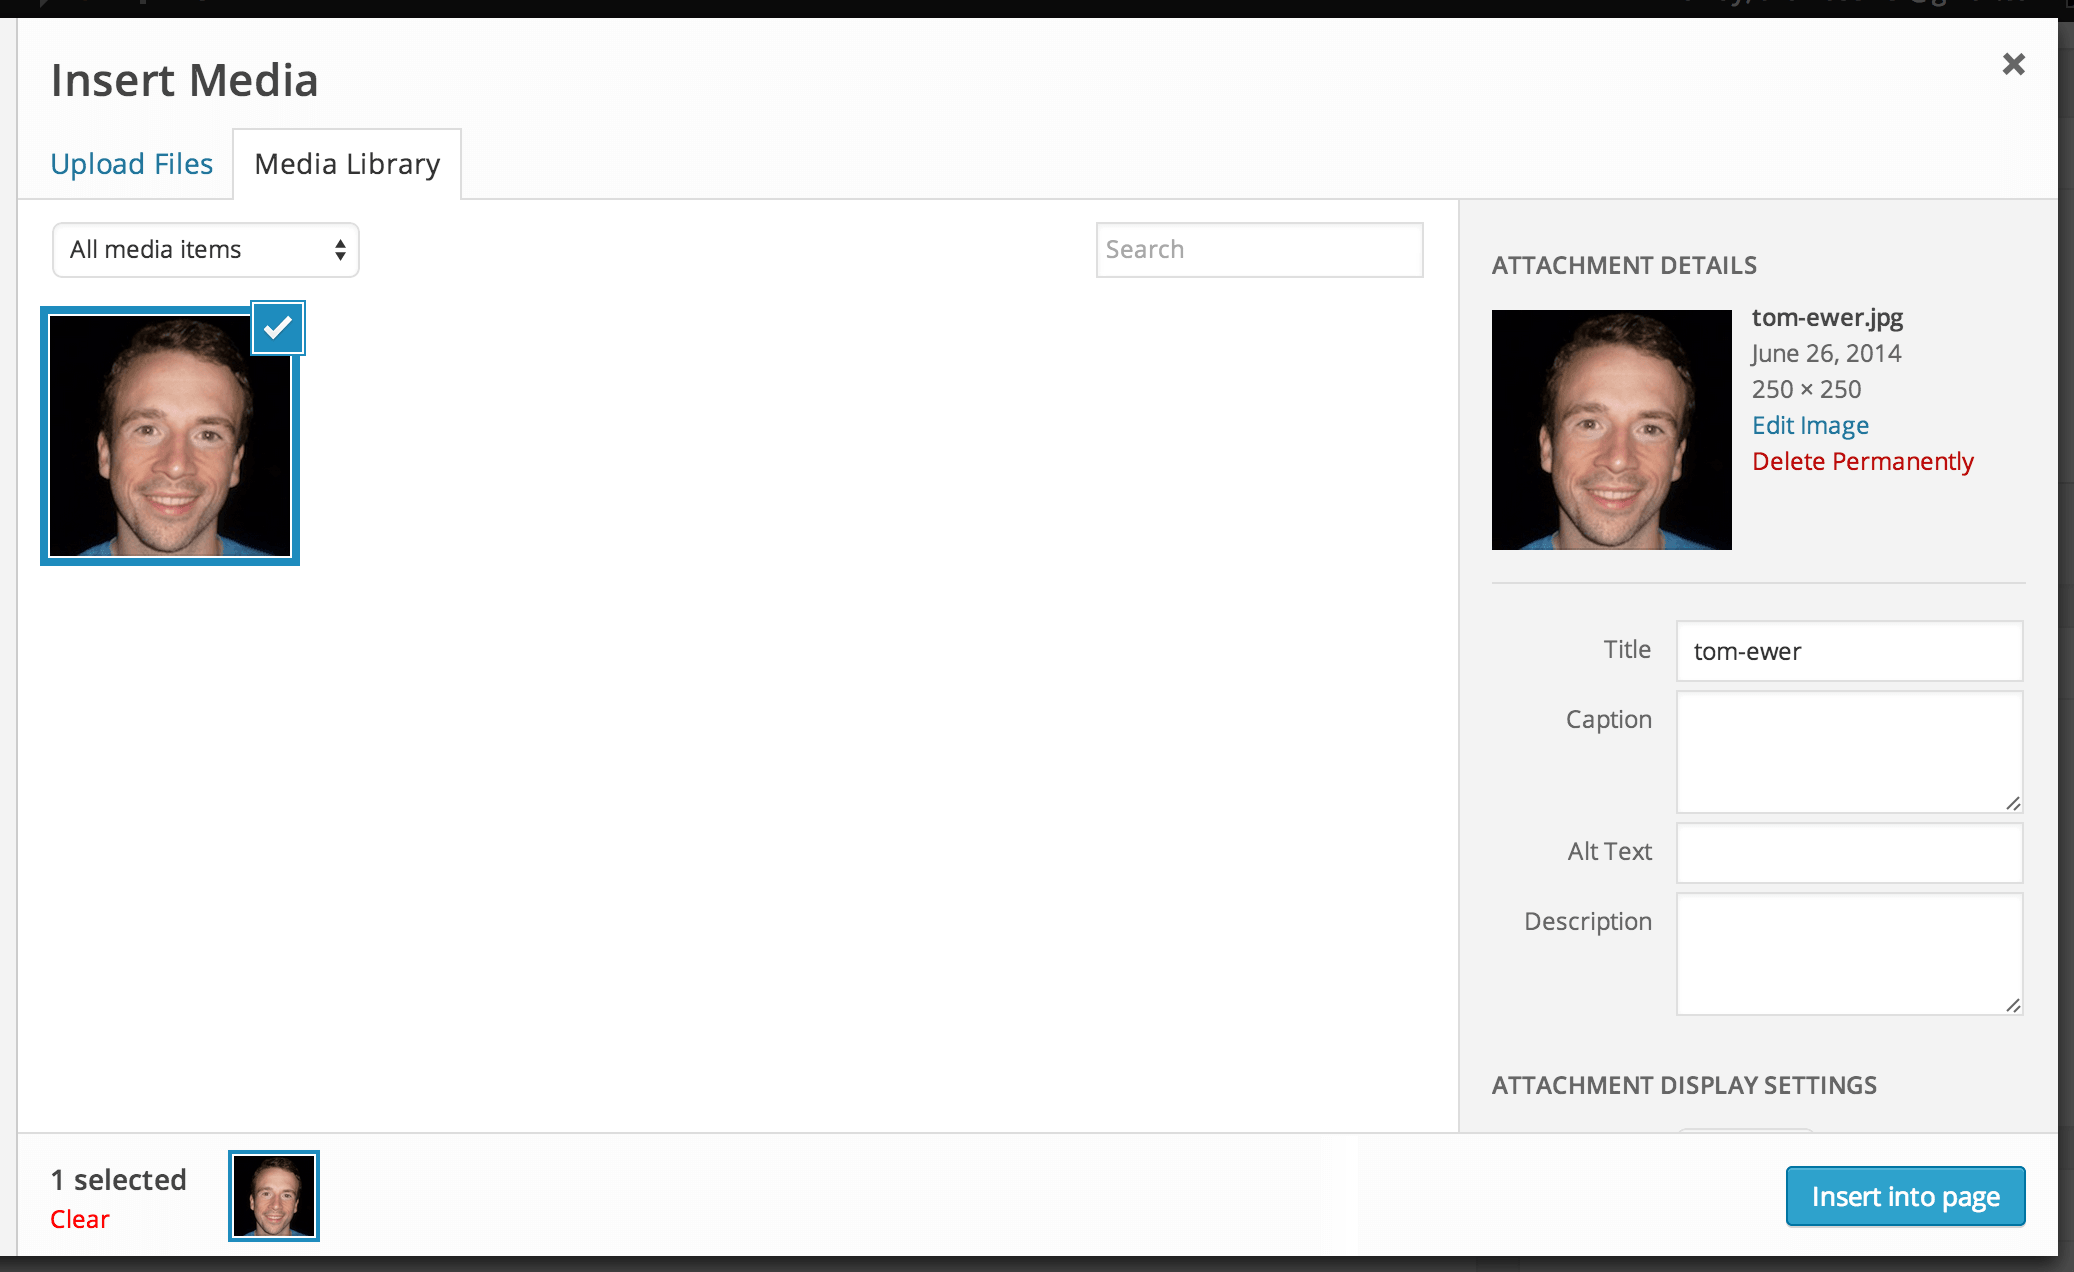
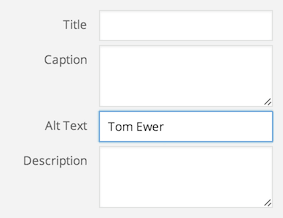
Out of the first four fields, you really only need to worry about two:
- Caption: if you want to add some text that will display underneath the image, do so here.
- Alt Text: this text will be used if the image doesn’t load or if a visitor is using screen reading software.
I’ll just add my name as the alt text, so people who can’t see the image know what it is:
The Attachment Display Settings have a far greater impact on the display of your image:
- Alignment: choose how the image should be aligned.
- Link to: choose what the image links to (if anything).
- Size: choose what size the image should be.
I’ve set the options as follows:
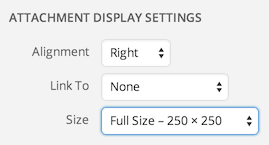
I chose not to link the image to anything. One option here would be to link to a larger version of the image, but that’s not necessary as I have chosen to include the Full Size image.
You’ve got to be careful with image sizes – you may unwittingly upload enormous image files that take ages to load and are far too big for your Post or Page.
Fortunately, I can see that my image is 250 x 250 pixels, which should be a good size.
Now all I need to is click on Insert into page, and the image will appear within the Text Editor:
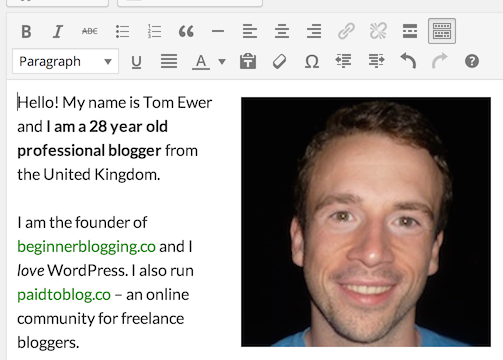
That’s it! My About page is completed, and you should have something similar by now. We’ve used all of the most important formatting options and inserted an image – you won’t need any other tools in order to create Posts and Pages within WordPress.
Here’s what the finished product looks like on the front end:
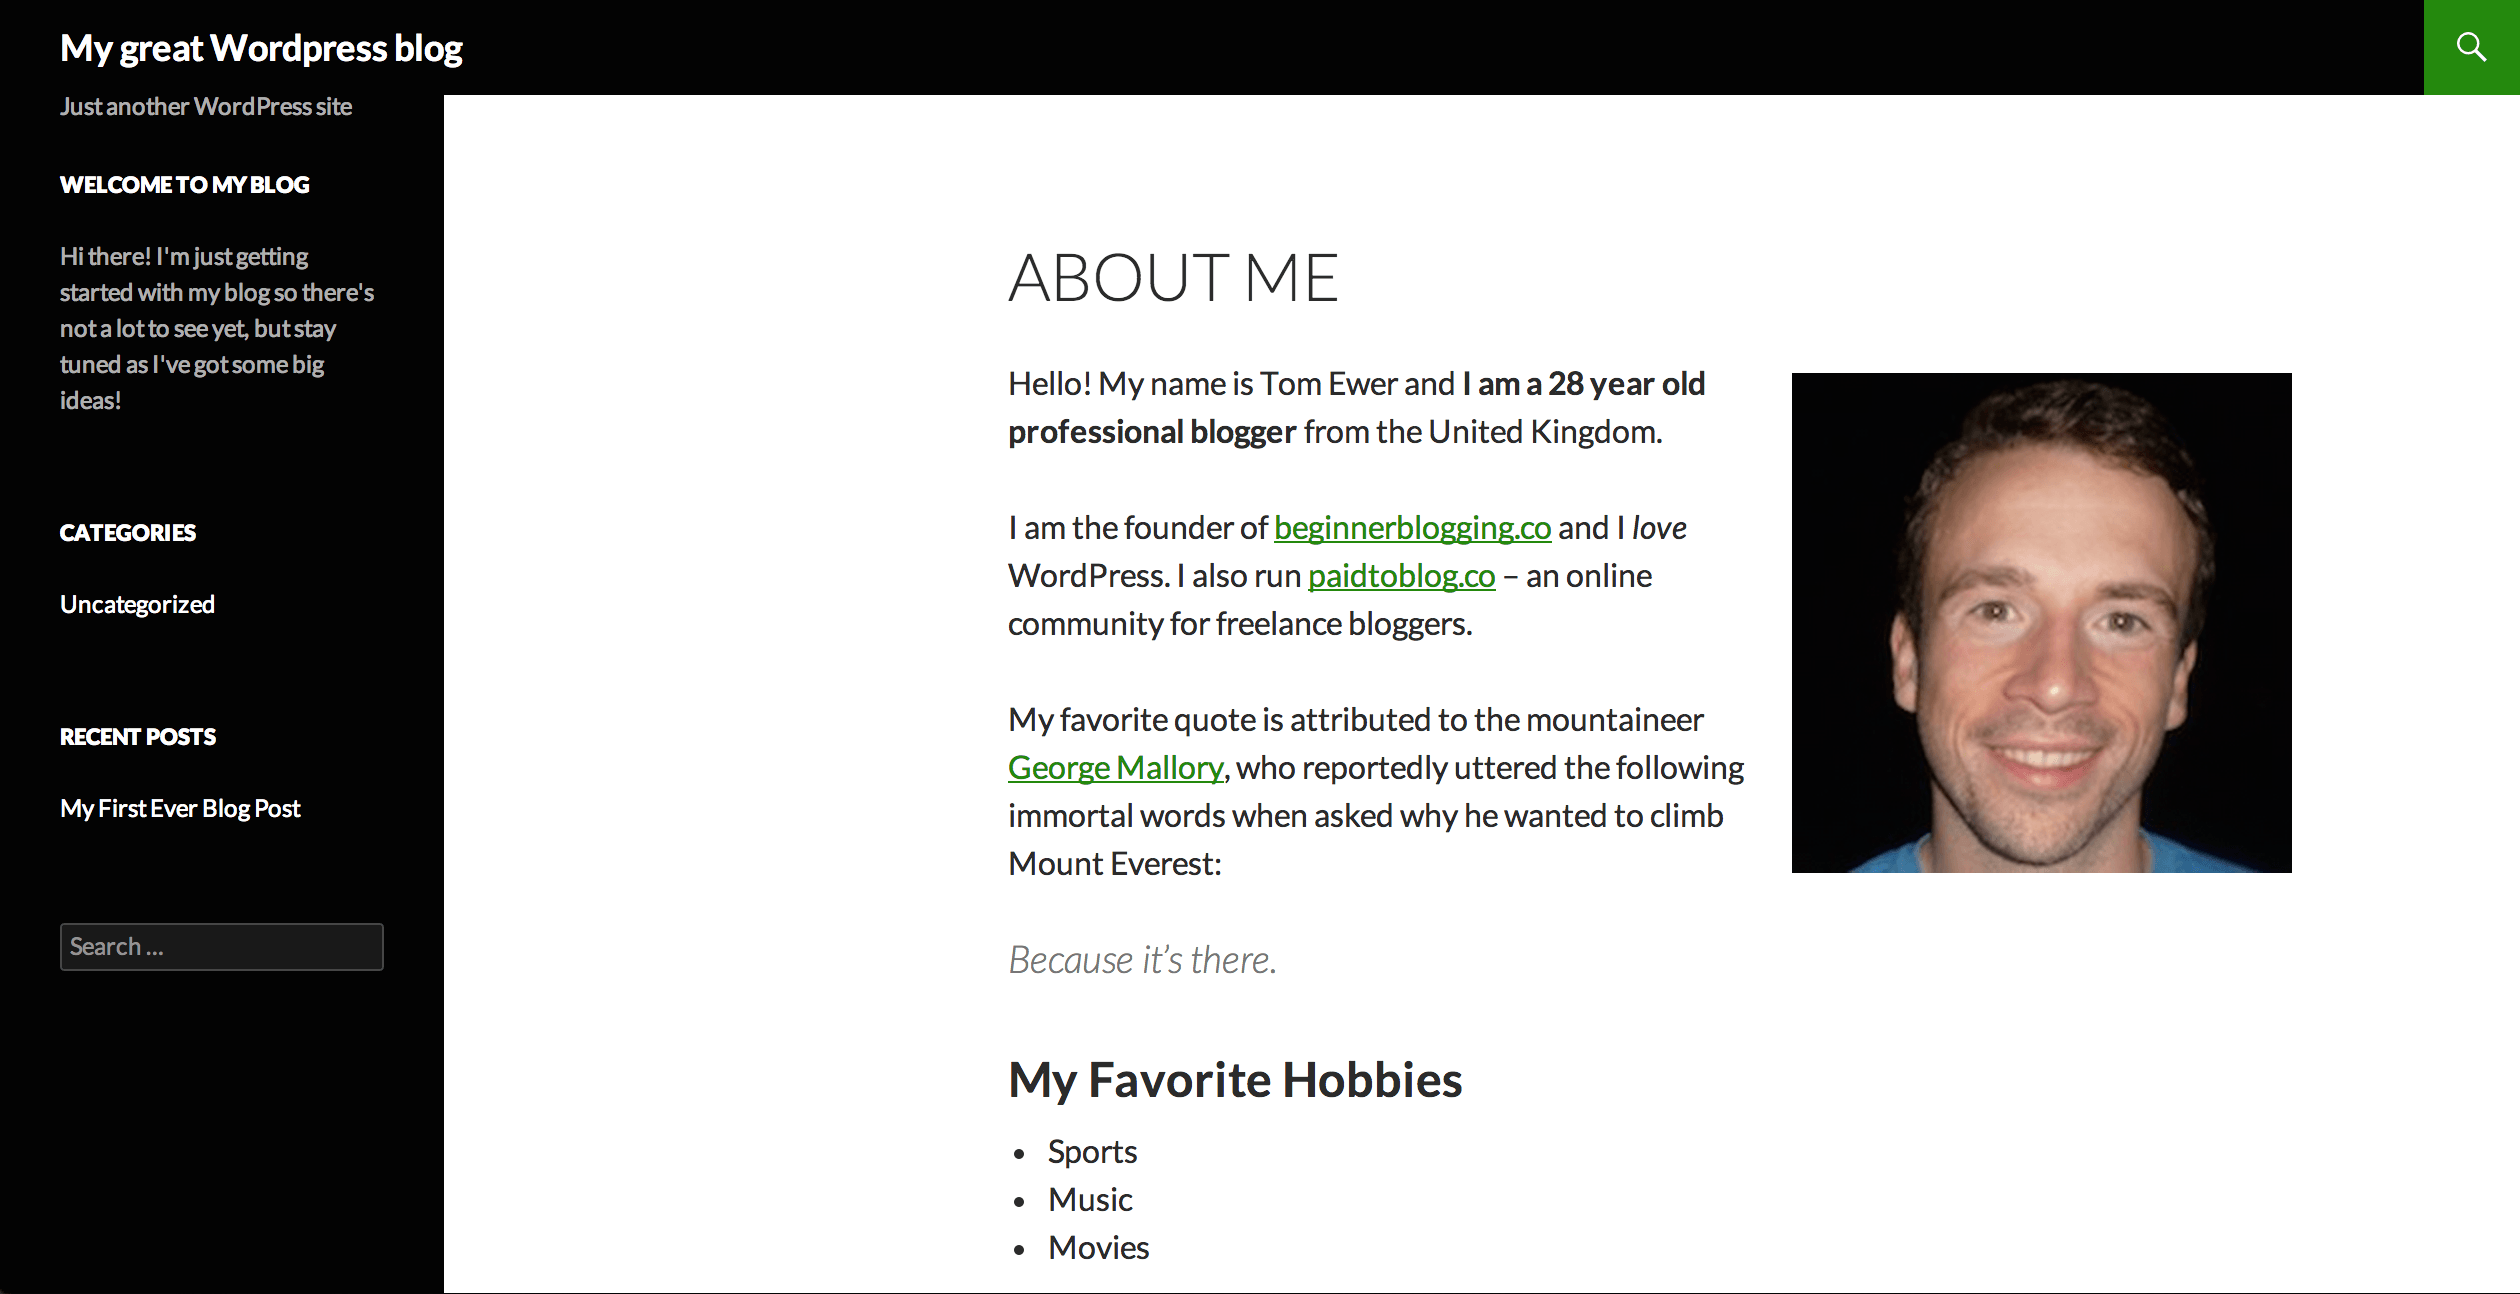
Much better than before, no?
Exploring the Add New Post Screen
For the most part, the Add New Post screen is the same as Add New Page. See if you can spot the differences:
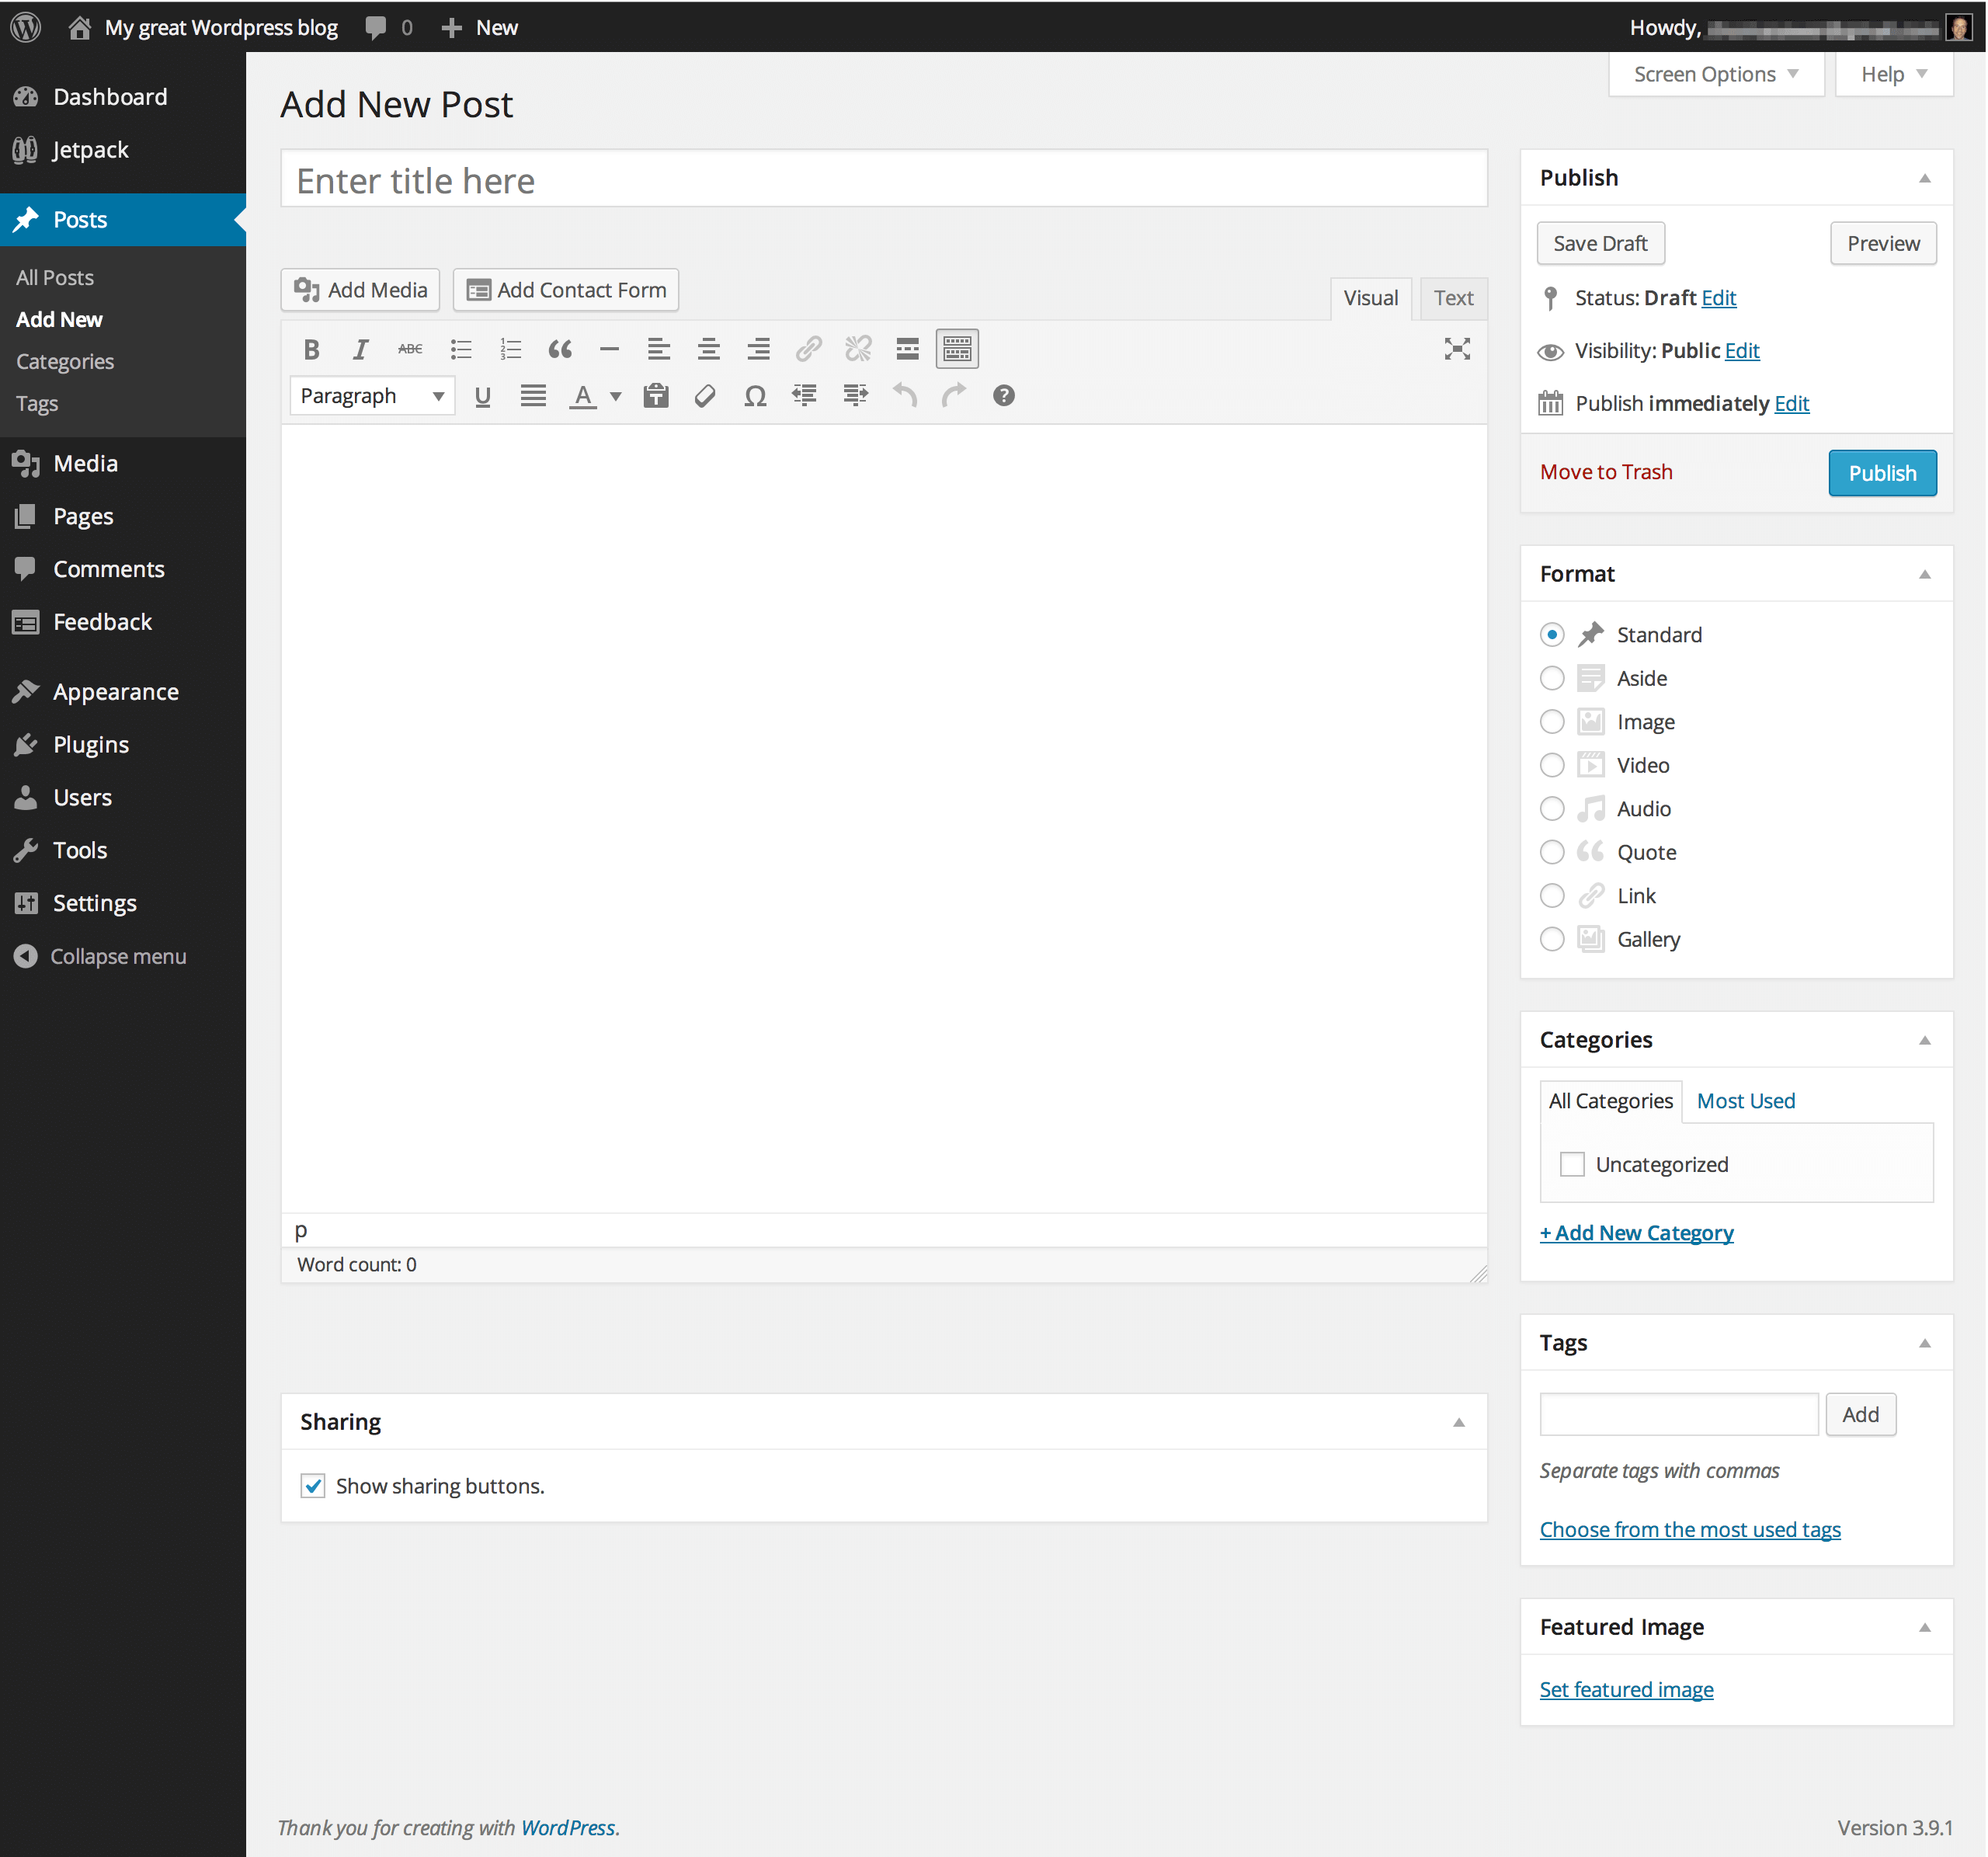
You’ll see three new boxes:
- Format
- Categories
- Tags
You can use the Format box to display your posts in different ways. Each format is known as a Post Type – something you may remember me mentioning in Part 4.
Post Types are only supported in certain themes – Twenty Thirteen being a good example:
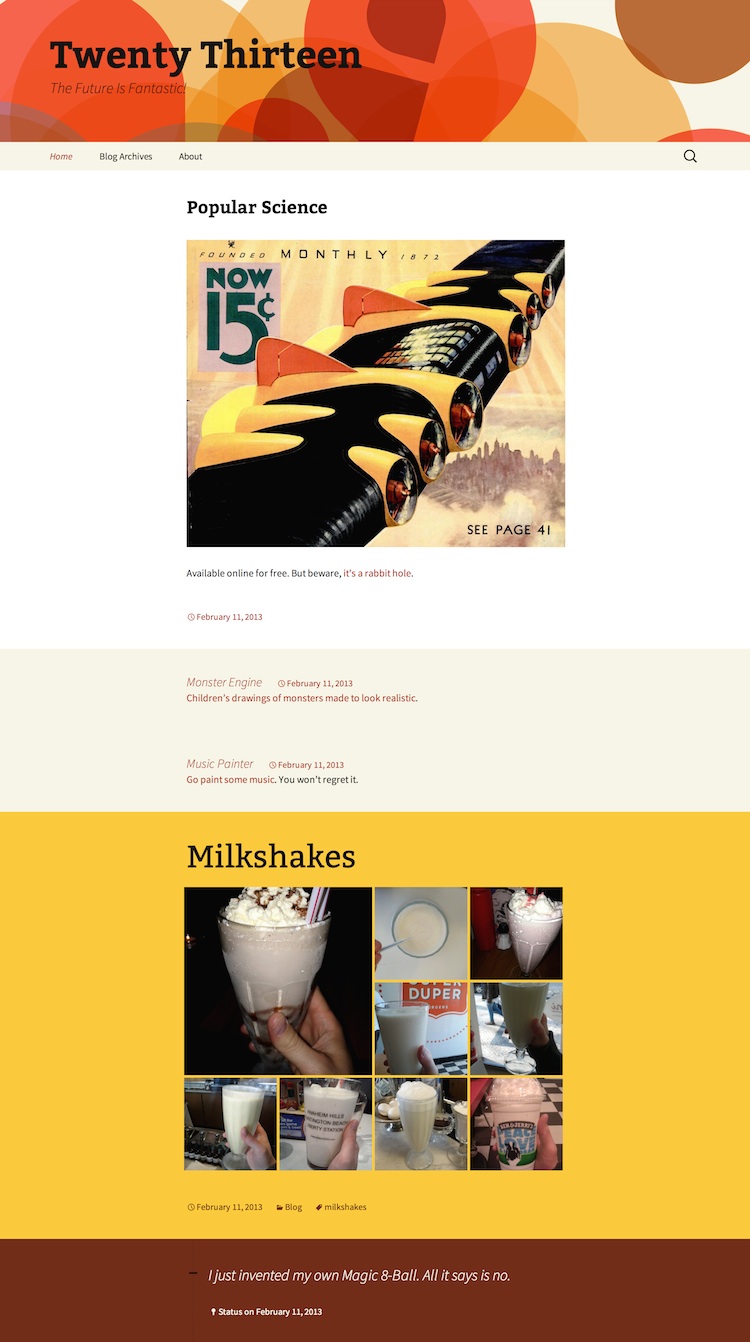
Here you can see many different Post Types clearly distinguished by different background colors.
The use of Post Types is pretty self-explanatory, and to be honest, you don’t really need to concern yourself with them for the time being. In fact, there’s a pretty good chance that you won’t even see this box (depending on what theme you are using).
Categories are far more integral to every blog post you write. The way in which you choose to categorize your posts can have a big impact on how easily people can navigate your site.
Tags are more of a hinderance than anything else for most bloggers. They’re best avoided altogether, as unless you use them very effectively, your collection of tags will probably be next to useless.
That’s enough talk – let’s write and publish a blog post!
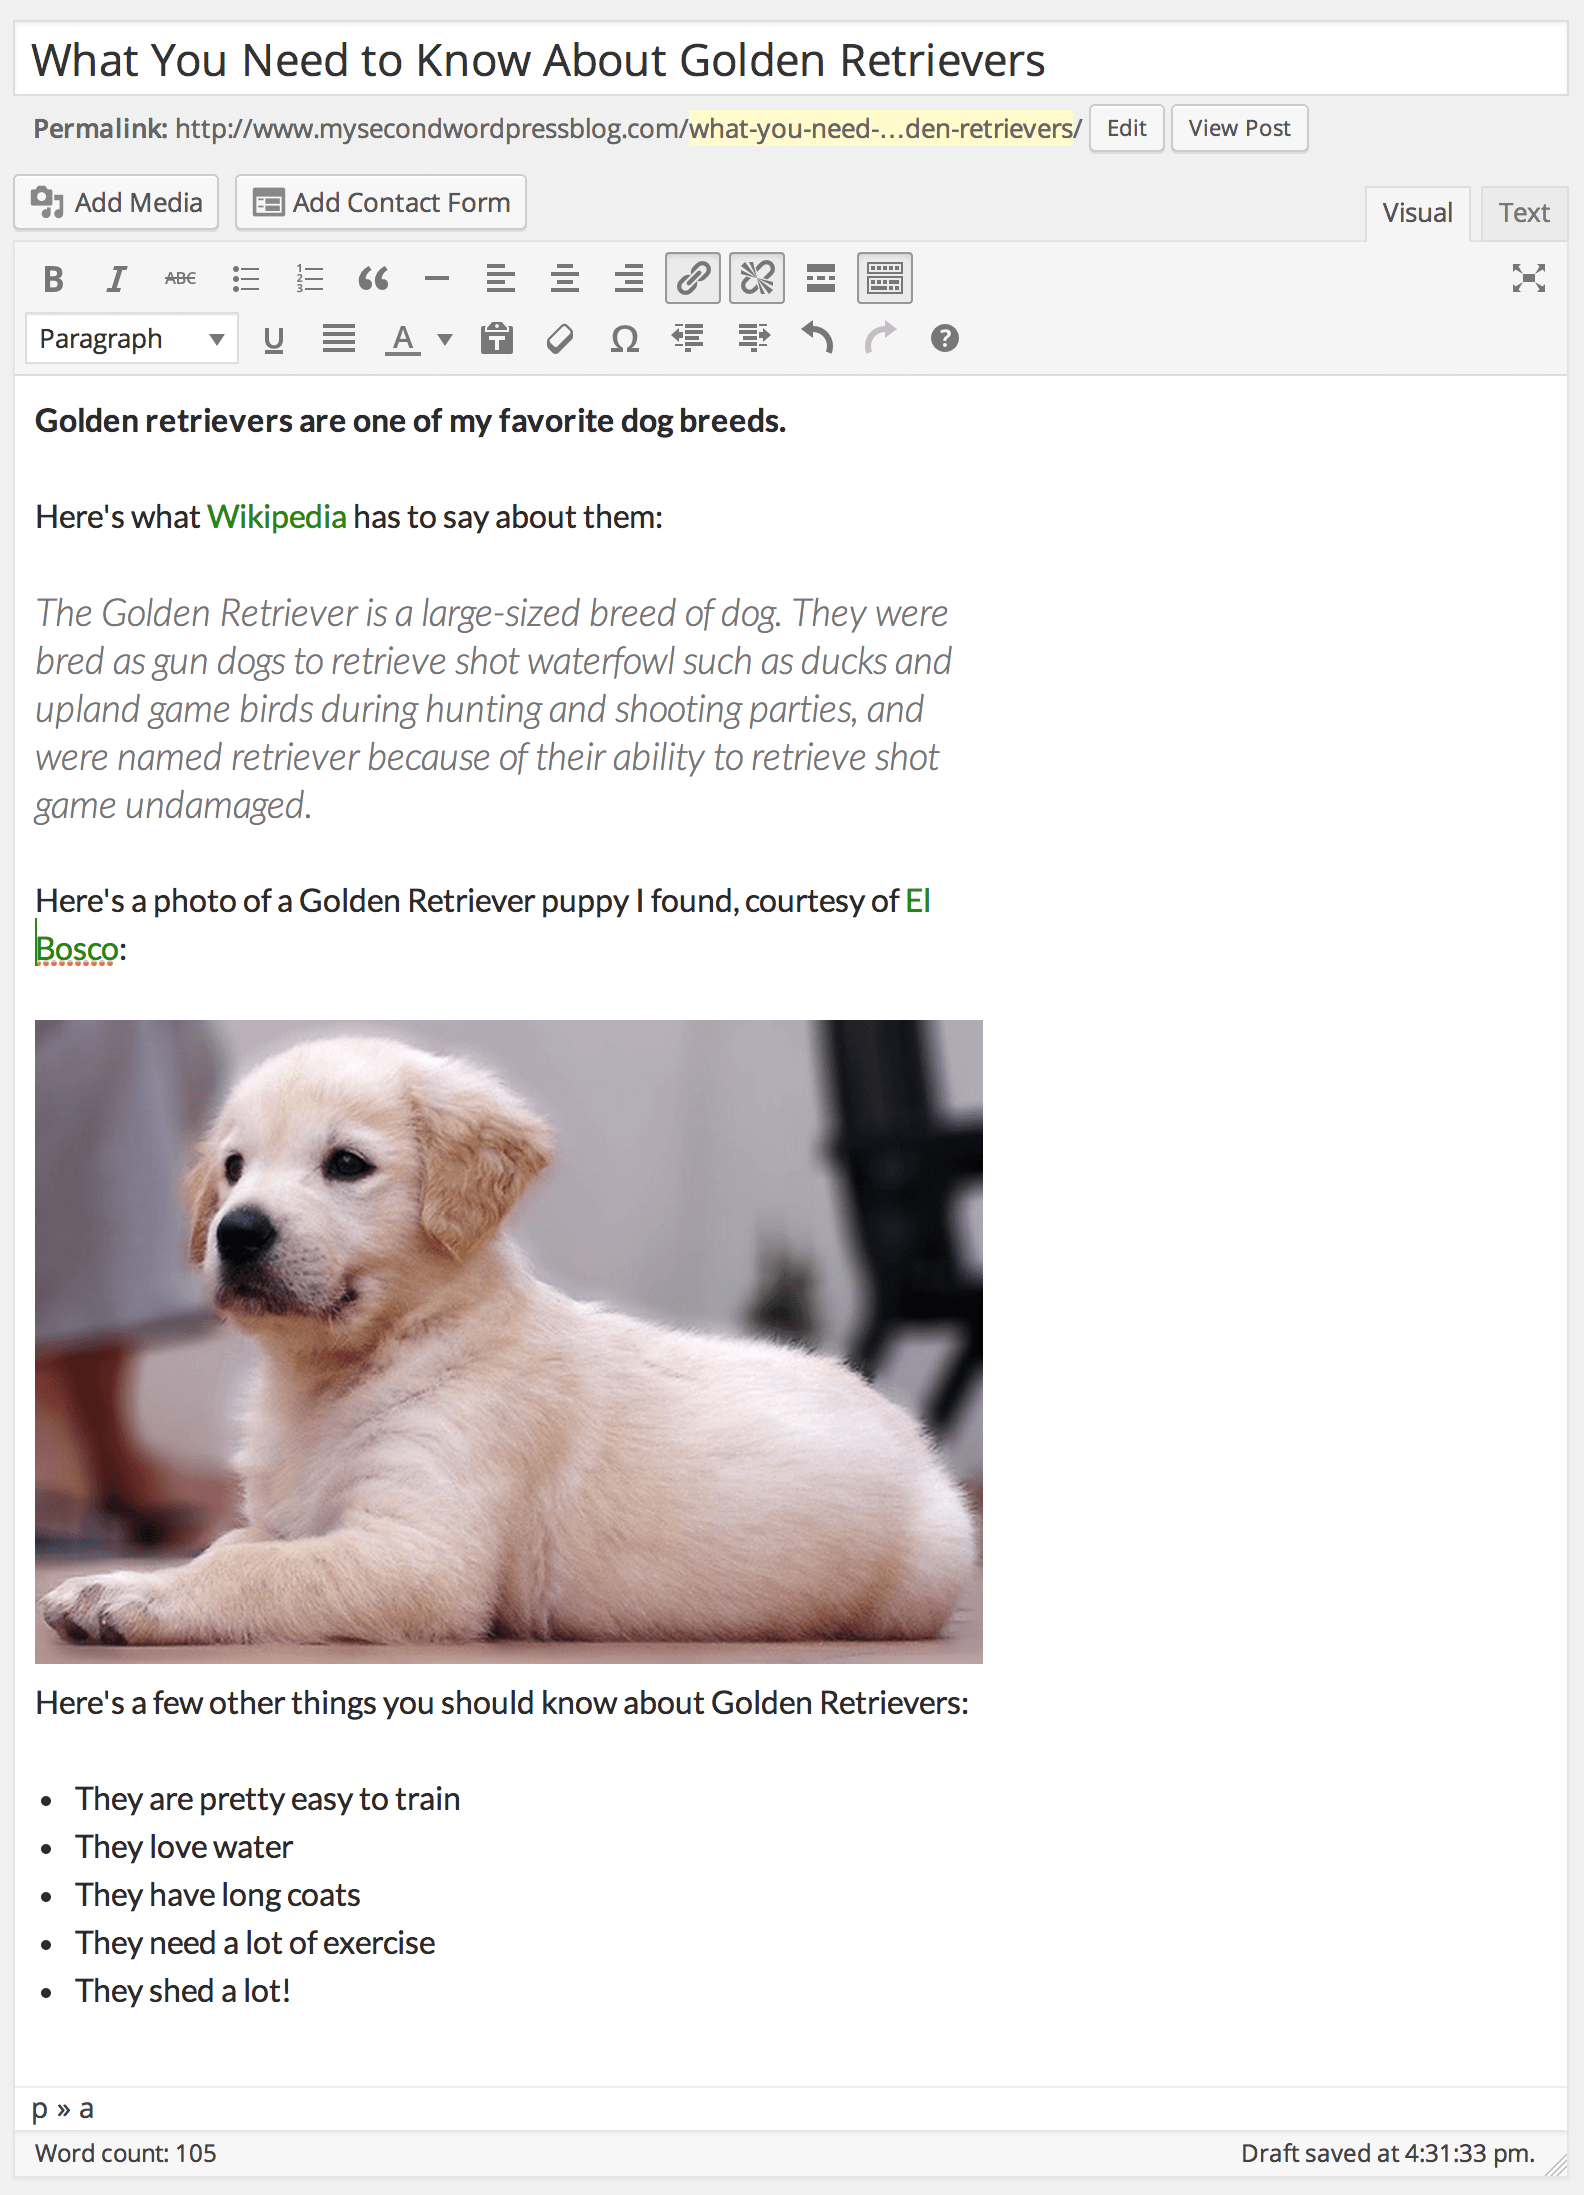
As with your page, you should enter a Title and some text. Let’s say I’m creating a blog about dog breeds, and in this case, I want to write about Golden Retrievers. Using the things we learned when putting the About page together, I put together the following:
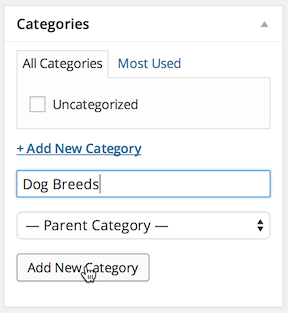
The only thing I need to do before I hit Publish is select a category for my post. At the moment we only have one option:
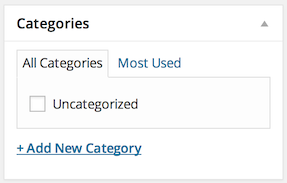
That’s not very useful, is it? We can create a new category by clicking on the + Add New Category link, entering a name and clicking on the Add New Category button:
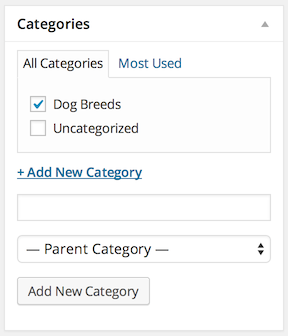
The new category will be added and selected for this post:
That’s it! We’re now ready to press Publish and take a look at the finished post:
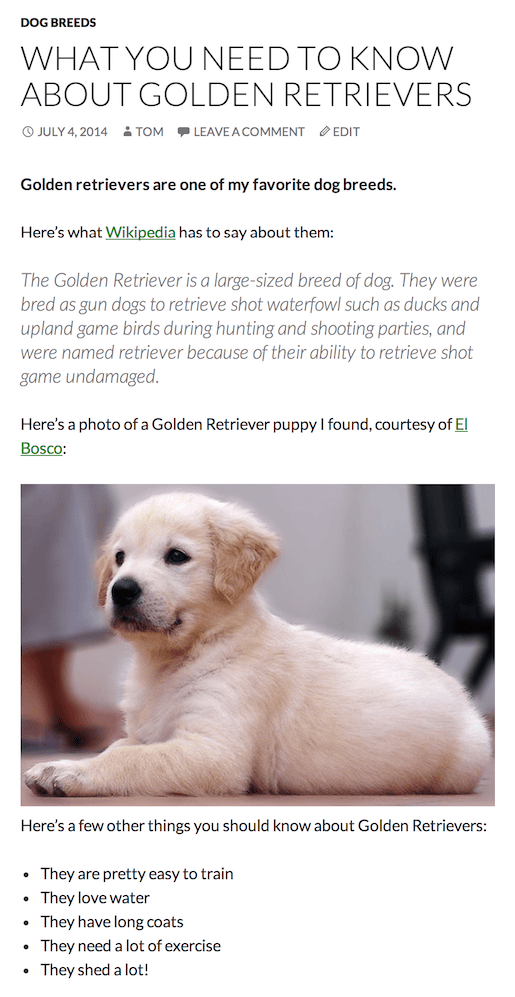
Not bad eh?
As you can see, the Category name has been included at the top of the post. Where (and whether at all) it appears on your blog depends upon the theme you are using. When you click on the Category name, you’ll be taken to a list of all posts assigned to that Category, which can be really useful when people want to see more of the same kind of content when navigating through your content.
When it comes to the basics of publishing blog posts, that’s really all you need to know.
Now get writing!