How to Set Up Email Subscriptions For Your Blog With Jetpack
by Tom Ewer on
 Blogging thrives on interaction, which is why you should offer a few different ways for readers to talk to you.
An email list is the most important asset for just about any blog. If you’re not sold on that, please give me a moment to change your mind.
With that said, one of your biggest priorities should be enabling email subscriptions on your blog. Fortunately, doing so can be a piece of cake (with the right instructions).
If you’re not yet ready to commit to the full functionality of a premium email marketing solution, you can set up an email subscription service on your site with just a few clicks using our favourite plugin, Jetpack.
In this tutorial, I will explain what Jetpack’s Subscriptions module does and show you how to add email subscription forms to all of the best places on your blog.
What the Jetpack Subscriptions Module Does
Jetpack’s Subscriptions module enables visitors to sign up to email updates from your blog.
These updates come in two forms:
- Blog posts: Subscribers are emailed every time you publish a new post on your blog. They are not emailed when you publish a new page, nor when you update an already-published post or page.
- Blog post comments: Subscribers are emailed whenever new comments are posted on a particular post (or posts) they subscribe to.
Jetpack’s free solution suffers from five main weaknesses that I should point out before we go any further:
- There is no way for you to export your full email list. You can export the email addresses of people who signed up using their email address, but you will not be able to export anyone who signed up using their WordPress.com account. You never truly ‘own’ the email list, in a sense that you can’t fully access and edit every email address.
- You have limited control over what is sent out. All you can determine is whether a subscriber receives a full post via email or an excerpt of the post (with a link to the full post on your site). If you publish five posts in a week, subscribers will receive five emails. If you publish one post, they’ll receive one email.
- You can’t send out one-off emails (or ‘broadcasts’) to your list. Your sole means of communication with your email list is through the blog posts that you publish.
- You can’t set up an autoresponder series. If you’re going to get serious about blogging, you’ll definitely want this functionality.
- You can’t customize signup forms. While you can change the headline, text and submit button text of your forms, you can’t easily change colors, fonts, etc.
Essentially, you’re sacrificing control and functionality with this free option. Jetpack’s Subscription module does what it does very well, but it definitely has its limitations.
The good news is that if you’re just dipping your toe in the water, you can start off with Jetpack and upgrade to a premium solution when the time is right. You’ll lose any subscribers who signed up via WordPress.com in the process, but that’s something you can take into account.
On a personal note, with premium email marketing solutions starting from $1 per month, I figure that starting with premium is a no-brainer. It’s what I did back in 2012, way before I made a penny from blogging. But it’s up to you!
Find out more about your email marketing options here.
How the Jetpack Subscription Module Works
If you’re curious what the subscriber experience is like when someone signs up for blog updates, I’ve outlined the process for you below.
When a reader signs up for blog updates (either through via the comment form on your blog or through a signup form), they receive an email like this:
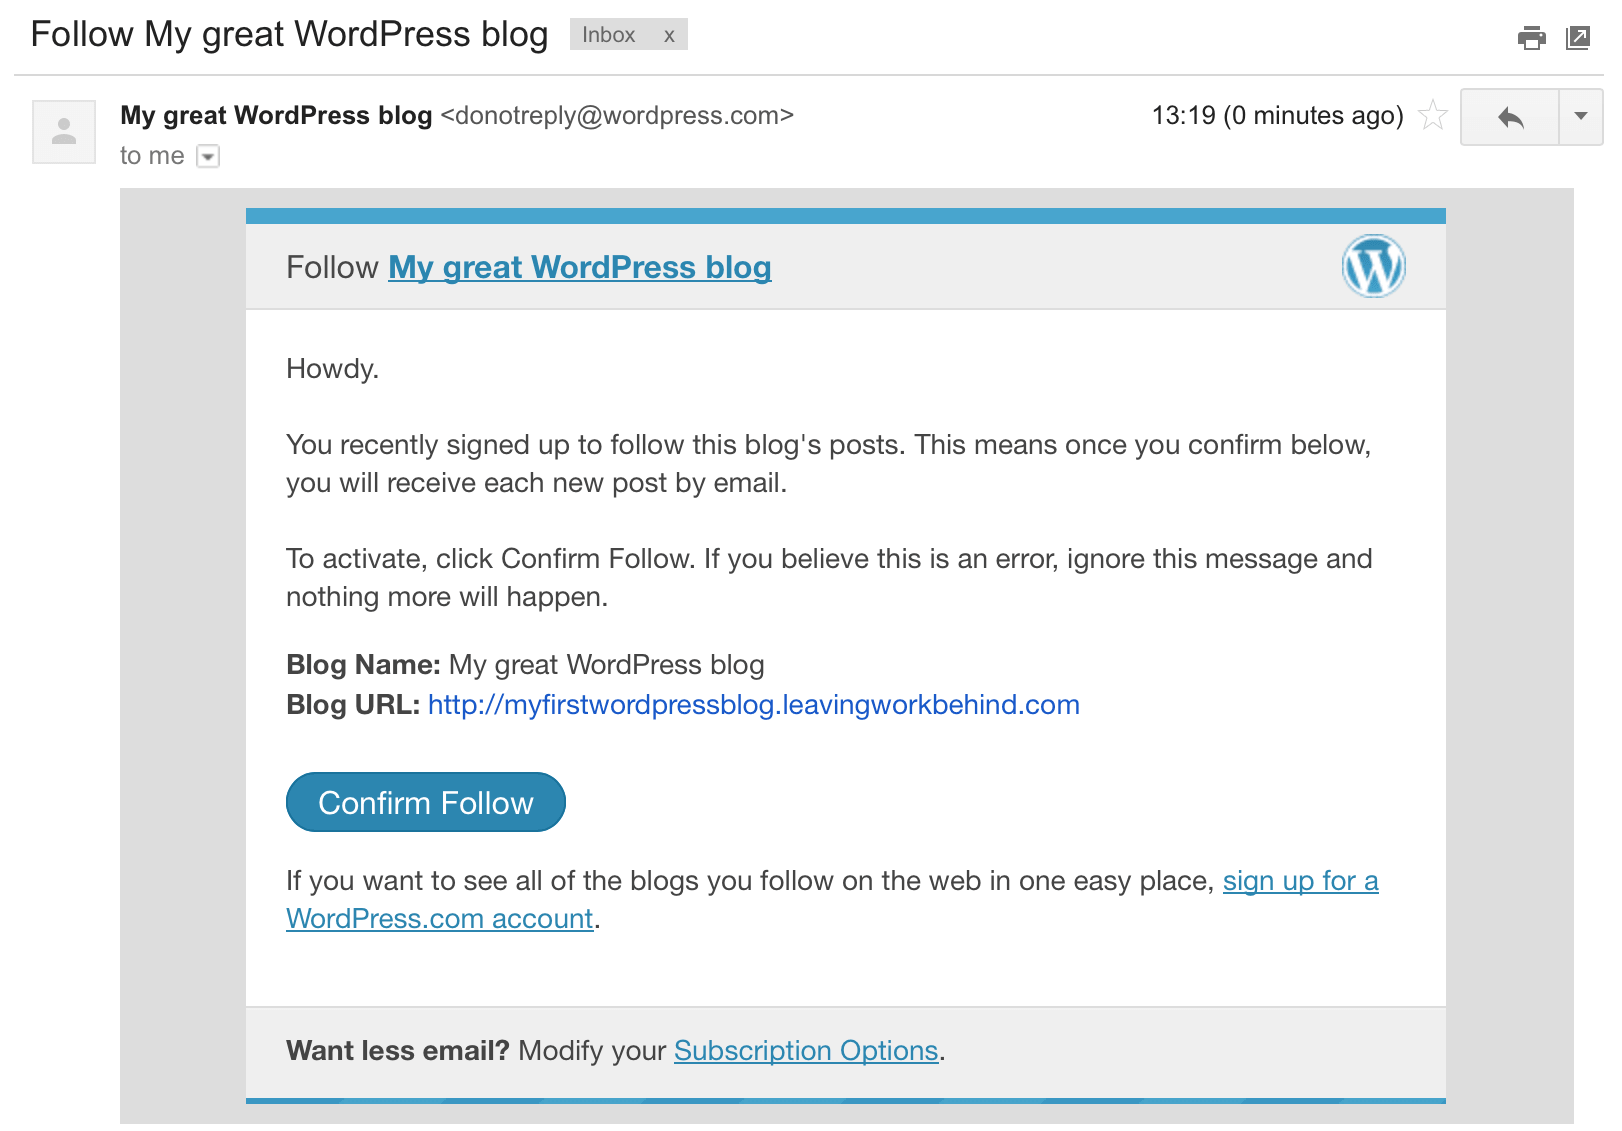
When they click on the Confirm Follow button, their subscription to your blog is activated and they are taken to a subscription management screen on WordPress.com. They also receive another email confirming their subscription.
(The above process is known as two-step verification, and is legally required whenever anyone attempts to subscribe to anything online via email. The process is intended to stop people from receiving unsolicited emails.)
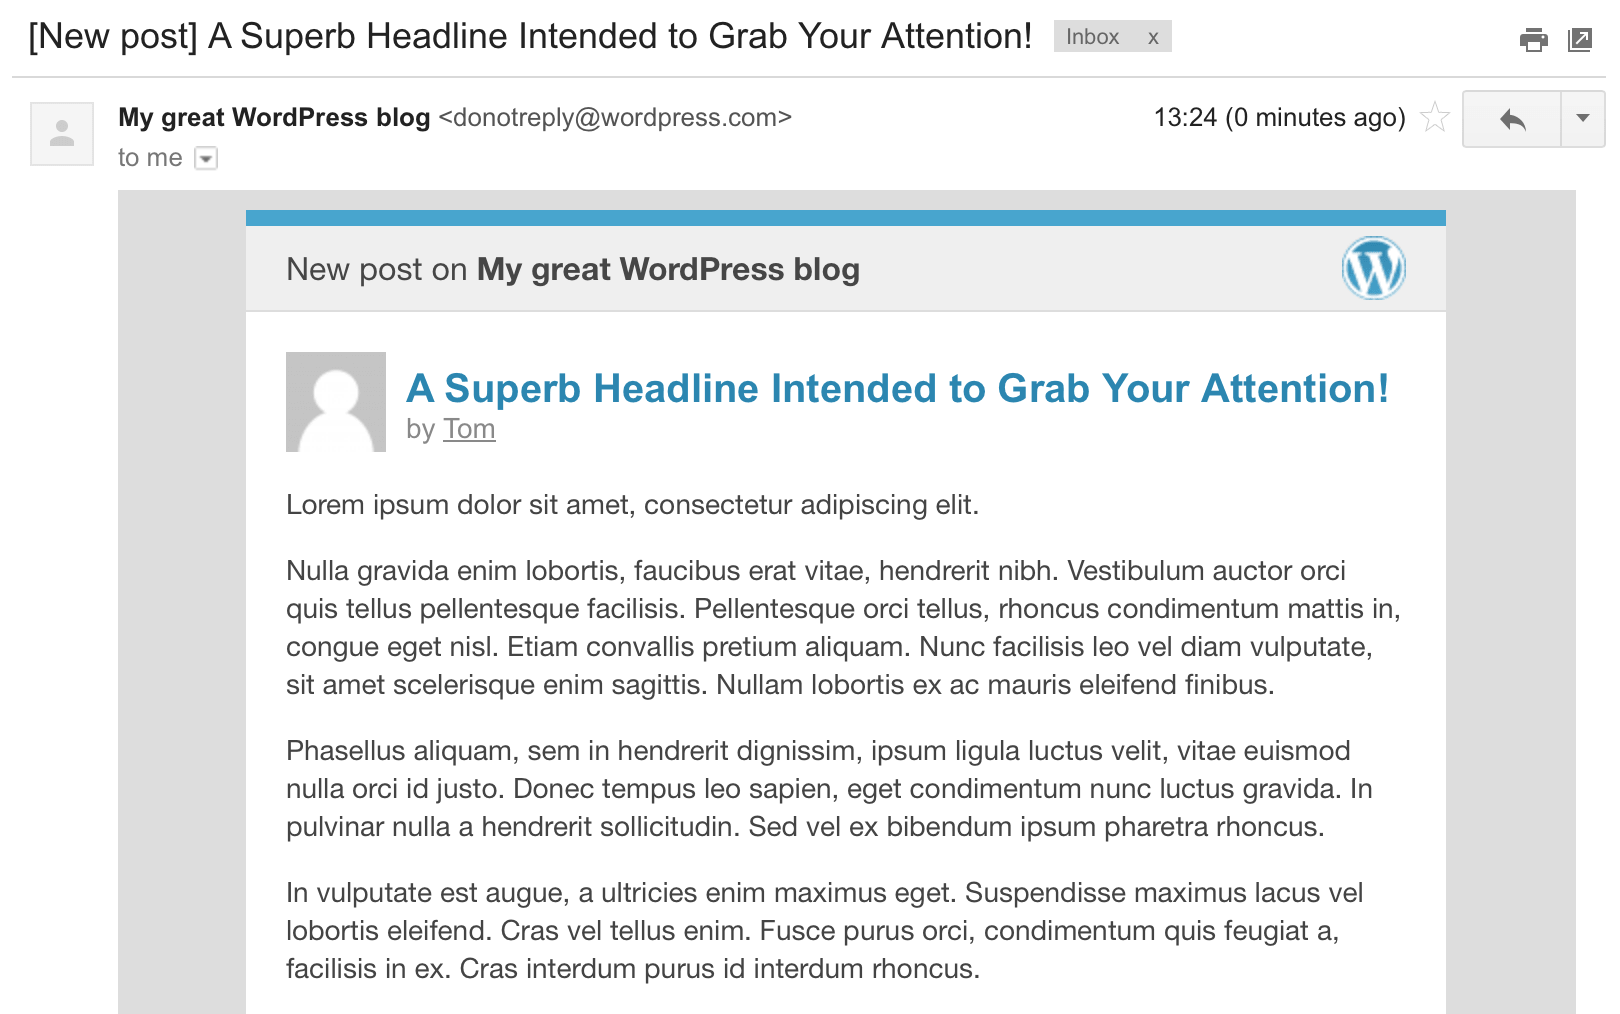
Subsequently, whenever you publish a new post on your blog, your subscribers will receive an email like the following:
How to Activate the Jetpack Subscriptions Module
First of all, remember to install and activate Jetpack on your blog before going any further.
The Subscriptions module is activated by default when Jetpack is first installed, so you should already be good to go. However, I’ve included instructions for activating the module below just in case it isn’t yet active on your blog.
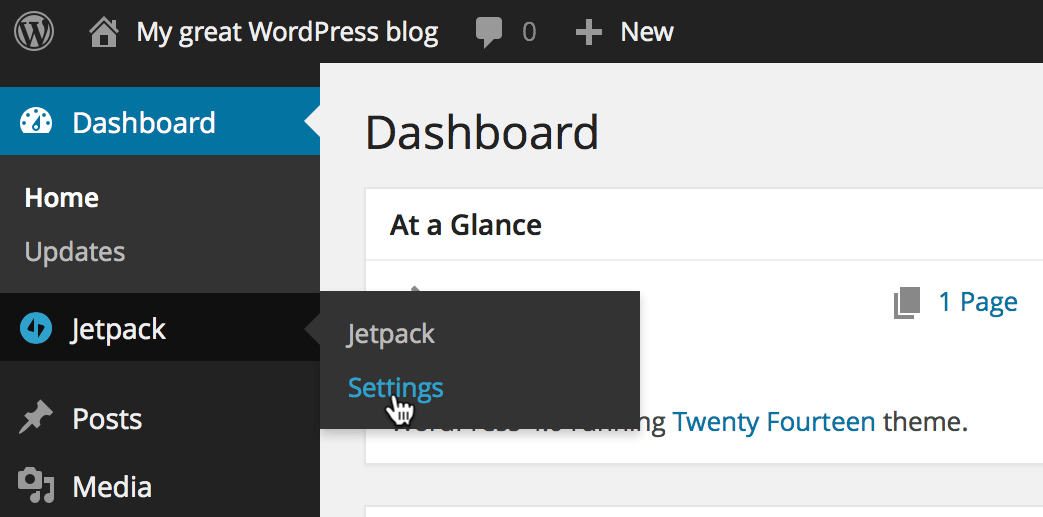
Navigate to Jetpack > Settings from the WordPress sidebar in your Dashboard:
Scroll down to where the Subscriptions module is listed and click on the Activate link to the right:

You’ll then be taken to a screen confirming that the Jetpack Subscriptions module has been activated:

That’s all there is to it! At this point two subscription options will appear below the comments form on each of your blog posts, like this:
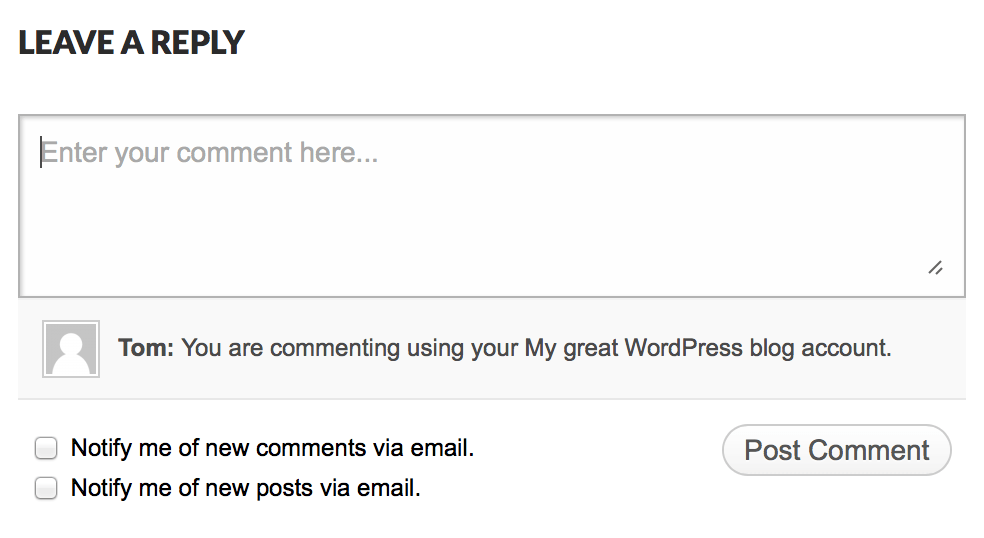
The above screenshot was taken with the Jetpack Comments module activated. I would recommend that you activate this module to coincide with the use of the Subscriptions module; it makes it easier for readers to comments, looks really slick, and incorporates the subscription options very neatly.
You can activate the Jetpack Comments module by navigating to Jetpack > Settings from the WordPress sidebar and selecting the Activate link to the right of the Jetpack Comments module listing on the resultant page:

How to Configure the Jetpack Subscriptions Module
If you want to feature only one of the above subscription options, you can modify Jetpack’s settings to alter what options appear below comment forms on your blog.
To do so, navigate to Settings > Discussion from the WordPress sidebar and scroll to the bottom of the resultant screen, where you will see the following:
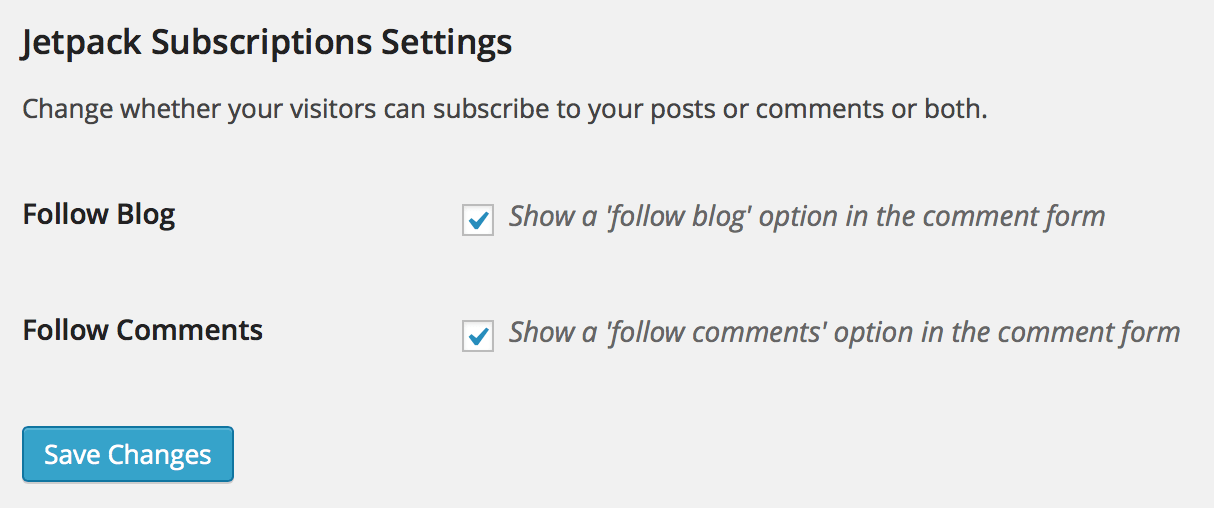
Your options here are self-explanatory. Hit the Save Changes button when you’re done.
How to Insert a Subscription Form Into Your Sidebar
Fortunately, Jetpack does not limit you to subscription options to below the comment form only. You can in fact include signup forms on most parts of your site with relative ease.
Let’s start with the sidebar. I highly recommend that you include a subscription form within your sidebar, and it’s a piece of cake to do so with Jetpack.
Navigate to Appearance > Widgets from the WordPress sidebar. You will be presented with a screen similar to this:
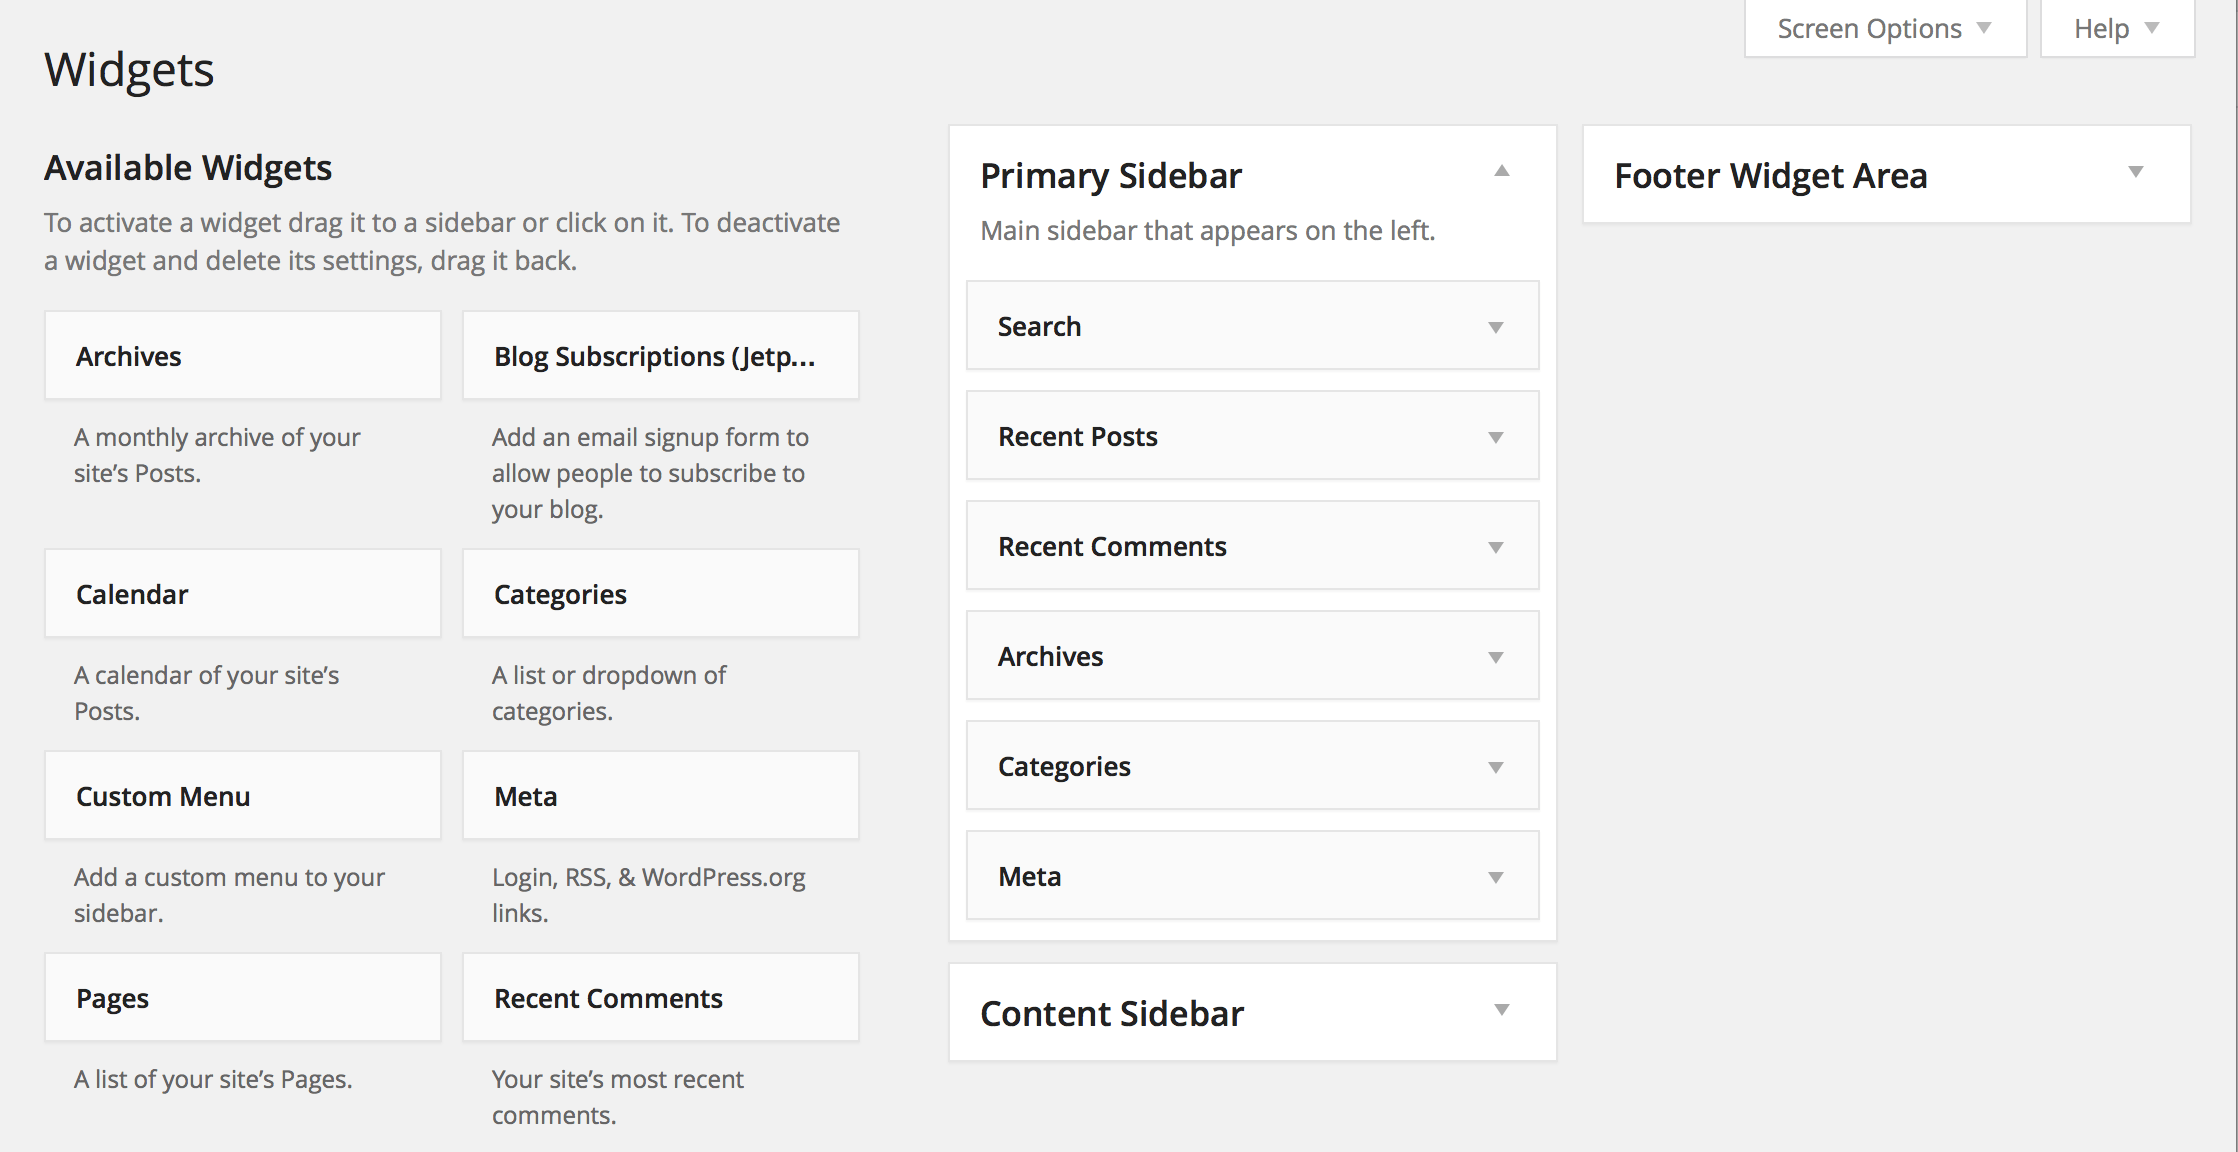
If you’ve completed Part 7 of the free Beginner Blogging course, you’ll be familiar with this screen and know that widgets are standalone items that can be inserted into any ‘widgetized’ area of your site (such as the sidebar).
To the left you’ll see the Available Widgets, and to the right you will see the widgetized areas on your blog. What you see on your screen will vary depending on what theme you have installed; the above screenshot is taken from a blog running the free Twenty Fourteen theme.
You’ll notice that the Blog Subscriptions (Jetpack) widget is listed as an available widget; this is the one we want to add to your sidebar. Simply drag and drop the widget into your sidebar widgetized area (if you’re using a half-decent theme, each of the widgetized areas will be labelled in such a way as to be clearly identifiable):
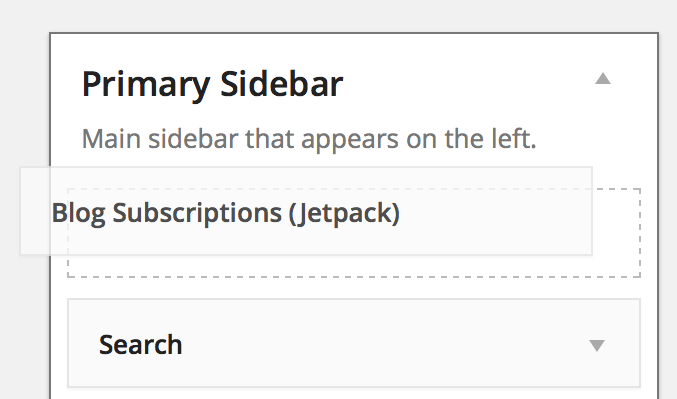
The widget will expand to show the available customization options:
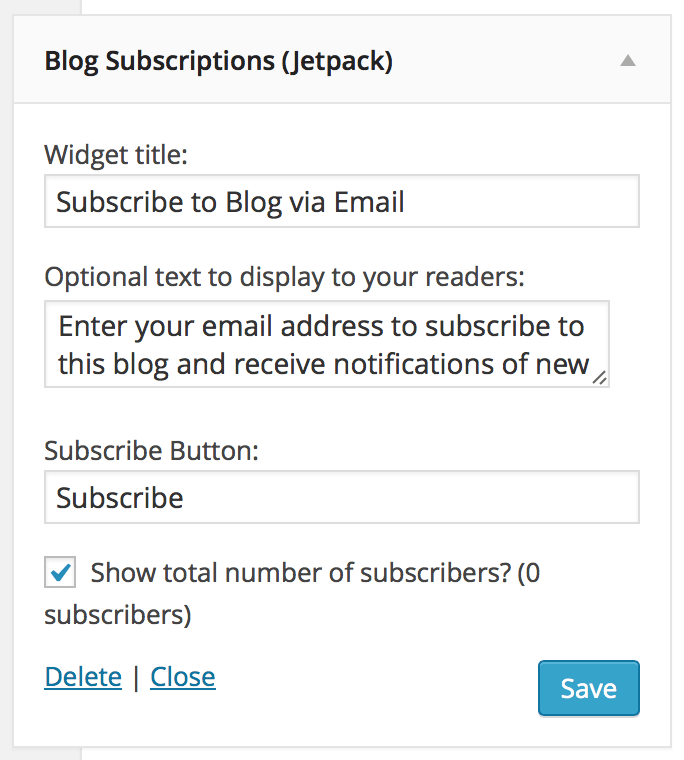
If you’re not sure what to enter right now, you can leave everything as it is. One thing I would recommend you do however is uncheck the ‘Show total number of subscribers?’ checkbox. Psychologically speaking, people will be less inclined to subscribe if they see that you only have a small number of subscribers.
Click on the Save button when you’re finished, and you’ll end up with something like this in your sidebar:
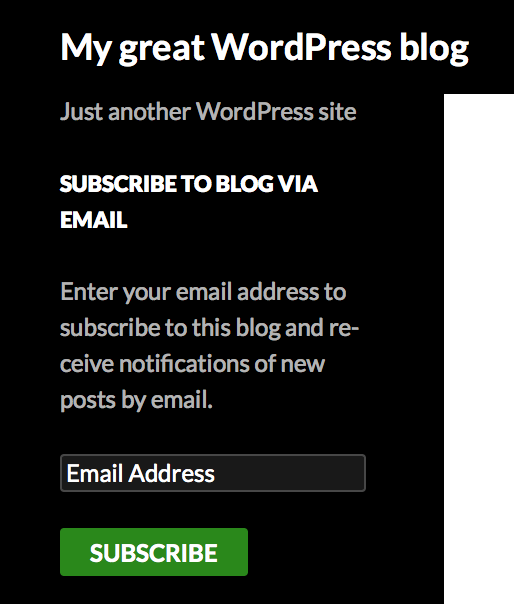
You can add a signup form like this to any widgetized area of your site, not just the sidebar. (The footer is the most common alternative widgetized area, and is also a great place to insert a signup form.)
How to Insert a Subscription Form Into a Page or Post
It can be highly effective to insert a subscription form directly into a page or post. People can become ‘blind’ to items in the sidebar or footer, but if they’re reading a page or post and are presented with a signup form, it may be all the encouragement they need to enter their email address.
Inserting a signup form into a page or post is easy with a simple shortcode. Just insert the following shortcode into your page or post:
[jetpack_subscription_form]
It’ll look like this within the visual editor:
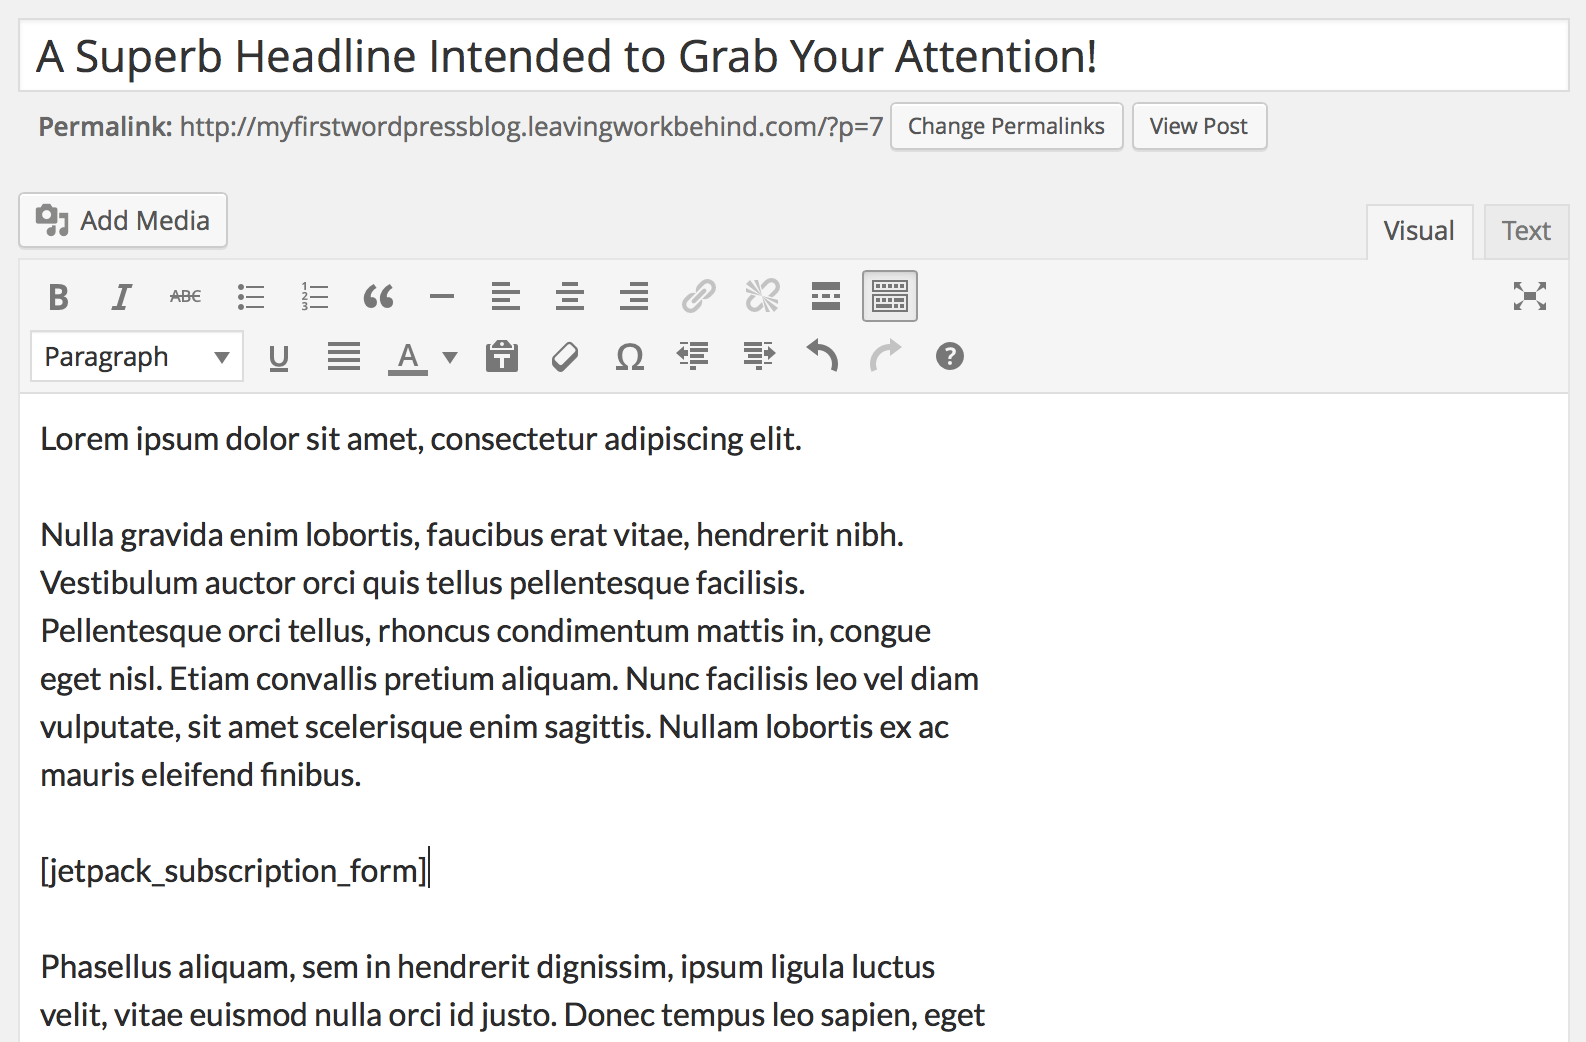
That’s all it takes! Hit the Publish or Update button and a subscription form will be added to your page or post:
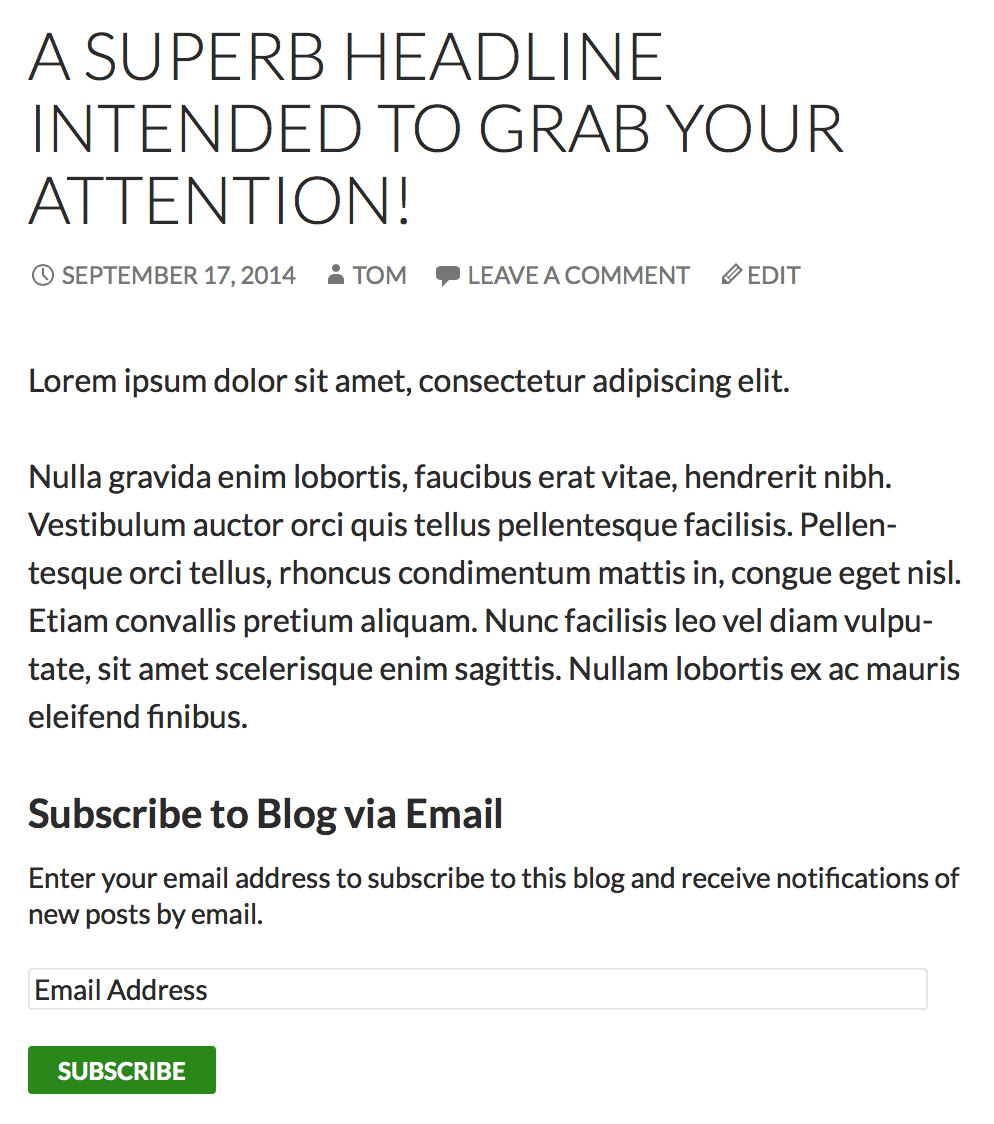
You can edit this signup form in a few ways by adding information to the shortcode:
- Change the title of the form (which is “Subscribe to Blog via Email” by default) by using
title. - Change the text within the form (“Enter your email address to subscribe…”) by using
subscribe_text. - Change the text of the Subscribe button by using
subscribe_button.
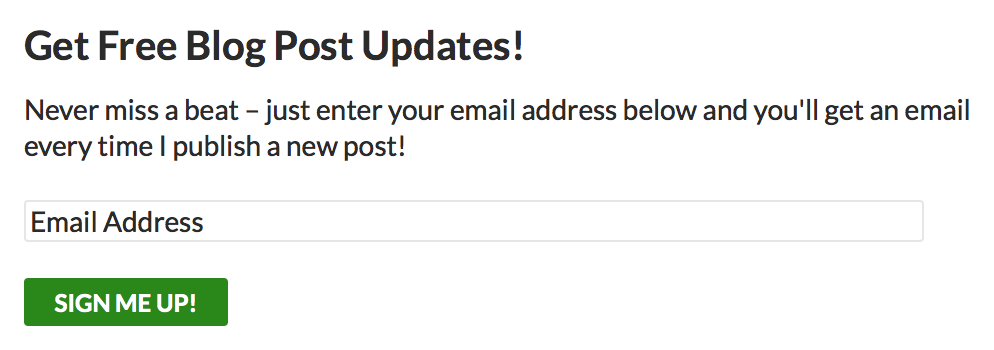
Here’s a shortcode that incorporates all of the above variables:
[jetpack_subscription_form title="Get Free Blog Post Updates!" subscribe_text="Never miss a beat – just enter your email address below and you'll get an email every time I publish a new post!" subscribe_button="Sign Me Up!"]
And here’s what it looks like on the site:
That’s It!
You now have everything you need in order to enable email subscriptions to your blog.
If you have any questions or thoughts to share, please use the comments section below. And feel free to subscribe to comments by checking the box; courtesy of Jetpack!
Photo Credit: Spinster Cardigan
Hi, do you know if there is a way of changing the text of the wordpress.com “New Post” email? I need it in Czech rather than English. The first subscription email is in Czech but all subsequent new post emails are in English..
What is the Best Option for Subscription Purpose:
1. Jet-pack Email Subscription
2. Feed Burner
Please suggest me
I does NOT work!
Jetpack subscription form is not responsive and it breaks my theme design when i use it inside post. do you have any idea what to do?
My blog is in another language! How do I translate the text of the e-mail’s the subscribers receive?